




Pressure cooker corned beef and cabbage sounds harder than it is. With the right timing and a good, simple method, you get fork-tender corned beef in a fraction of the time it takes on the stovetop or in the oven. This is the recipe I come back to every St. Patrick’s Day, and honestly, all through March.
If you are working from my St. Patrick's Day Kitchen Game Plan, this is the "90-minute drill" option. It is the fastest path to a complete corned beef dinner, and it delivers every time.
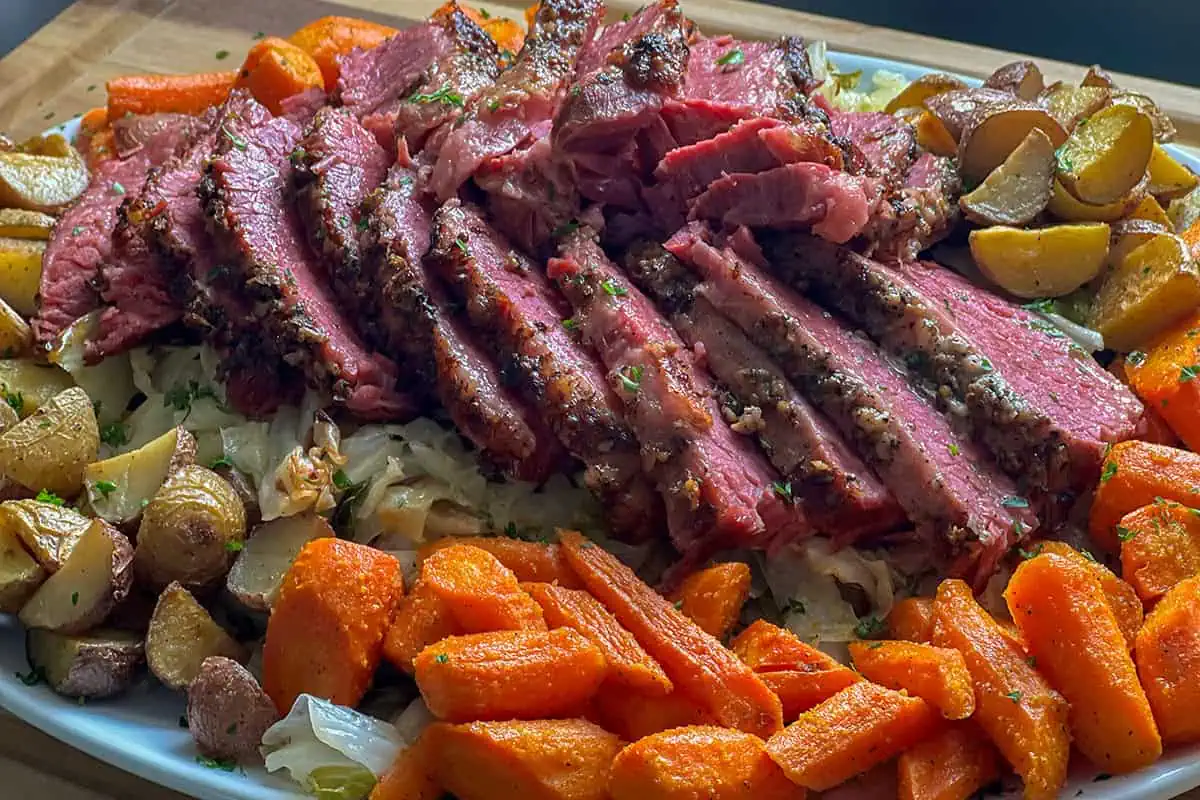
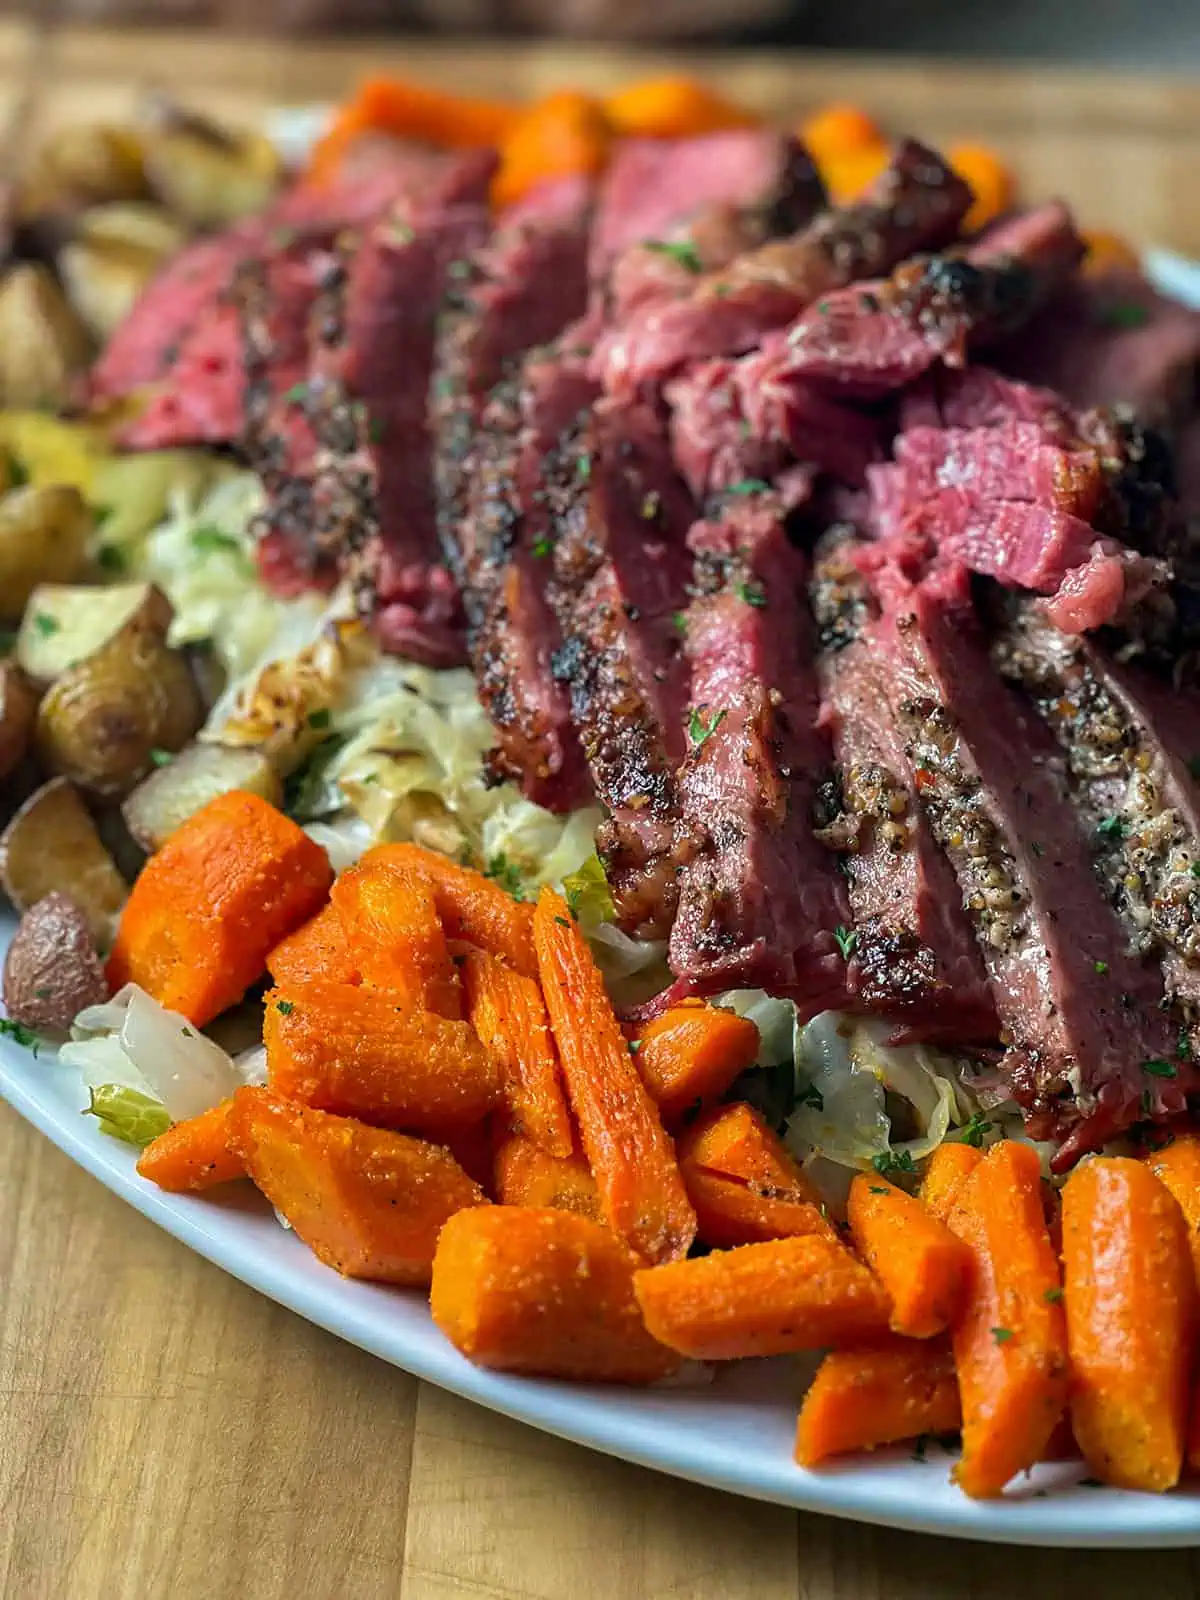
The Easiest Way to Get Fork-Tender Corned Beef
The key is letting the pressure cooker do what it does best: break down that tough brisket into something melt-in-your-mouth tender without babysitting it for hours. This recipe walks you through exactly how long to cook it, when to add the cabbage and vegetables, and how to get the texture right so nothing comes out mushy or underdone.
It works with any electric pressure cooker, including the Instant Pot. And the vegetables cook right in the same pot after the beef is done, so you get a full meal with minimal cleanup.
Want a Crispy Garlic Top? Here's the Optional Upgrade
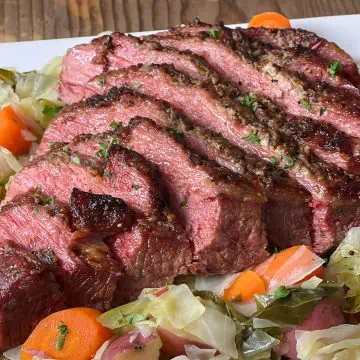
If you want to take it one step further, I have an optional finishing trick that puts this over the top. A quick broil with a garlic and spice topping gives the corned beef a crispy, golden crust that is honestly hard to go back from.
Totally optional. But once you try it, you will probably never skip it again.
Why This Recipe Works
- Pressure cooking cuts the time dramatically. What normally takes 3 to 4 hours on the stove takes about 2 hours total here, including prep, pressure cooking, release, vegetables, and resting.
- The aromatics build flavor from the bottom up. Onion, thyme, and bay leaf sit beneath the brisket and infuse the cooking liquid the entire time.
- Chicken broth makes a difference. It adds a cleaner, rounder flavor to the meat and vegetables compared to plain water.
- The vegetables cook in the same pot. After the beef comes out, the potatoes, carrots, and cabbage go in and pressure cook for just minutes. One pot, one meal.
- Natural release is the secret to tenderness. Letting the pressure drop on its own keeps the meat fibers relaxed and juicy instead of seizing up.
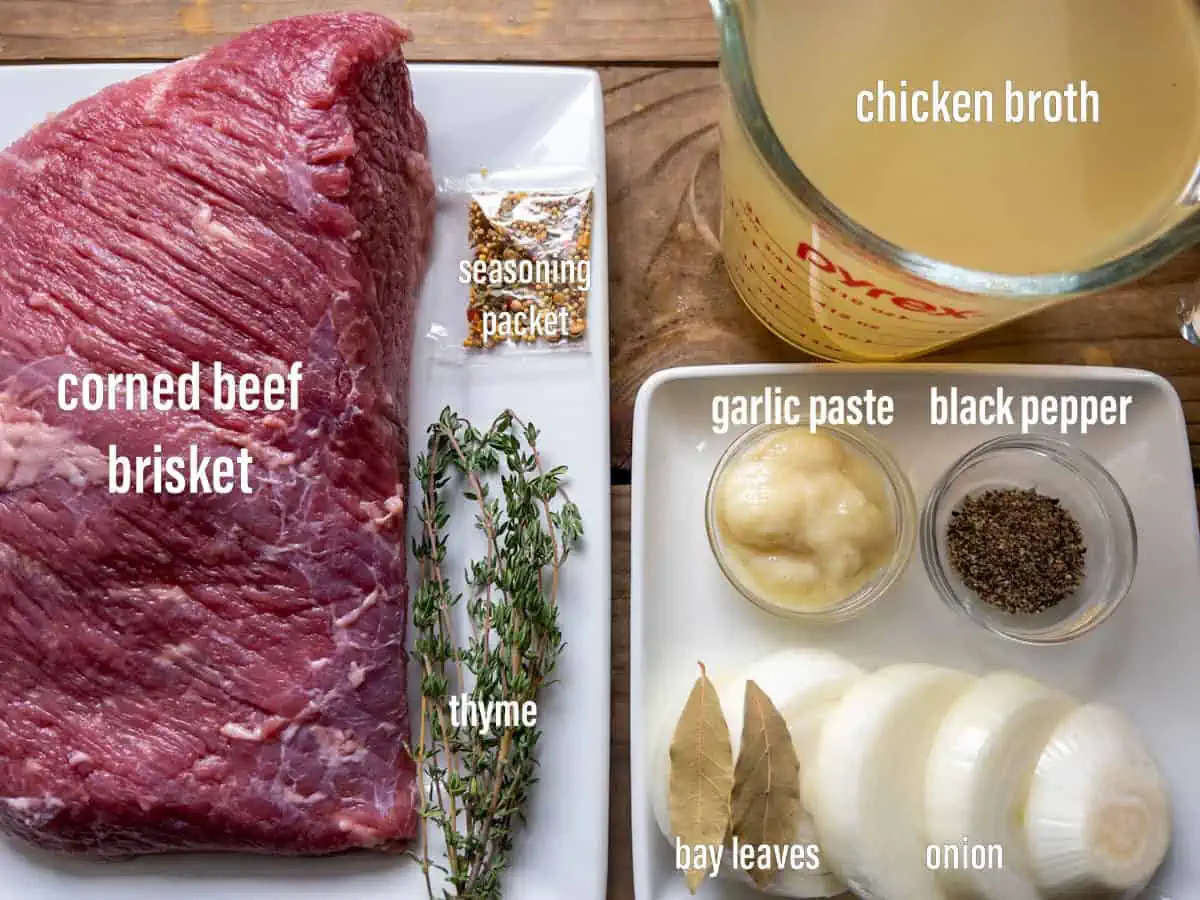
Ingredients
For the Corned Beef
- 1 corned beef brisket (2.5 to 5 lbs), with spice packet reserved
- 4 cups chicken broth
- 1 onion, sliced
- 6 thyme sprigs
- 1 bay leaf
For the Vegetables
- 1.5 lbs baby potatoes, quartered
- 1 lb baby carrots, left whole
- 1 small head green cabbage, cored and sliced like shredded collards
- 2 teaspoon kosher salt
- Black pepper, to taste
- Garlic powder, to taste
- Onion powder, to taste
For the Crispy Garlic Top (Optional)
- 2 tablespoons garlic paste
- 1 teaspoon black pepper
- Reserved spice packet from the corned beef
How to Make Pressure Cooker Corned Beef and Cabbage
Prep the Corned Beef
- Open the corned beef packaging and set the spice packet aside.
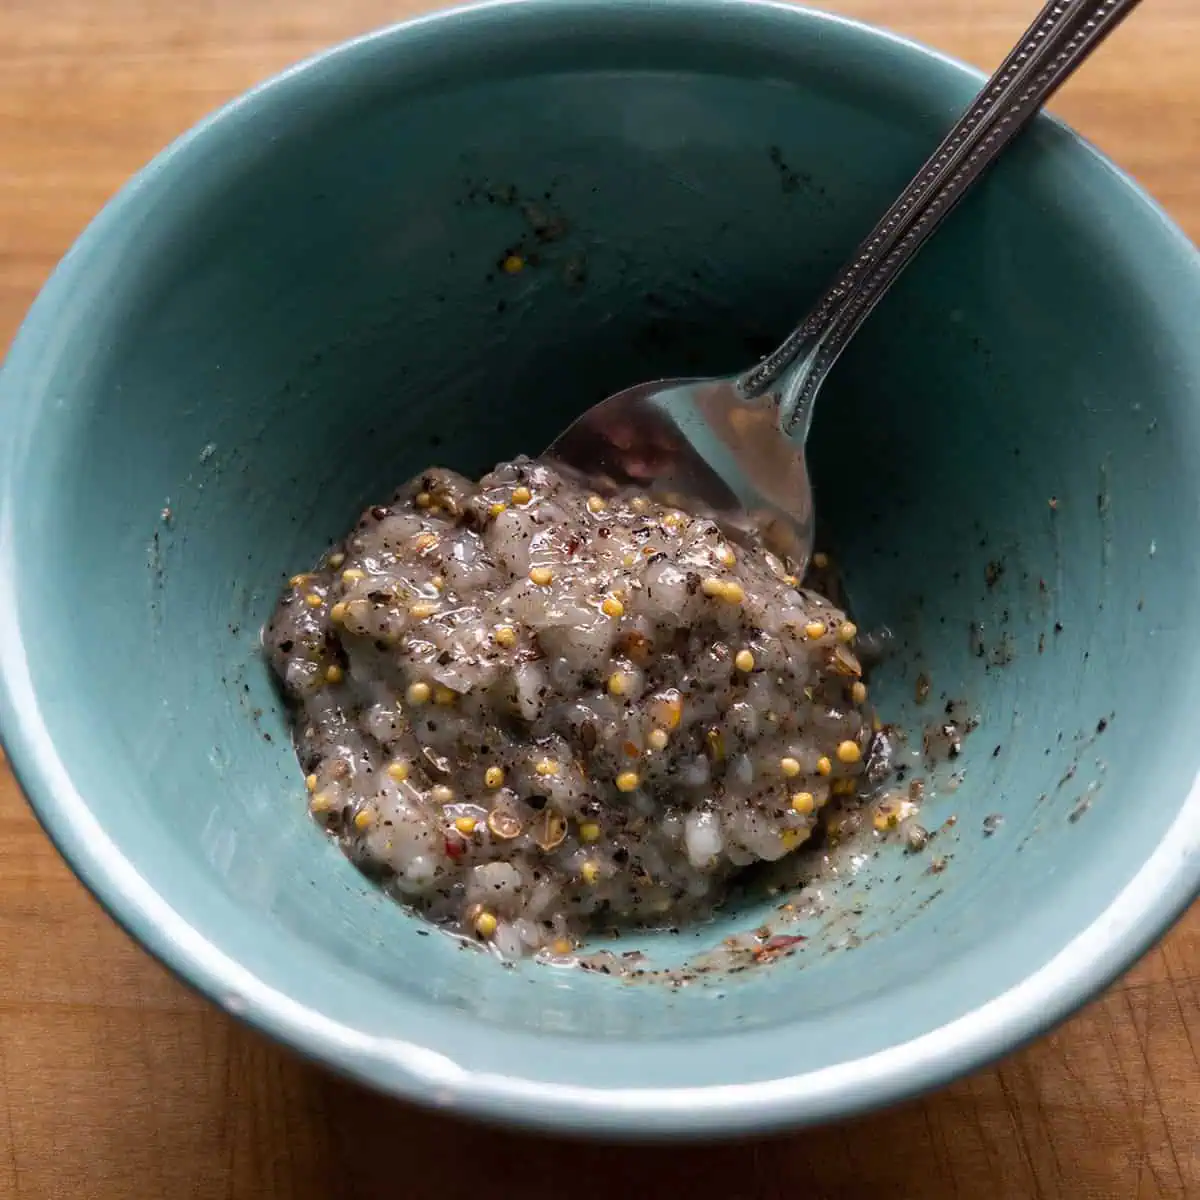
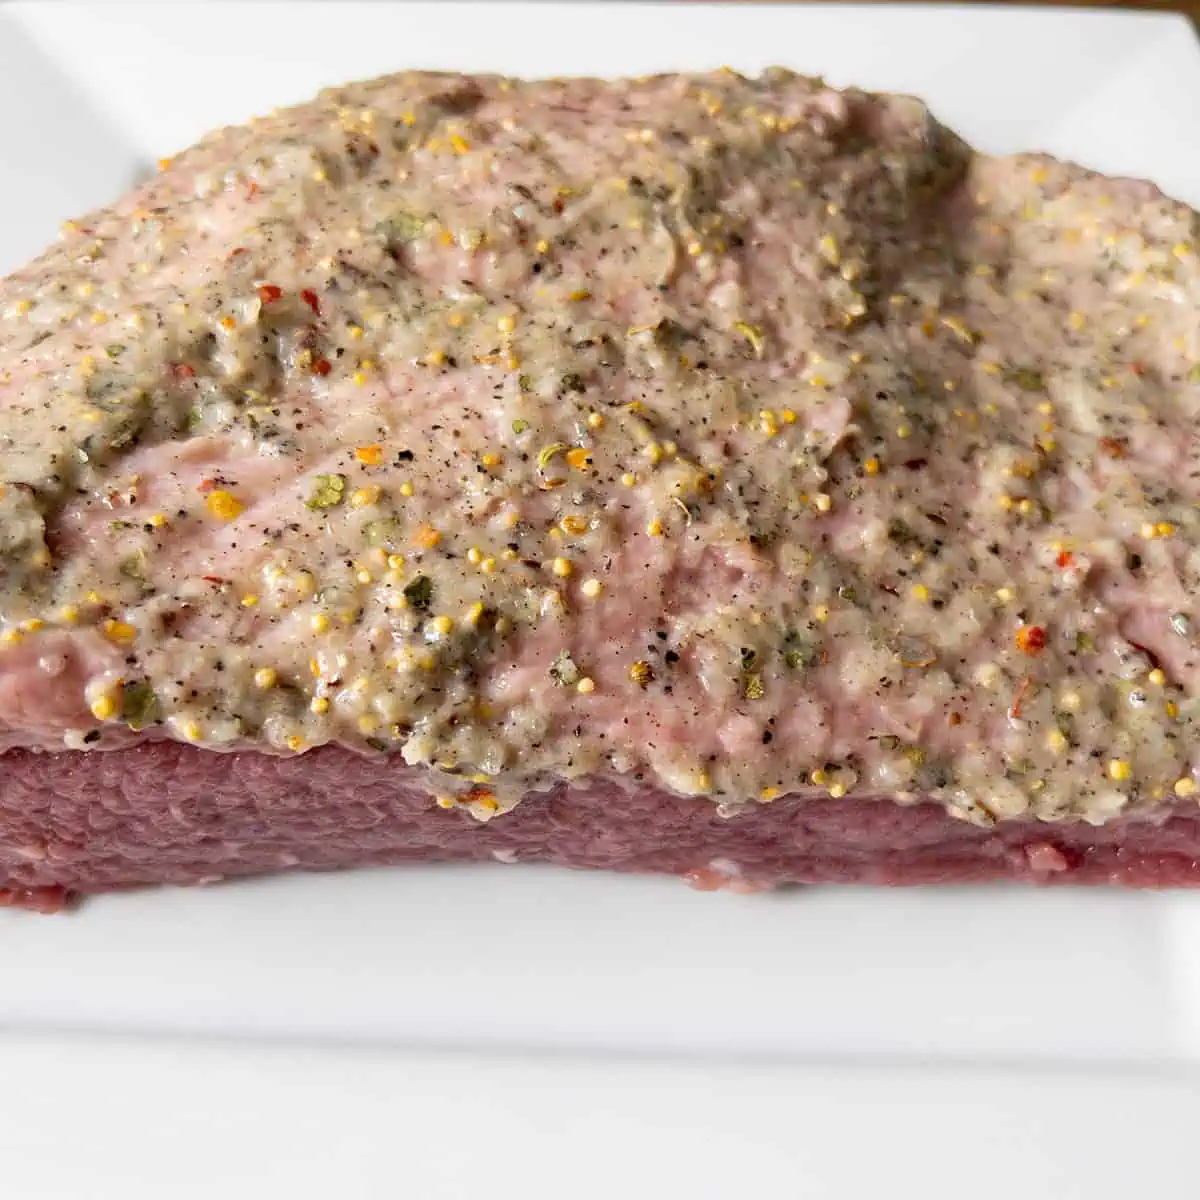
- If making the optional crispy garlic topping: In a small bowl, mix the garlic paste, black pepper, and the reserved spice packet. Spread the mixture in a thin, even layer over the fat cap of the brisket. Set aside.
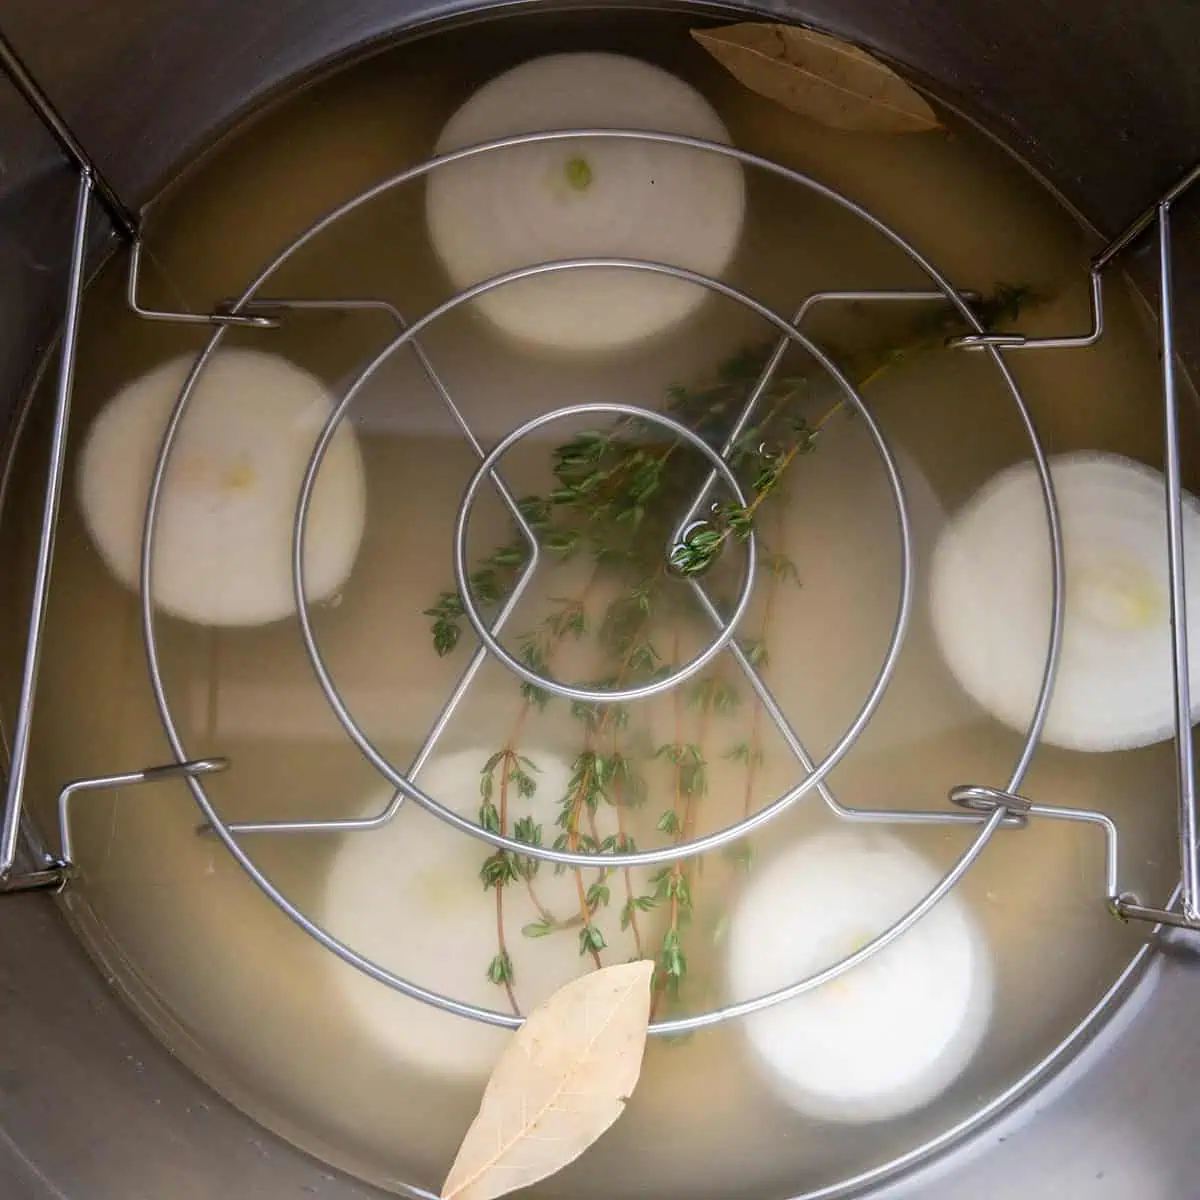
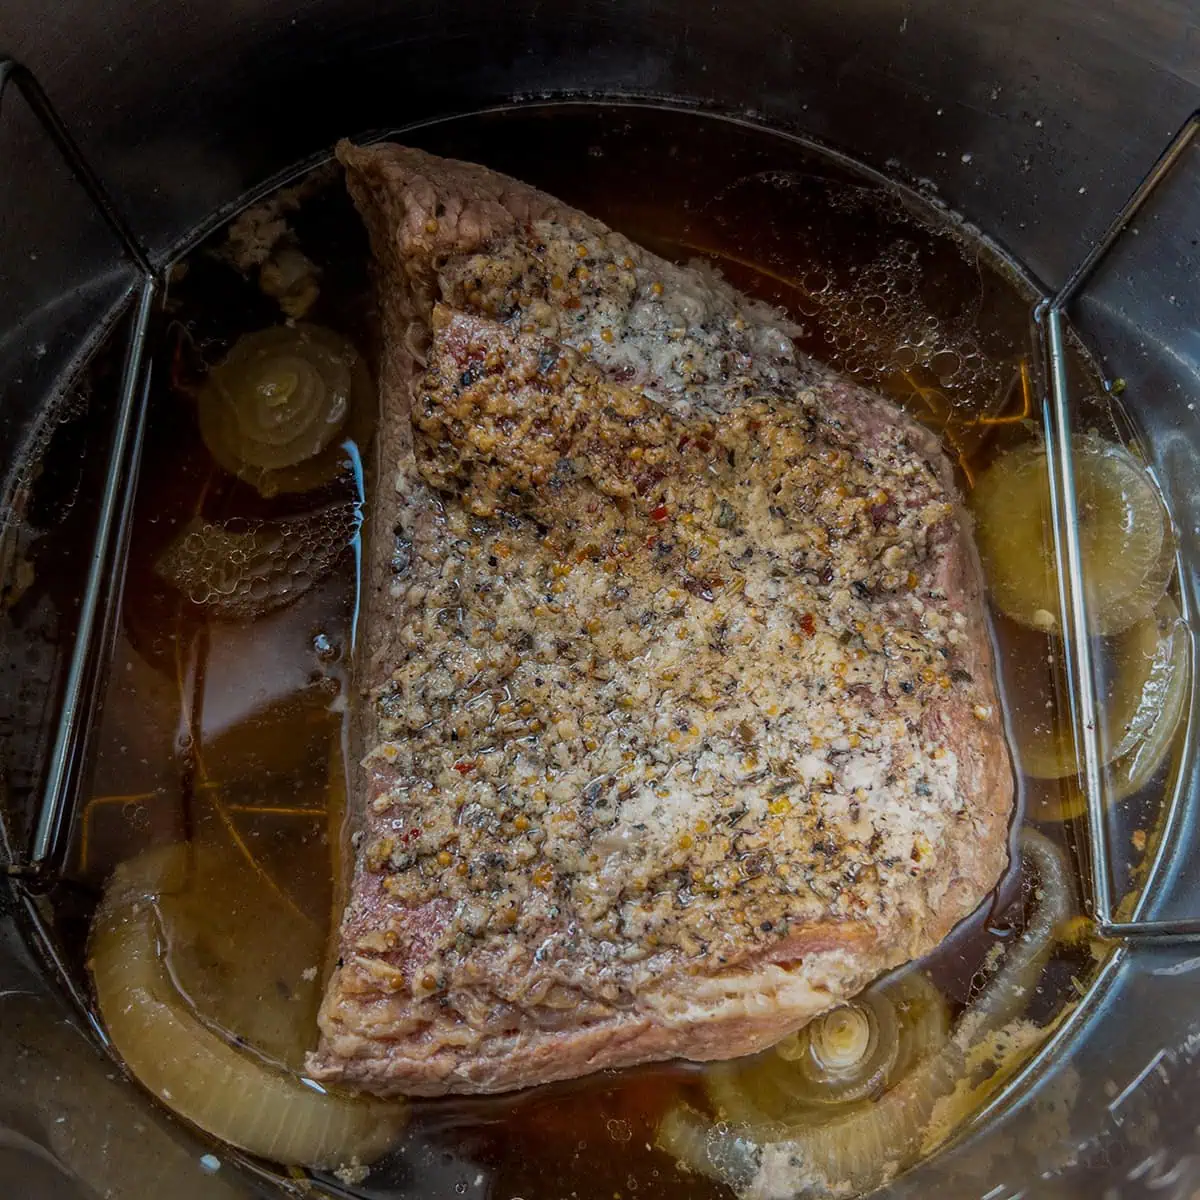
- Place the sliced onion, thyme sprigs, and bay leaf in the bottom of the pressure cooker, beneath the trivet.
- Pour in 4 cups of chicken broth.
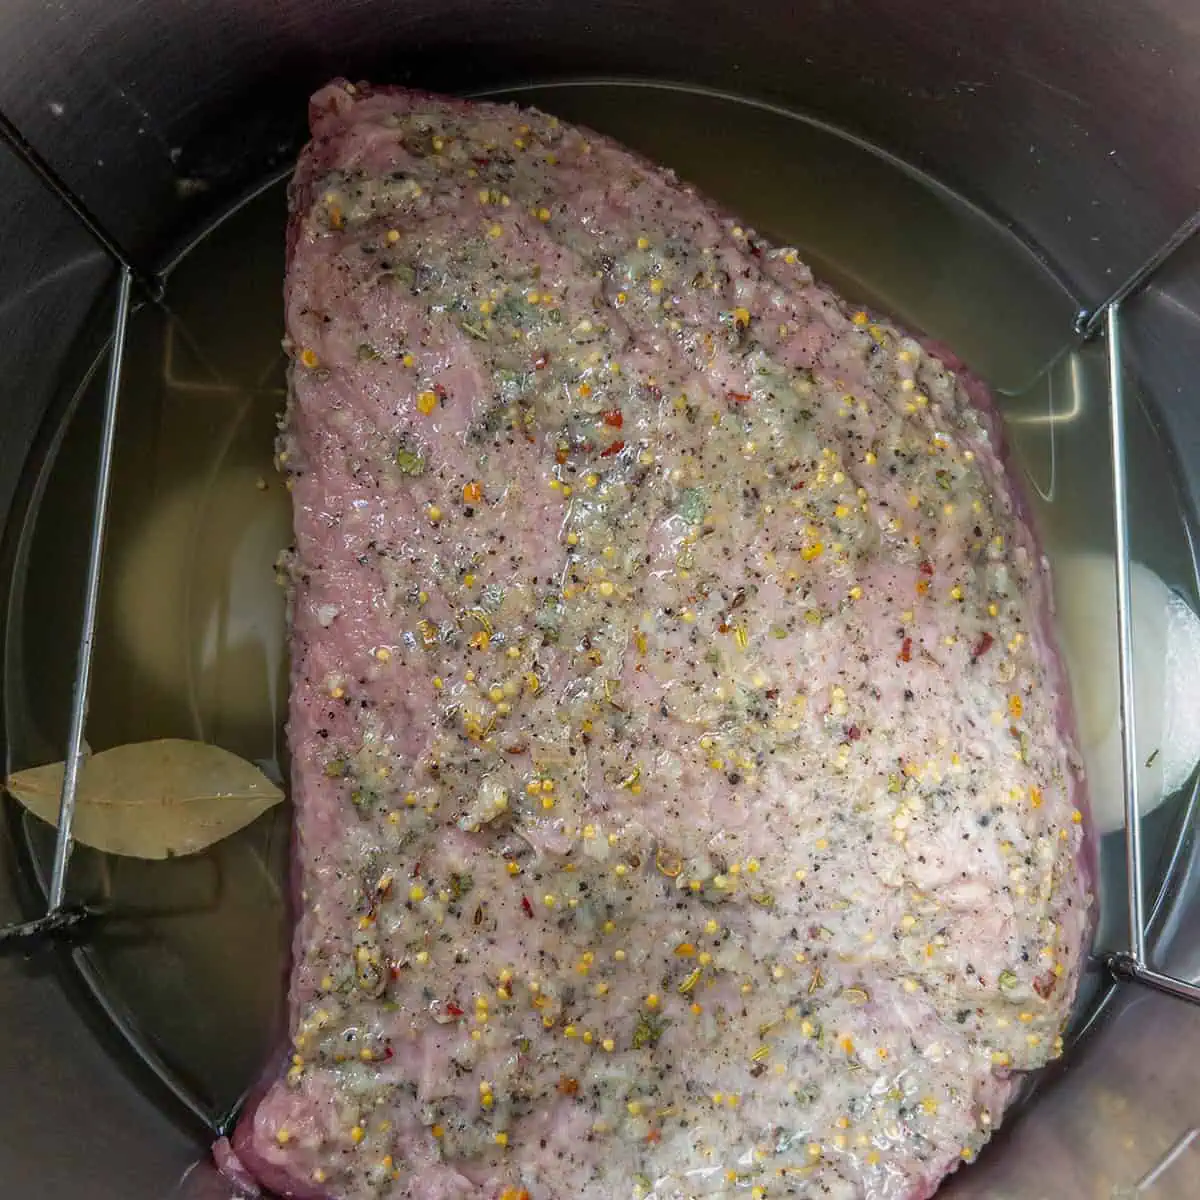
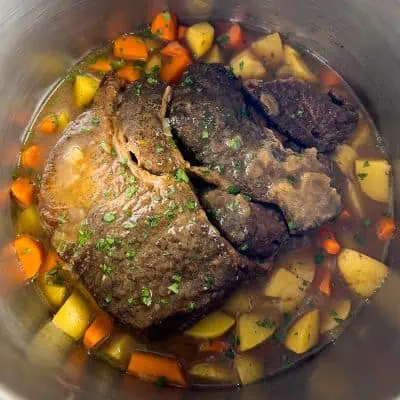
- Set the trivet in the pot and place the corned beef on top, fat cap facing up.
Pressure Cook
- Lock the lid and set the valve to sealing. Cook on High Pressure using the following times based on the weight of your brisket:
- 2.5 to 3 lbs: 75 to 80 minutes
- 3 to 4 lbs: 85 to 90 minutes
- 4 to 5 lbs: 95 to 105 minutes
- When the cook time is up, let the pressure release naturally. This is not optional. Give it a minimum of 10 to 15 minutes, but a full natural release is preferred. This step is crucial for tender corned beef.
Add the Vegetables
- Carefully remove the corned beef from the pot and set it on a cutting board or sheet pan. Tent loosely with foil.
- Remove the trivet, thyme sprigs, and bay leaf from the pot. Leave the broth in.
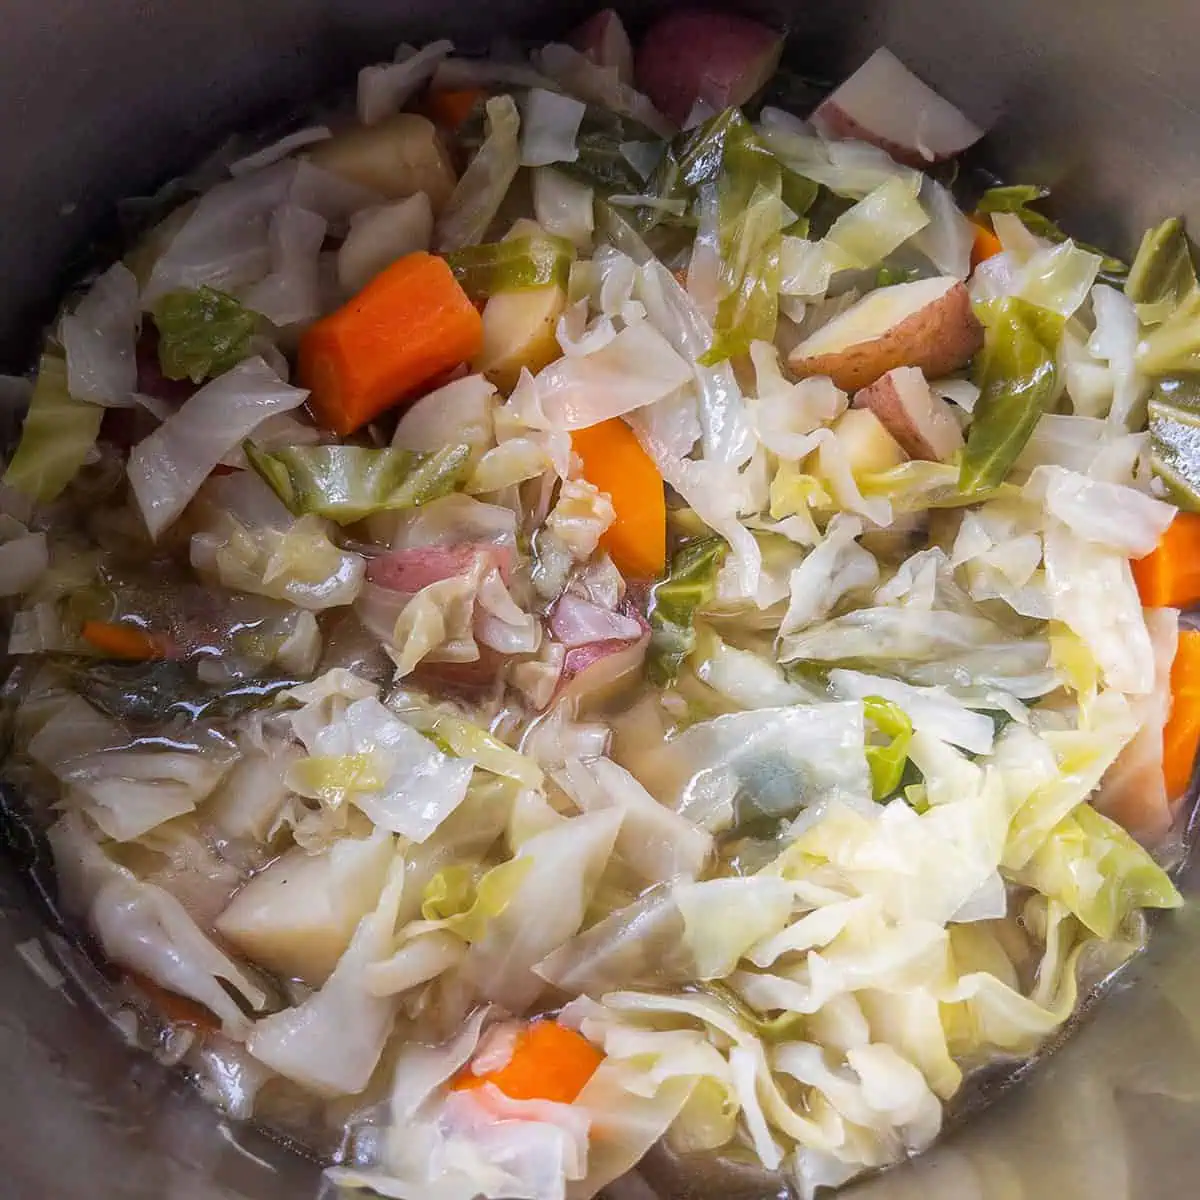
- Add the quartered potatoes, whole baby carrots, and sliced cabbage to the pot. Season with 2 teaspoon kosher salt, black pepper, garlic powder, and onion powder.
- Lock the lid, set the valve to sealing, and cook on High Pressure for 0 minutes. Yes, zero. The time it takes to come to pressure is enough to cook the vegetables perfectly.
- Quick release the pressure as soon as the cook cycle finishes.
Technique Highlight
Yes, zero minutes. It sounds wrong, but it works. The time it takes for the pot to come up to pressure is enough to cook the vegetables through without turning them to mush. Trust the process.
Optional: Broil with Crispy Garlic Topping
- If you added the garlic topping before pressure cooking, this is where it pays off.
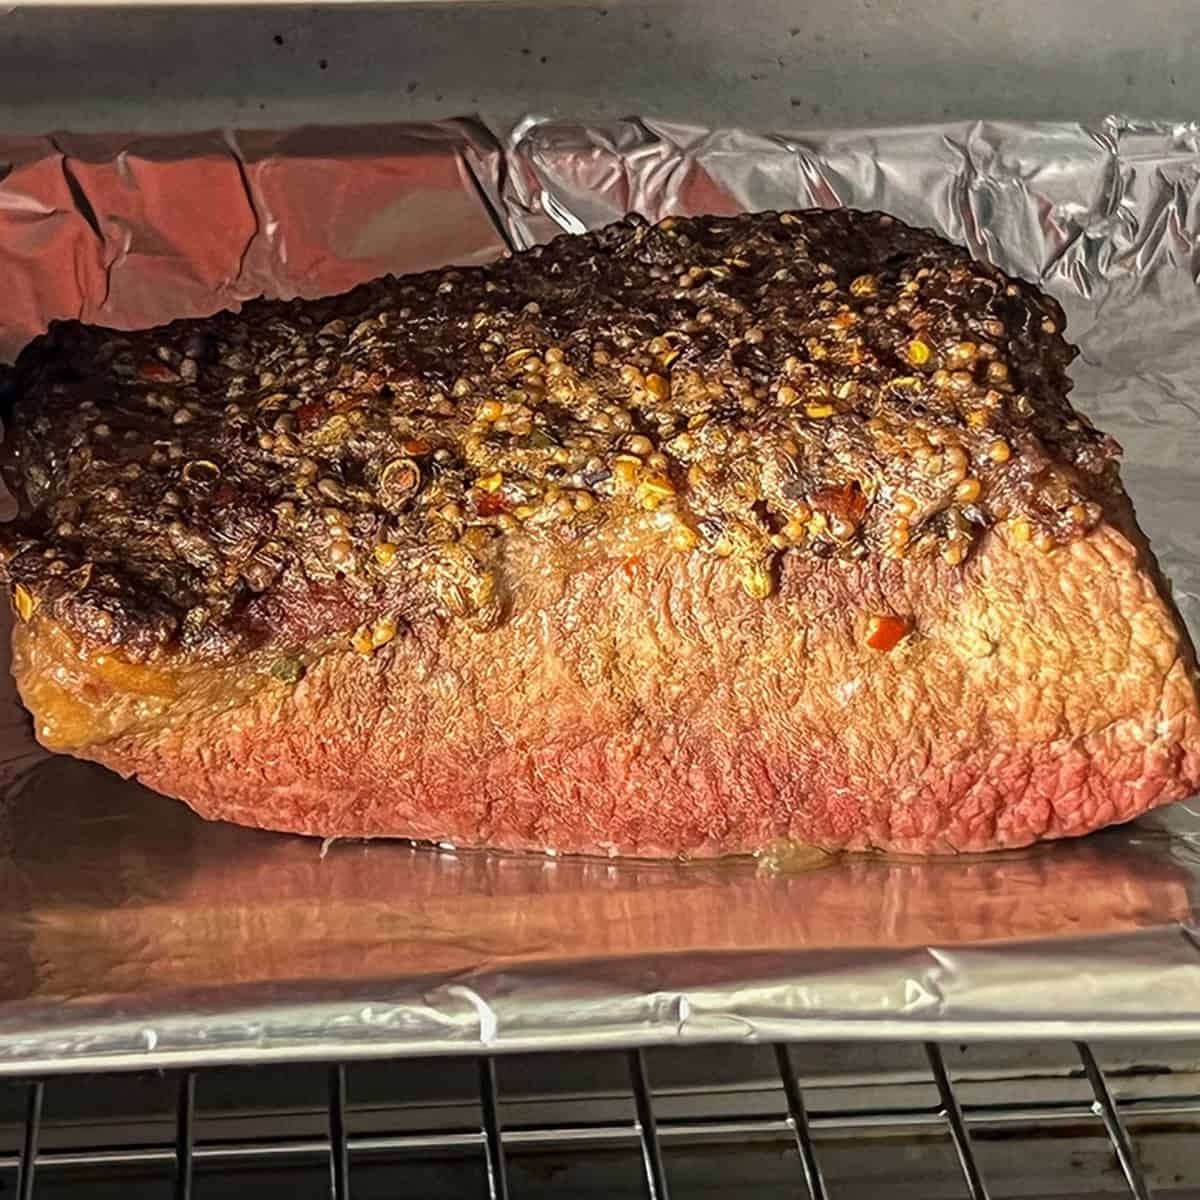
- As the vegetables finish cooking, preheat your broiler on high.
- Transfer the corned beef to a foil-lined sheet pan or baking dish, keeping the garlic topping in place. Broil on the bottom rack for 5 to 10 minutes, watching closely, until the top is browned and crispy.
Rest and Slice
- Let the corned beef rest for 5-10 minutes after broiling (or after removing from the pot if skipping the broil).
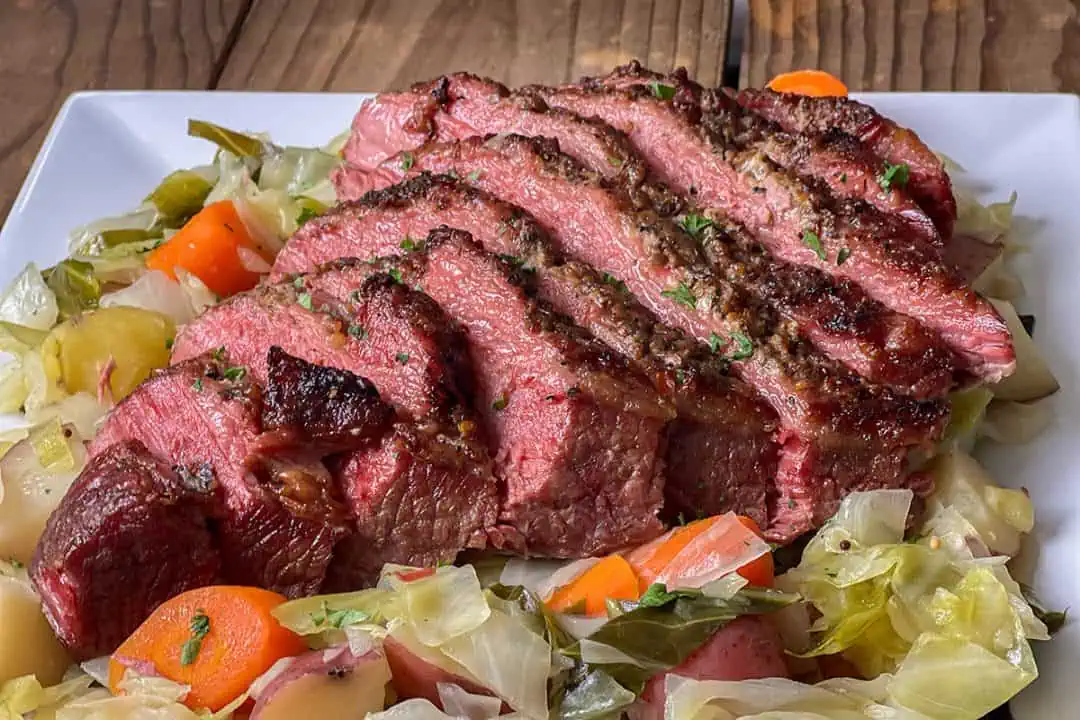
- Slice against the grain. This matters. Cutting against the grain is what gives you those tender, pull-apart slices instead of chewy, stringy ones.
- Serve the sliced corned beef alongside the vegetables. Spoon some of the cooking broth over everything if you like.
Tips for the Best Corned Beef
- Always use natural release. Quick release causes the muscle fibers to tighten, which is the number one reason pressure cooker corned beef turns out tough.
- Use chicken broth, not water. It gives the meat and vegetables a more rounded, savory flavor.
- Do not skip the aromatics. The onion, thyme, and bay leaf are not filler. They build a base of flavor in the cooking liquid that carries through the whole meal.
- Slice against the grain, every time. Look at the lines running across the brisket and cut perpendicular to them. This is the single easiest thing you can do to improve the texture.
- Cut the cabbage like shredded collards, not wedges. Smaller pieces cook more evenly, are easier to eat, and pick up more seasoning from the broth.
- Watch the broiler closely. The garlic topping can go from golden to burned quickly. Stay nearby during those 5 to 10 minutes.
What to Serve with Corned Beef and Cabbage
This recipe gives you a full meal in one pot, but if you want to round things out, Irish soda bread is the classic pairing. A simple green salad or roasted root vegetables work well too.
If you are planning a full St. Patrick's Day spread, or if you need gluten-free side dish swaps, head over to my St. Patrick's Day Kitchen Game Plan. It has the complete prep timeline, a master shopping list, and all of my favorite sides so you can build out the whole menu without guessing.
How to Store and Reheat Leftovers
Store
Store sliced corned beef and vegetables in separate airtight containers in the refrigerator. Save some of the cooking broth in a separate container too. Everything keeps well for 3 to 4 days.
Reheating
For the best results, reheat sliced corned beef gently in a skillet over medium-low heat with a splash of the reserved broth. This keeps it moist instead of drying it out. Vegetables reheat well in the microwave or in a covered skillet with a little broth.
Can You Freeze Corned Beef?
Yes. Freeze sliced corned beef in an airtight container or freezer bag with some of the cooking broth poured over it. It keeps well for up to 2 months. Thaw overnight in the refrigerator and reheat gently with broth.
FAQ
It depends on the size of your brisket. A 2.5 to 3 lb corned beef takes 75 to 80 minutes on High Pressure, a 3 to 4 lb takes 85 to 90 minutes, and a 4 to 5 lb takes 95 to 105 minutes. Add at least 10 to 15 minutes for natural pressure release after cooking. A full natural release is ideal.
That is up to you. Rinsing removes some of the surface salt from the brine, which can reduce the overall saltiness of the finished dish. If you are sensitive to salt or plan to use the cooking liquid for the vegetables, a quick rinse under cold water is a good idea. If you like it on the saltier side, skip the rinse.
The most common reason is skipping the natural pressure release. Quick releasing the pressure causes the meat fibers to contract and tighten, which makes the brisket chewy instead of tender. Always let the pressure come down naturally for at least 10 to 15 minutes. A full natural release is even better. Also, make sure you are using the right cook time for the weight of your brisket.
Absolutely. The corned beef and the other vegetables (potatoes and carrots) work great on their own. You can also swap the cabbage for another green like kale or collard greens. Just adjust the cook time if needed.
Corned beef itself is typically gluten-free, but always check the label on the spice packet that comes with it. Some brands include ingredients that contain gluten. If you are cooking gluten-free, verify the spice packet or use your own blend. Everything else in this recipe is naturally gluten-free.
More St. Patrick's Day Recipes
Corned Beef Series
- Slow Cooker Corned Beef
- Oven-Roasted Corned Beef
- Southern-Style Corned Beef
- Corned Beef Kitchen Game Plan
Dessert
Reuben Energy
Did You Make This?
★ If it hit the spot, leave a star rating below.
And if you did the crispy top, tell me. That’s the whole flex.
📖 Recipe
Pressure Cooker Corned Beef and Cabbage
Ingredients
For the Corned Beef
- 1 corned beef brisket (2.5 to 5 lbs.) spice packet reserved
- 4 cups chicken broth
- 1 yellow onion sliced
- 6 thyme sprigs
- 1 bay leaf
For the Vegetables
- 1.5 lbs. baby potatoes quartered
- 1 lb. baby carrots whole
- 1 small head green cabbage cored and sliced like shredded collards
- 2 tsp. kosher salt to taste
- black pepper to taste
- garlic powder to taste
- onion powder to taste
For the Crispy Garlic Top (Optional)
- 2 Tbsp. garlic paste 3-4 cloves minced
- 1 tsp. black pepper
- Reserved spice packet from the corned beef
Instructions
Prep the Corned Beef
- Open the corned beef packaging and set the spice packet aside.
- If making the optional crispy garlic topping: In a small bowl, mix the garlic paste, black pepper, and the reserved spice packet. Spread the mixture in a thin, even layer over the fat cap of the brisket.
- Place the sliced, thyme sprigs, and bay leaf in the bottom of the pressure cooker, beneath the trivet.
- Pour in 4 cups of chicken broth.
- Set the trivet in the pot and place the corned beef on top, fat cap facing up.
Pressure Cook
- Lock the lid and set the valve to sealing. Cook on High Pressure based on the weight of your brisket: 2.5 to 3 lbs (75 to 80 minutes), 3 to 4 lbs (85 to 90 minutes), 4 to 5 lbs (95 to 105 minutes).
- When the cook time is up, let the pressure release naturally. Minimum 10 to 15 minutes, full natural release preferred. This step is crucial for tenderness.
Add the vegetables
- Remove the corned beef from the pot and set it on a cutting board or sheet pan. Tent loosely with foil.
- Remove the trivet, thyme sprigs, and bay leaf from the pot. Leave the broth in.
- Add the quartered potatoes, whole baby carrots, and sliced cabbage to the pot. Season with 2 teaspoon kosher salt, black pepper, garlic powder, and onion powder.
- Lock the lid, set the valve to sealing, and cook on High Pressure for 0 minutes.
- Quick release the pressure as soon as the cook cycle finishes.
Optional: Broil for the Crispy Garlic Finish
- If you added the garlic topping before pressure cooking, this is where it pays off.
- As the vegetables finish cooking, preheat your broiler on high.
- Transfer the corned beef to a foil-lined sheet pan or baking dish, keeping the garlic topping in place. Broil on the bottom rack for 5 to 10 minutes, watching closely, until the top is browned and crispy.
- Let the corned beef rest for 5 to 10 minutes, then slice against the grain and serve with the vegetables.
Video
Notes
- The GF Warning: While the ingredients are naturally gluten-free, always double-check the included spice packet, as some commercial brands contain gluten.
- The Golden Rule: Do not skip the natural release. Quick-releasing the pressure is the number one reason brisket turns out tough.
- The Game Plan Link: Cooking this for a holiday? Check out my full St. Patrick's Day Kitchen Game Plan for the exact prep timeline and my favorite side dish pairings.
- 2.5 to 3 lbs: 75 to 80 minutes
- 3 to 4 lbs: 85 to 90 minutes
- 4 to 5 lbs: 95 to 105 minutes

Stacey Knights
Very good! My husband said it was the best recipe I've made for corned beef. The veggies were just right with your instruction to only bring it to pressure.
I will do this recipe again!
Pamela T
I have made corned beef many times. Broiling with a garlic crust after cooking was a first for me and I really like it! I did not use the seasoning packet due to the salt content. It still turned out really yummy! I'll be broiling after cooking from now on.
C Thomas
Holy macaroni - In all my years I have never made such tender and tasty corned beef and cabbage, finally! The flavor, the tenderness, the ease of pressure cooking - just fantastic! This is a new go to recipe for me. Try it, you will love it! Yummy
Gary White
Thank you so much for the feedback! Glad you like it as much as my family does!
Deb
Wow!! Never going back to oven roasted corned beef. Last night's dinner was amazing! We used a regular Pressure Cooker not an Instant Pot. The garlic crust was perfect and so were the veggies. We are using the broth for French Onion Soup tonight. Thanks for posting this recipe and technique.
Gary White
I'm so happy it hit the spot Deb!
J
Followed the recipe to a T and it was abssolutely dry. It was a waste of food and pretty well inedible.
Gary White
So sorry it didn't work out for you J. That really stinks. This recipes has over 100 5-star ratings, so I'm not sure where the breakdown happened. But regardless, it's bummer.
Rob
I've had a LOT of corned beef and cabbage being part Irish and working in the restaurant industry for over 14 years. This is my new favorite recipe. Well done!
Gary White
Thanks Rob! I appreciate the compliment, and glad to have earned a spot at the favorites table.
Jackie T
I also appreciate that your blog's format is simple, succinct, and well organized with just the right amount of pictures. Too many bloggers drag on and on with personal stories before getting to the relevant recipe information. Your format made the preparation at home so much quicker and easier! Thank you.
Gary White
Hey Jackie, thanks for coming back and sharing your thoughts! Maybe you should make another one just to make this… https://thefoodieeats.com/gary-reuben-leftover-corned-beef-sandwich/ 😉