



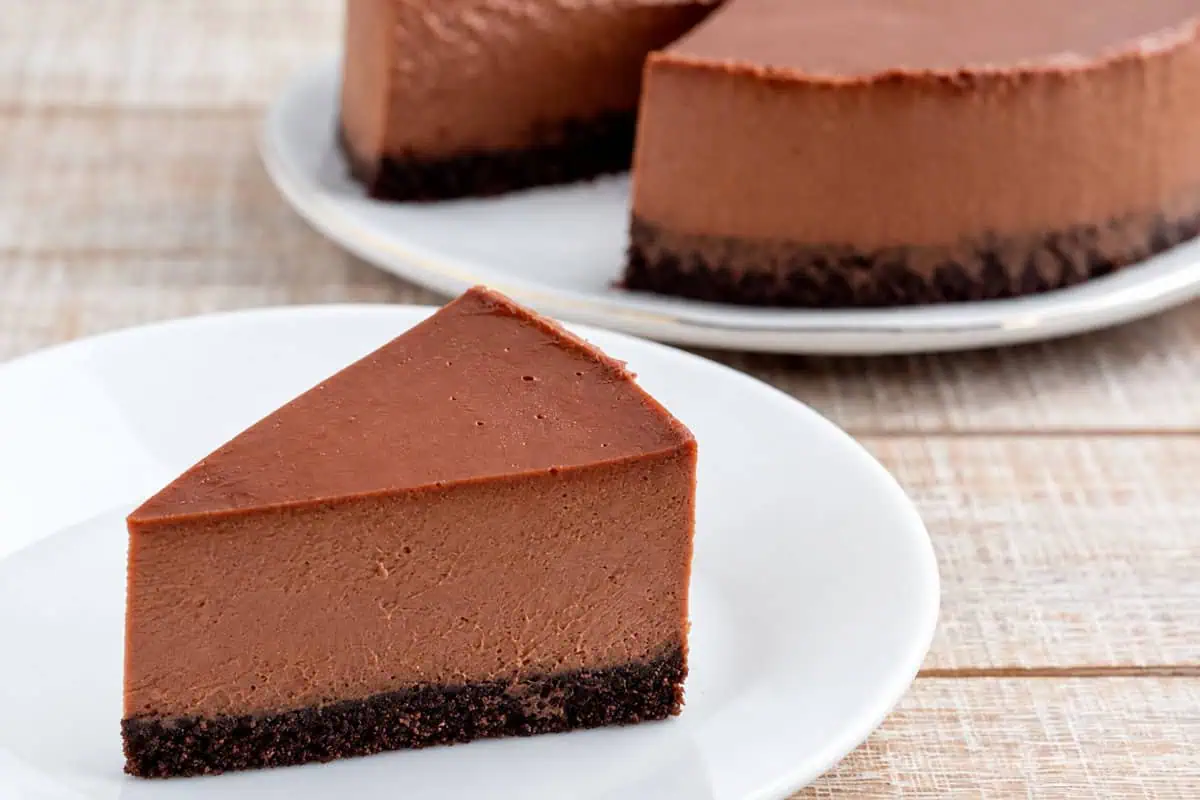
This Instant Pot chocolate cheesecake has a silky, lightly sweetened filling and a chocolate graham-cracker crust. Cocoa powder and semisweet chocolate chips give it a deep chocolate flavor without turning it into an overly sweet dessert.
Want to compare flavors and finishing steps? Start with my guide to cheesecake recipes.
Deep chocolate flavor, a chocolate graham crust, and a long chill.
Real Talk
The 40-minute pressure time is only one stage. Plan for a full natural pressure release, about 1 hour of counter cooling, and at least 6 hours in the refrigerator before unmolding. Making it the day before gives the filling time to firm up.
Why This Recipe Works
- Chocolate in both layers. The graham-cracker crust supports a filling made with cocoa powder and melted semisweet chocolate.
- Smooth batter before the eggs go in. Softened cream cheese and a smooth chocolate-and-cream mixture help keep lumps out of the filling. The eggs go in last and are mixed only until combined.
- Steam cooking in a separate pan. The cheesecake sits on a trivet above the water. You do not need to prepare an oven water bath for this method.
- A long chill finishes the texture. The soft, warm cheesecake firms up in the refrigerator before it is unmolded and sliced.
Ingredients
For the Crust
- 8 chocolate graham crackers (124 grams)
- 1 tablespoon brown sugar
- 4 tablespoons butter, melted
For the Filling
- ⅓ cup sugar
- 1 tablespoon cocoa powder
- 16 ounces cream cheese, room temperature
- 1 cup semisweet chocolate chips
- ½ cup heavy cream
- 2 eggs, room temperature
- 1 teaspoon vanilla extract
Ingredient Notes
- Chocolate graham crackers: these are the crust used in the recipe below. Crush them finely so the crumbs can be pressed into an even layer. Brown sugar and melted butter are part of this crust formula.
- Cream cheese: let it soften to room temperature before mixing. Beat it smooth with the sugar and cocoa before adding the melted chocolate.
- Cocoa powder: break up or sift out any clumps before adding the cream cheese. This recipe uses cocoa powder and semisweet chips together, rather than relying on cocoa alone.
- Semisweet chocolate chips and heavy cream: melt them together, stir until smooth, and let the mixture cool until warm before folding it into the cream cheese. The melted chocolate supplies both chocolate flavor and richness to the filling.
- Eggs: use room-temperature eggs and add them one at a time. Stop mixing as soon as each addition is incorporated.
Pan and Timing
Use a 7×3-inch push pan for the cheesecake. A 7×3-inch springform pan is another option described in the recipe. The removable bottom makes it possible to unmold the fully chilled cake without turning it upside down.
For pressure cooking, use the recipe’s 1½ cups of water and 3-inch trivet. The pan sits above the water and is covered with foil to protect the top from condensation.
The recipe card’s 7 hours 55 minutes includes the known cooling and chilling stages. Allow additional time for the cooker to come to pressure and release pressure naturally. The 40-minute pressure time is only one part of the process.
How to Make Instant Pot Chocolate Cheesecake
Step 1: Make and freeze the crust
Process the chocolate graham crackers into fine crumbs.
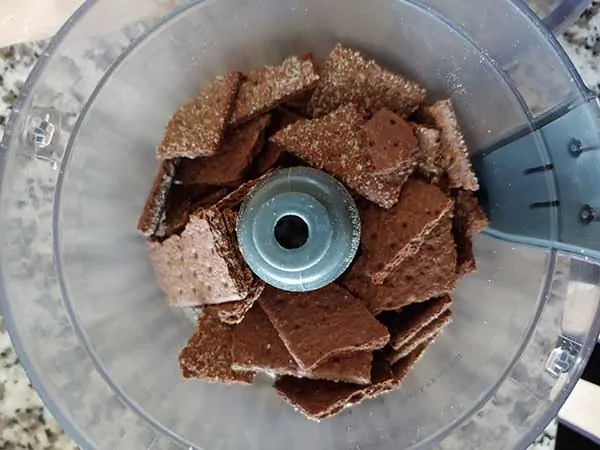
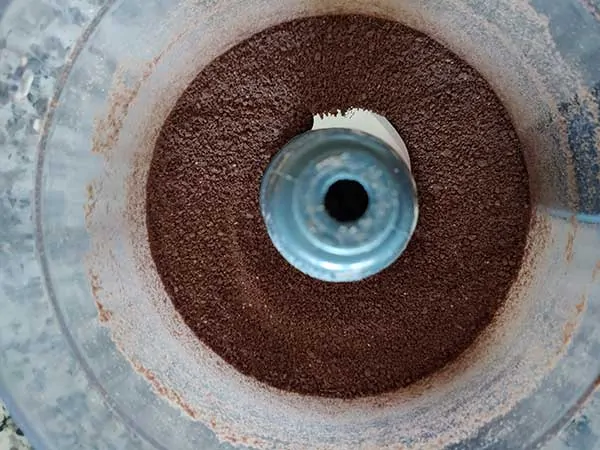
Stir the crumbs, brown sugar, and melted butter together, then press firmly into an even layer in the pan. A flat-bottomed glass works well for this.
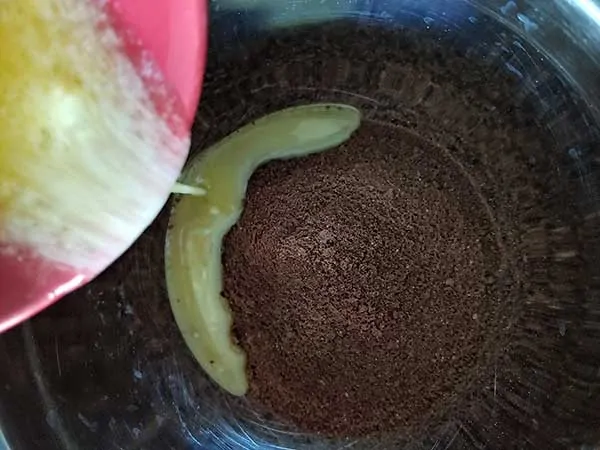
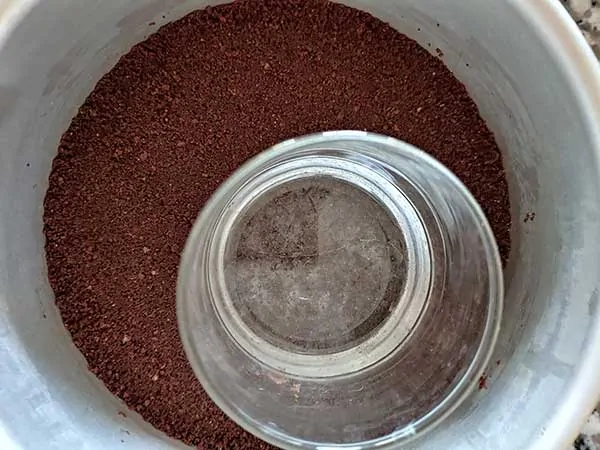
Put the pan in the freezer while you prepare the filling.
Step 2: Mix the cocoa and cream cheese
Mix the sugar and cocoa powder, breaking up any cocoa clumps. Add the room-temperature cream cheese and blend until smooth with a hand mixer.
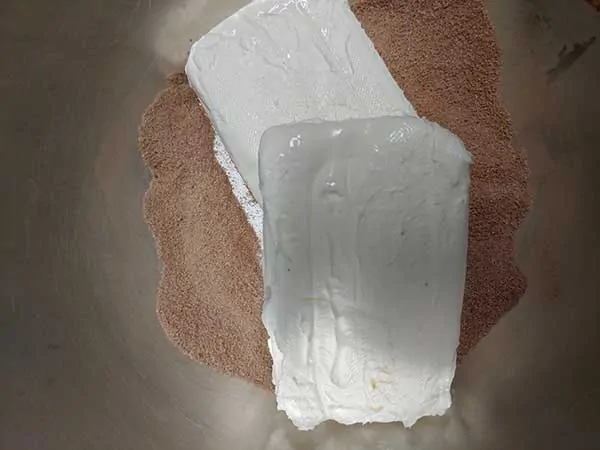
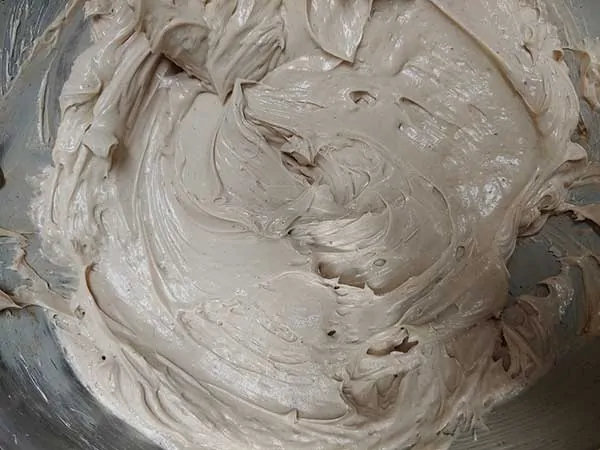
Scrape the sides of the bowl so no pockets of unmixed cream cheese remain.
Step 3: Melt the semisweet chocolate
Combine the semisweet chocolate chips and heavy cream in a microwave-safe bowl.
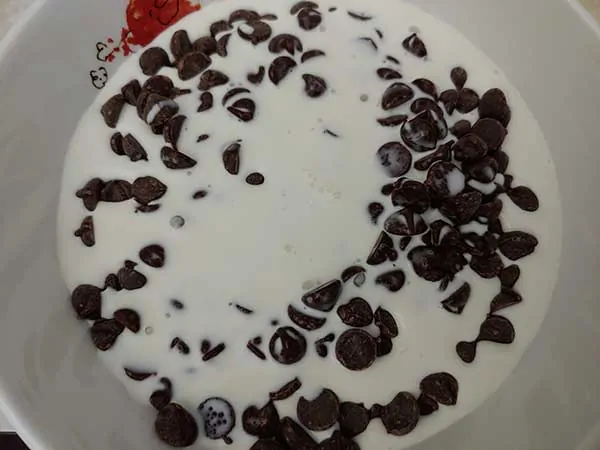
Microwave for 25 seconds, then whisk.
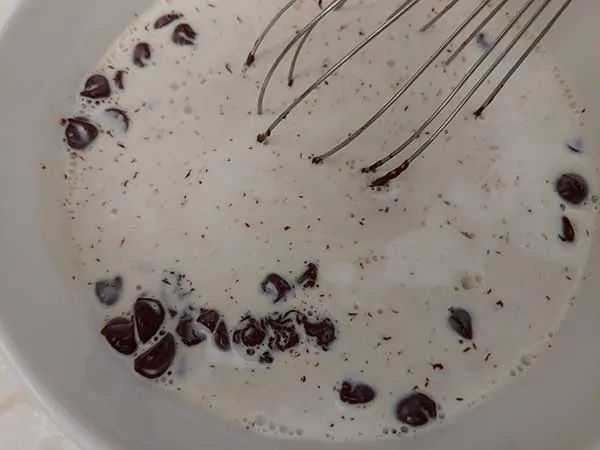
If the chips have not melted after about a minute of whisking, microwave in 10-second intervals, stirring between each, until smooth.
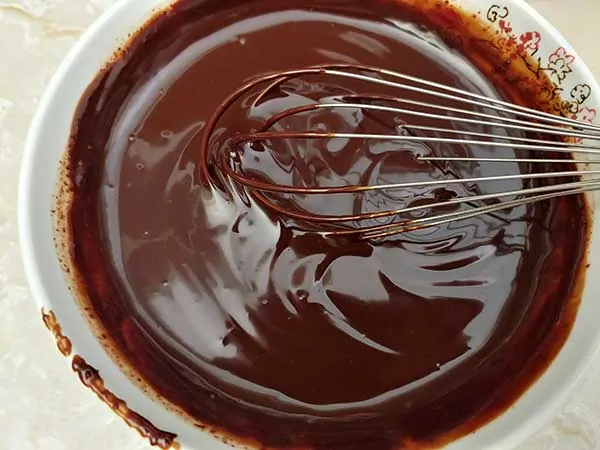
Let the chocolate mixture cool until it is warm, not hot. Fold it into the cream-cheese mixture until completely combined.
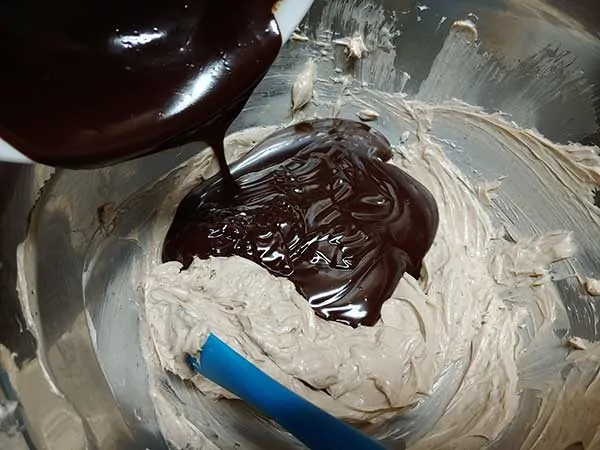
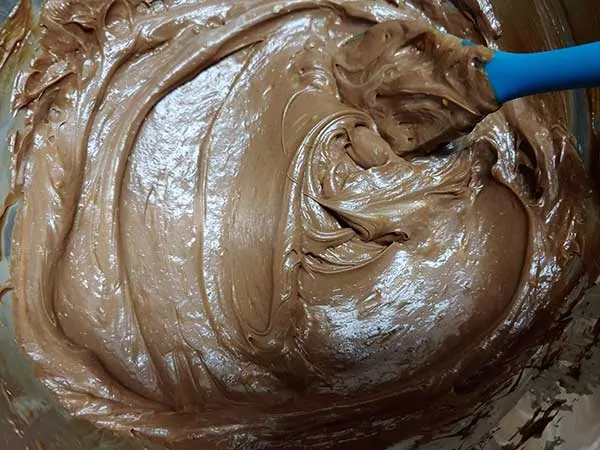
Add the eggs one at a time, then the vanilla, mixing just until incorporated.
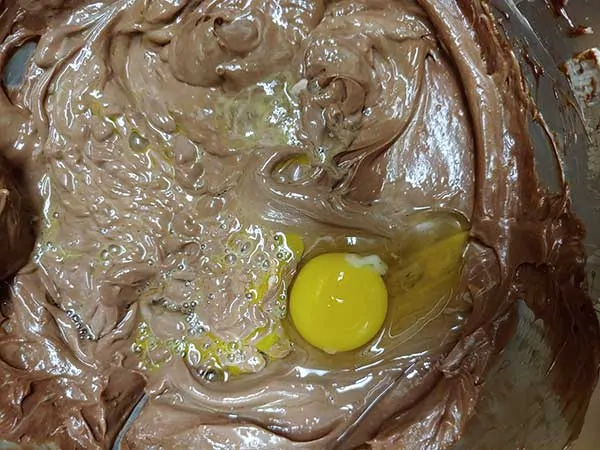
Tap the bowl against the counter to bring air bubbles to the surface, and pop visible bubbles with a fork or toothpick.
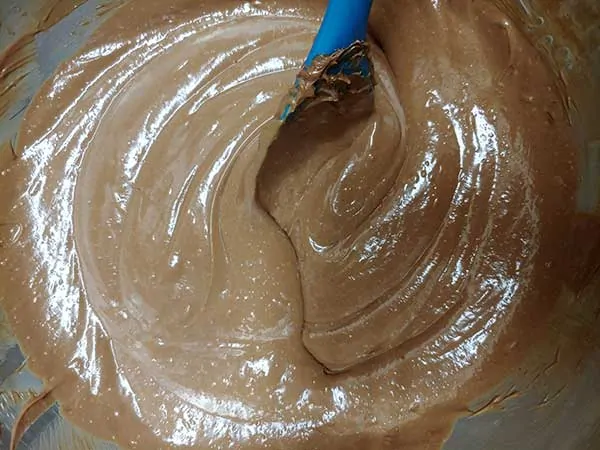
Step 4: Pressure cook and release naturally
Remove the crust from the freezer and pour in the filling.
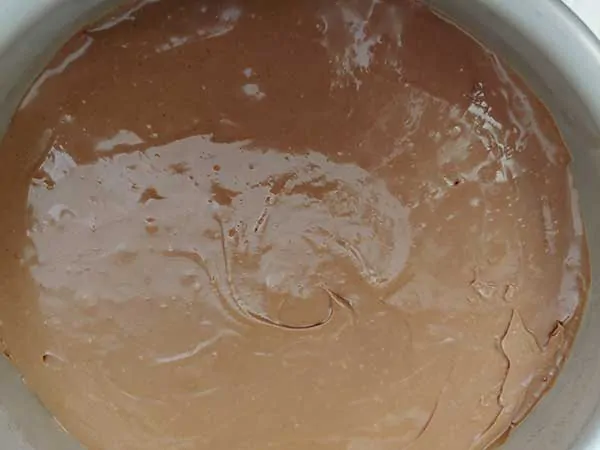
Add 1½ cups of water and the 3-inch trivet to the Instant Pot. Cover the pan with foil and place it on the trivet.
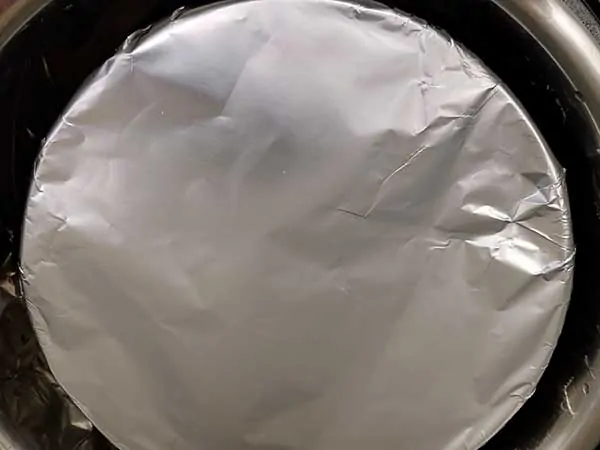
Cook at high pressure for 40 minutes, then allow the pressure to release naturally. Once the pressure has fully released, turn off the cooker and carefully lift out the cheesecake. Remove the foil.
Step 5: Cool, chill, and unmold
Let the cheesecake cool on the counter for about 1 hour. Run a thin knife carefully around the edge to separate the cake from the pan, then refrigerate it in the pan for at least 6 hours, preferably overnight. Judge the finished texture after this chill, rather than while the cheesecake is still warm.
For a push pan, rest the center of the base on a sturdy glass or can and gently push the outer ring down. For a springform pan, release and remove the outer ring. Warm a knife in hot water, dry it, and slice; wipe the blade between cuts.

Make-Ahead and Serving Tips
Prepare the cheesecake the day before you plan to serve it and let it chill overnight. Keep the chilled cake and leftover slices covered in the refrigerator. If freezing leftovers, wrap slices tightly and thaw them in the refrigerator before serving. This cheesecake needs no separate topping; coffee or fresh strawberries work well alongside it.
Expert Tips
For a smooth filling, finish mixing out the cream-cheese and cocoa lumps before the eggs go in. If the melted chocolate still contains chips, keep stirring and use the short microwave intervals in the method; do not fold a lumpy mixture into the batter.
If droplets collect on the cooked cheesecake, gently blot the surface with a paper towel. Let the cake cool and chill in its pan before unmolding; do not use a wet top alone to judge whether the filling is set.
FAQs
Use semisweet chocolate chips with the cocoa powder listed in the recipe. Melt the chips with the heavy cream, stir until smooth, and let the mixture cool until warm before folding it into the cream cheese.
Use unsweetened cocoa powder. This filling has no baking soda or baking powder, so cocoa choice affects flavor and color rather than a reaction with those leaveners. Natural cocoa is more acidic; Dutch-process cocoa is generally darker and mellower. Results can look and taste different. King Arthur’s cocoa guide explains the difference.
This method does not need an oven water bath. Add the measured water to the Instant Pot and place the covered cheesecake pan on a trivet above it.
For this recipe, use the listed chocolate graham crackers, brown sugar, and butter. Teddy Grahams and Oreos have different sweetness and crumb texture, and I cannot confirm equivalent results with the same butter amount. For a chocolate sandwich-cookie crust, see the separate formula in my Baileys cheesecake.
Use the listed sugar and semisweet chocolate chips for the results described here. I cannot confirm equivalent sweetness and texture with Swerve. Changing only the filling sugar would not make the graham-cracker crust and complete dessert low-carb.
The refrigerator chill firms up the filling so the cheesecake can be unmolded and sliced. Counter cooling and refrigerator chilling are separate stages; one does not replace the other.
Yes. Make the cheesecake, let it cool, and refrigerate it in the pan overnight. Unmold and slice it once fully chilled.
More Cheesecake Recipes
Compare all seven in my cheesecake recipe guide, or choose another flavor below.
- Baileys Irish Cream Cheesecake: Irish cream filling and chocolate ganache; this recipe contains alcohol.
- Peppermint Bark Cheesecake: white chocolate filling, a chocolate-mint crust, and candy cane bits.
- White Chocolate Strawberry Cheesecake: white chocolate filling and strawberry sauce; allow a final 2-hour chill after topping.
- Pumpkin Cheesecake with Maple Glaze: lightly sweetened pumpkin filling with an optional maple glaze.
- Gingerbread Cheesecake: gently spiced filling and a gingersnap crust, with no separate topping to cook.
- Gluten-Free Key Lime Cheesecake Bars: oven-baked lime cheesecake and curd layers, gluten-free as written.
Did you make this chocolate cheesecake?
Please leave a star rating and tell me how it turned out!
📖 Recipe

Instant Pot Chocolate Cheesecake
Ingredients
- 8 chocolate graham crackers 124 grams
- 1 Tbsp. brown sugar
- 4 Tbsp. butter melted
- ⅓ cup sugar
- 1 Tbsp. cocoa powder
- 16 oz. cream cheese room temperature
- 1 cup semisweet chocolate chips
- ½ cup heavy cream
- 2 eggs room temperature
- 1 tsp. vanilla extract
Instructions
Cheesecake Crust
- Place graham crackers in food processor and run until crackers break into fine crumbs. Add cracker crumbs, brown sugar, and melted butter to a bowl and stir to combine.
- Pour the crumb mixture into a 7x3-inch push pan or springform pan. Use fingertips or the bottom of a glass to press the crumbs into an even layer. Place the pan in the freezer while preparing the batter.
Cheesecake Batter
- Add sugar and cocoa powder to a bowl and mix together, making sure to break up any clumps in the cocoa powder. You may want to sift in the cocoa to remove any clumps. Then add cream cheese and blend until smooth with a hand mixer.
- In a microwave safe bowl, combine chocolate chips and heavy cream. Microwave chips and heavy cream for 25 seconds, then whisk until completely smooth. If chips are not melted after one minute of whisking, microwave for 10 second intervals, stirring in between, until smooth.
- Let chocolate mixture cool until warm, not hot, then fold into cream cheese mixture until completely combined.
- Add eggs (one at a time) and vanilla and mix until just combined. Tap bowl against counter top several times until air bubbles rise to surface. Burst bubbles with fork or toothpick.
- Remove cheesecake crust from freezer and pour batter into pan. Add 1 ½ cups water and 3-inch trivet to Instant Pot. Cover cheesecake with foil, and place on trivet. Cook for 40 minutes at high pressure, then allow a natural pressure release.
- Once pressure is released, turn off Instant Pot and carefully remove cheesecake. Remove foil and allow cheesecake to cool for one hour or until room temperature. Once cool, carefully run a paring knife around the edge of the cheesecake to separate from pan. Refrigerate for at least 6 hours, preferably overnight.
- Carefully push cheesecake up from push pan by placing center of push pan on a can or glass and pushing edges down. If using springform pan, gently remove outer edge of pan. Then serve and enjoy.
Notes
- Use a 7x3-inch push pan or springform pan. Keep the pan covered with foil during pressure cooking and allow a natural release.
- Use chocolate graham crackers for the crust as written. Other cookies can differ in sweetness and crumb texture, so the same butter amount may not give the same result.
- Swerve or alternative chocolate chips are unconfirmed variations; equivalent sweetness and texture are not guaranteed. Replacing only the filling sugar does not make the complete graham-cracker dessert low-carb.
- For clean slices, warm the knife in hot water, dry it, and wipe the blade between cuts.
- Make the cheesecake a day ahead and keep it covered in the refrigerator. Wrap leftover slices tightly before freezing and thaw them in the refrigerator.

Wendy
Could you explain, please, what a 3” trivet is? I’m assuming silicone, but does the bottom of the pan need to be 3” off the bottom of the pot?
Colleen
I absolutely love this recipe!! The BEST cheesecake ever!! I'd like to use this recipe to make mini cheesecakes in the smallest size mason jars. Any thoughts about cooking times?
Jeanne
I have a large electric pressure cooker, is that the same as an instant pot? It came with a recipe book and they cook a cheese cake in it but for only 25 min. Does an instant pot cook with less pressure?
Gary White
I can't speak for other brands of pressure cookers with confidence, but I believe they are all designed pretty similarly. What varies are recipes and cooking methods. And for that reason, I'd say it's pretty safe to give this recipe a try, as it's tried-and-true!
David Ecker
Thank you so much for the recipe! I didn't have chocolate grahams so I had to use regular ones.
Rachel
The best chocolate cheesecake ever! This will definitely be made again and again and again. Followed recipe and came out perfect. You must make this!!!
Ellie
Can I use regular honey graham crackers for the crust
Gary White
Yes!
Caeles
My cheesecake exploded 🙁 I followed the directions and allowed pressure to fully release but it was quite a mess when I took it out.
Maybe I overmixed or didn’t tap out enough air bubbles?
Nonetheless, it was very tasty. Good texture and not overly sweet. I used half dark, salted chocolate(from a bar I had on hand) and half Guitard semi-sweet chocolate chips.
Sherri
AMAZING!!! It’s the best cheesecake I’ve had and easiest to make. I didn’t alter the recipe at all other than using the Oreo crust recipe option instead of the chocolate graham crackers. The top and sides of mine came out rough looking, so I dipped an offset spatula into a cup of hot water and used the warm spatula to smooth out the top and sides of the cheesecake. That worked beautifully! Thanks for sharing this amazing recipe!
Iris
Yummy!
Becky
Oh my! I made this earlier today and it is delicious. I’m on a chocolate sugar high right now and loving it! Lol. The only change I made was that I used dark chocolate chips because that’s what I had on hand. It’s so good that I’m a little worried that when I get up in the morning there won’t be any left!
Becky
So good! I love being able to make cheese cake without heating up the kitchen with a hot oven. This is an easy and great recipe. I made it two ways, the original recipe and one to make it low carb. I didn't make a crust on the low carb one. I used Swerve to replace the sugar and Lilly's semi sweet chocolate chips. It turned out great but I did miss the crust.
Sue
This looks really good! You might want to edit step 2 of the instructions for the cheesecake, though: It says to combine WHITE chocolate chips w/cream instead of semisweet.
Gary
Oops! Thanks for the heads up. That's what happens when I try to work with my children in the room.