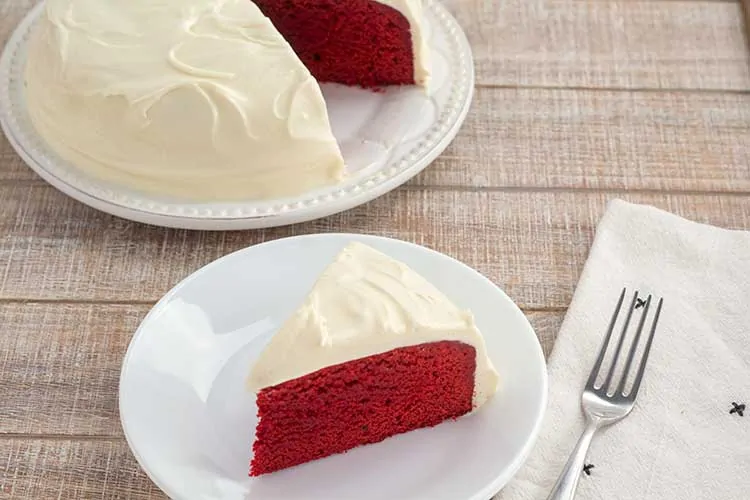
This is a rich and moist Instant Pot red velvet cake with a boozy twist; Kahlua in the cake, Baileys's Irish Cream in the frosting. It might even remind you of a cake-y brownie.
(Originally posted September 6, 2018; Updated recipe and pictures on August 21, 2019.)
Anybody that knows me knows how much I love red velvet cake. It's been my favorite pretty much my whole life. However, all red velvet cake is not created equally. Most of them are just red cakes, in my opinion, and miss the whole velvet aspect - which is what makes them special. Well, I think this Instant Pot red velvet cake hits the mark!
Baking in an Instant Pot...???
It seems that every time I post a recipe that uses an Instant Pot to bake, I get so many negative comments. Not because of the flavor or anything, but because I'm not sticking with tradition and using the oven. There are a few things you might not want to cook in an Instant Pot, but cake is not one of them! So let me just say this... I like using my Instant Pot. I like being creative when I cook and trying new things. When I figure something out that I think is worth sharing (like this Instant Pot red velvet cake), I share it. I don't expect everyone to like it or try it. But there's no need to be rude about other people doing something - which is quite frankly delicious! That's all 🙂
Plus... IT HAS BOOZE!
The Process
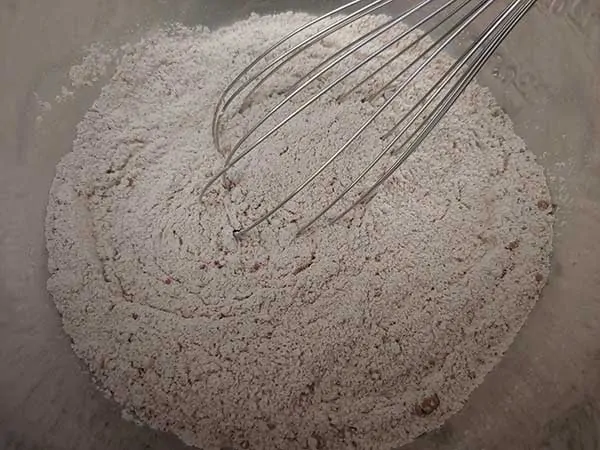
Add all dry ingredients to large mixing bowl – flour, cocoa powder, and salt. Note: We do not consider sugar to be a dry ingredient since it melts. Using a whisk (or fork), mix until fully combined.
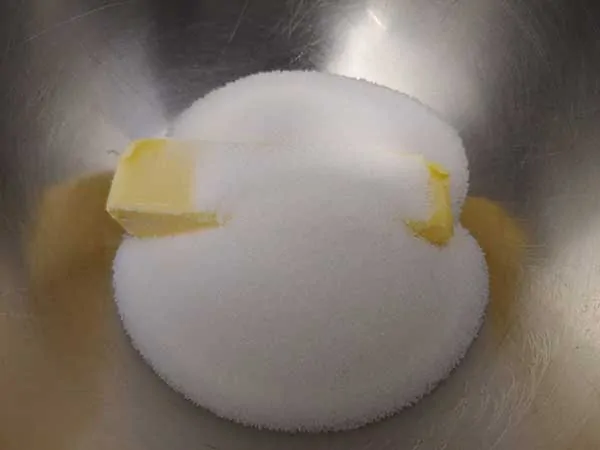
In a separate mixing bowl, begin adding wet ingredients – starting with sugar and butter. Using a hand mixer, blend them together until light and fluffy.

Then add eggs, vanilla, and vinegar...
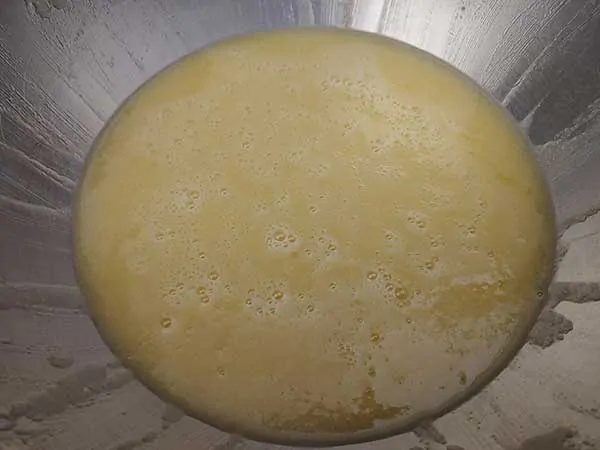
...and blend until fully incorporated, making sure to scrape sides of the bowl.
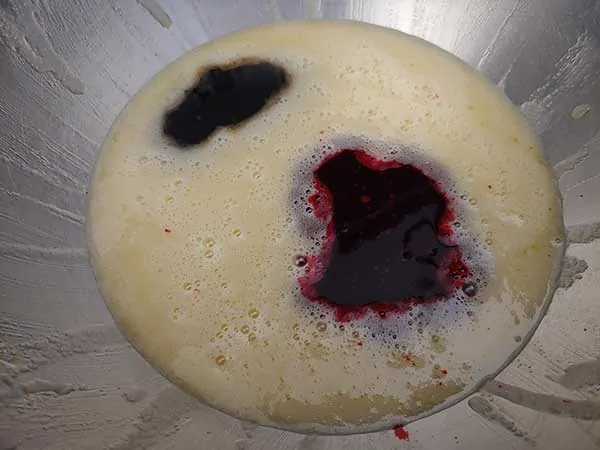
Add red food coloring and Kahlua...
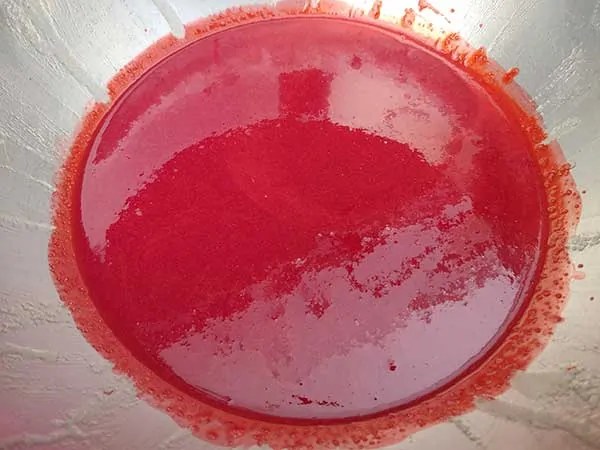
...and mix again.

Pour dry ingredients into bowl with wet ingredients...
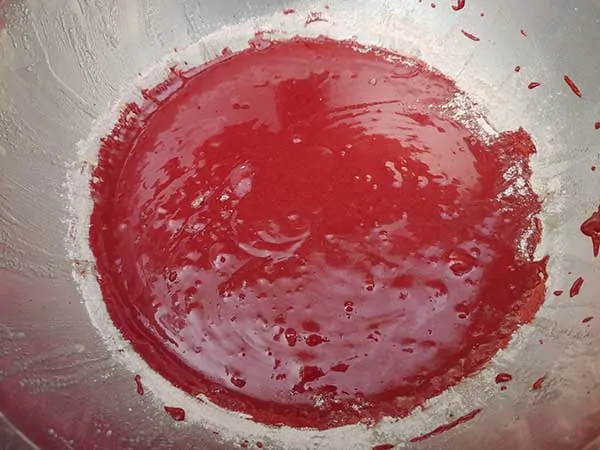
...then mix just until fully combined. Do not over-mix!
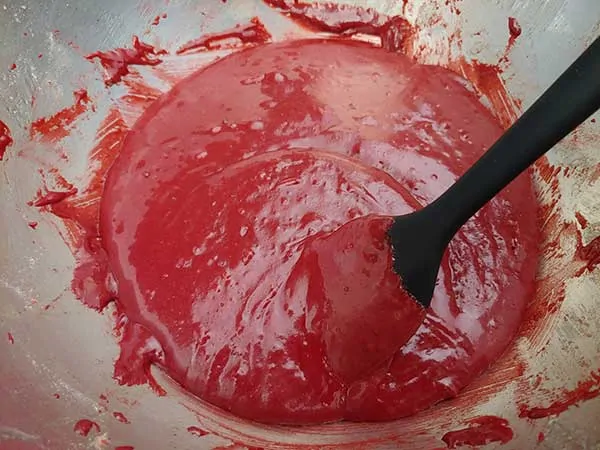
I recommend stopping the hand mixer sooner than later and switching to a rubber spatula.
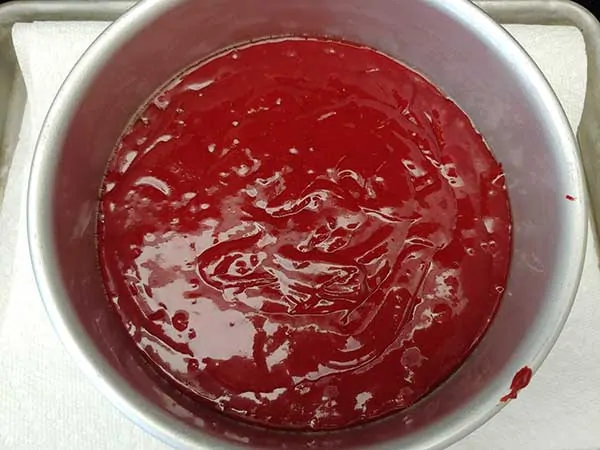
Spray 7 inch cheesecake pan or springform pan with nonstick cooking spray. Place pan on a surface that won't be damaged if red color touches it. Pour batter into pan…
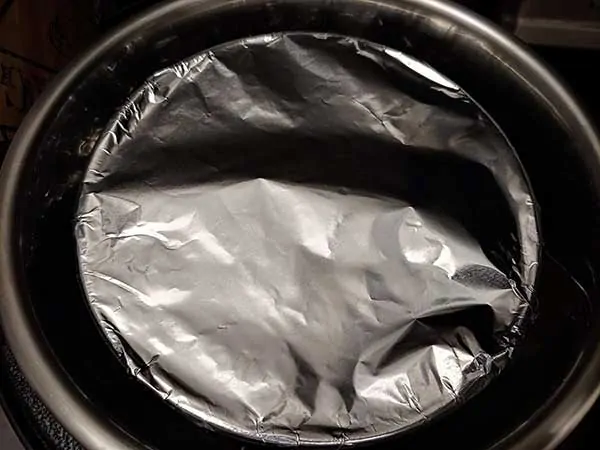
…and cover with aluminum foil. Place 3-inch trivet into pot, along with 1 ½ cups of water. Then place pan on top of trivet. Lock lid and cook at high pressure for 75 minutes.
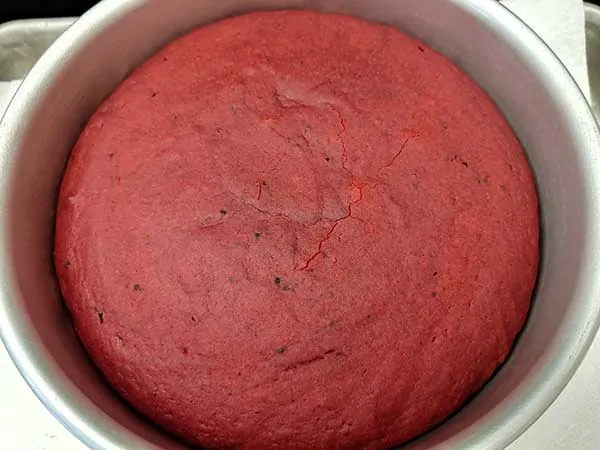
Once cook time is complete, allow pressure to release naturally for 10 minutes. Then release remaining pressure and uncover pan. Let sit for at least 10 minutes before removing cake from pan.
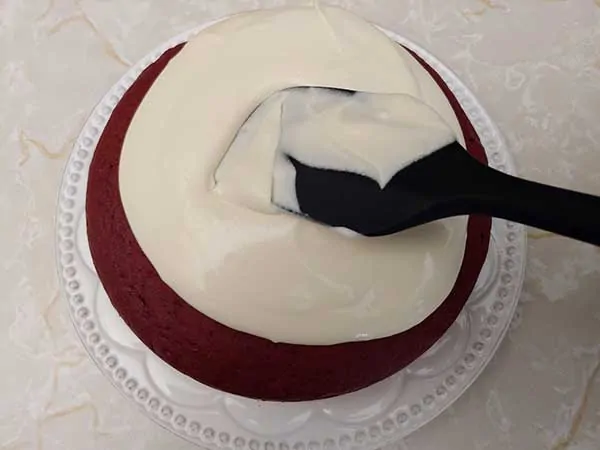
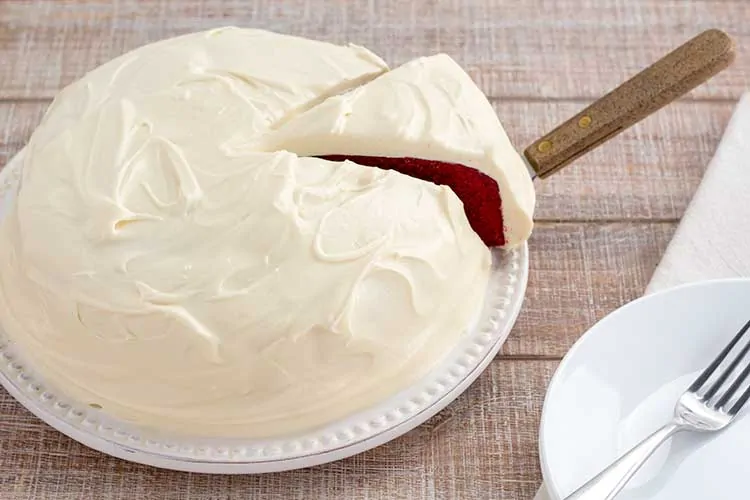
Allow cake to cool to room temperature before icing. When it's time to add the frosting to the cake, place big spoonfuls in the middle of the top of the cake. Then gently spread outwards. Since the frosting is so soft, you should be able just let it fall over the sides. Once the cake is iced, place in the fridge for 30 minutes so that the frosting sets.
And This is the Amazing Result…
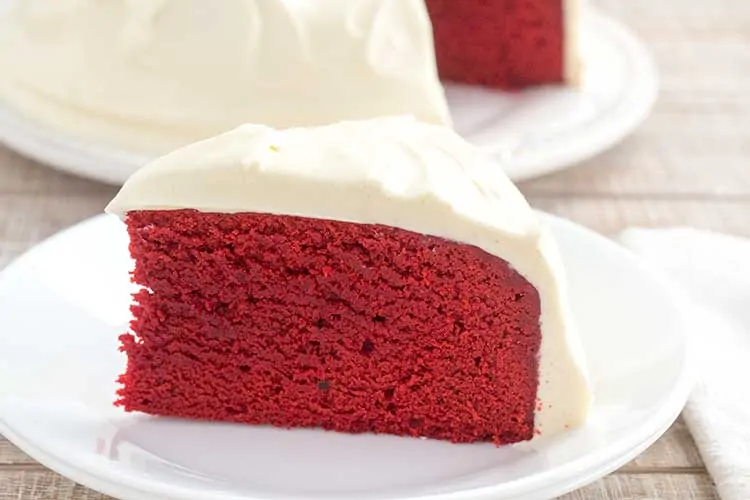
Tips for Making this Instant Pot Red Velvet Cake
- Be sure not to over-mix the batter. The more you mix the batter, the more gluten will develop, and the chewier it will become. So I suggest mixing the batter at the beginning with a mixer, but I like to finish mixing my cakes with a rubber spatula.
FAQs
Can I use all-purpose flour? I've made a LOT of cakes in the Instant Pot. It has taken quite a bit of testing to get to a place where I feel comfortable sharing these recipes. And there's one ingredient has become a standard for me: self-rising flour. I know that most people always have all-purpose flour in their pantries, but I've had difficulty with consistent results with adding baking powder/soda/salt to AP flour. So, while it can be done, I highly recommend the self-rising flour.
Can I use cake flour? Every time that I've tried using cake flour in Instant Pot baking, I have not been happy with the results. The texture is always spongy, so I don't recommend it. That is, until I can figure out how to make it work!
What size Instant Pot did you use? We developed this recipe in a 6 Quart Instant Pot.
Can I use the trivet that came with my Instant Pot? I do not recommend it. The cake will not rise as much, and the result will be much more dense. You can purchase a 3 inch trivet on Amazon for under $10.
What kind of pan do I need to make this cake? We used a 7 Inch Fat Daddio cheesecake pan. You may also use a 7 inch springform pan, or a 7x3 inch round cake pan.
More Instant Pot Baking Recipes
- Instant Pot Carrot Cake
- Instant Pot Bailey's Irish Cream Cheesecake
- Instant Pot Baked Oatmeal with Peanut Butter and Chocolate Chips
- Instant Pot Banana Bread with Peanut Butter and Chocolate
- Instant Pot Brownies Easily Made from Scratch
★ Did you make this recipe Instant Pot Red Velvet Cake?
Please give it a star rating below! ★
📖 Recipe
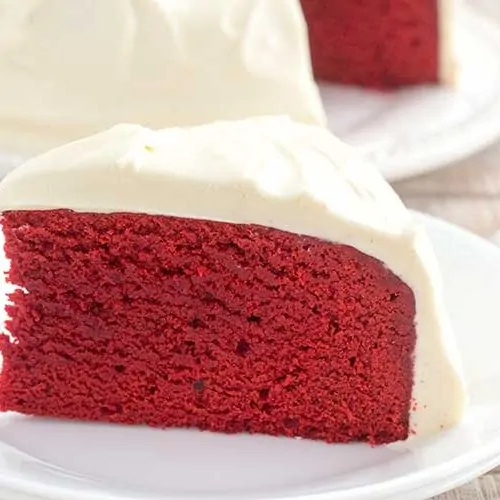
Instant Pot Red Velvet Cake with Kahlua and Bailey's Cream Cheese Frosting
Ingredients
- 2 cup self-rising flour
- 3 Tbsp. cocoa powder
- ½ tsp. salt
- ½ cup unsalted butter room temperature
- 1 cup sugar
- 2 eggs
- 1 tsp. vanilla extract
- 1 tsp. white vinegar
- 1 oz. red food coloring
- 50 ml Kahlua 1 mini bottle
- 4 oz. cream cheese softened
- ½ cup butter room temperature
- ¾ cup powdered sugar
- 50 ml Bailey's Irish Cream 1 mini bottle
Instructions
- Add all dry ingredients to large mixing bowl – flour, cocoa powder, and salt. Note: We do not consider sugar to be a dry ingredient since it melts. Using a whisk (or fork), mix until fully combined.
- In a separate mixing bowl, begin adding wet ingredients – starting with sugar and butter. Using a hand mixer, blend them together until light and fluffy. Then add eggs, vanilla, and vinegar and blend until fully incorporated, making sure to scrape sides of the bowl. Add red food coloring and Kahlua and mix again.
- Pour dry ingredients into bowl with wet ingredients then mix just until fully combined. Do not over-mix! I recommend stopping the hand mixer sooner than later and switching to a rubber spatula.
- Spray 7-inch cheesecake or springform pan with nonstick cooking spray. Place pan on a surface that won’t be damaged if red color touches it. Pour batter into pan and cover with aluminum foil.
- Place 3-inch trivet into pot, along with 1 ½ cups of water. Then place pan on top of trivet. Lock lid and cook at high pressure for 75 minutes. Once cook time is complete, allow pressure to release naturally for 10 minutes, then release remaining pressure.
- Remove push pan, uncover, and let cool for at least 10 minutes before removing cake. Then, once pan is warm to touch, push out cake to a cooling rack and let cool completely before icing.
- Meanwhile - Place the butter, cream cheese, and 1 mini bottle of Baileys in a mixing bowl and mix together on medium speed for a few minutes, until creamy. Slowly add the powdered sugar a little bit at a time. Lastly, increase to the highest speed until whipped texture is achieved.
- When it’s time to add the frosting to the cake, place big spoonfuls in the middle of the top of the cake. Then gently spread outwards. Since the frosting is so soft, you should be able just let it fall over the sides. Once the cake is iced, place in the fridge for 30 minutes so that the frosting sets.
Notes
- Be sure not to over-mix the batter. The more you mix the batter, the more gluten will develop, and the chewier it will become. So I suggest mixing the batter at the beginning with a mixer, but I like to finish mixing my cakes with a rubber spatula.






Elisabeth
This recipe looks amazing!!!! Is the trivet the one that came with the pot?
Chef Gary
No, we typically use a 3-inch trivet when baking to insure the pan doesn't come into contact with the water below.
Lora
Yepper! This is going to be on the list to try!!! Thank you so much!!!
Chef Gary
Looking forward to hearing about it!
Kilted Brutha from anotha mutha
What are you doing to me? I don't like cake but this wasn't like a cake it was like a Brownie texture. It's a more moist texture. Now, where's my ice cream?
Dianne
Excellent recipe! Delicious cake and icing! Will definitely make again.
Chuck
I am a liver transplant recipient and would like to substitute something for the alcohol, any suggestions?
Gary
You could actually just leave it out, and it should still work just fine.
Marloes
This recipe looks really good, I am definitely going to try it. 75 minutes plus 10 minutes natural release seems quite a long time for instant pot cooking. Have you tried a shorter baking time and then it didn’t work out? My rule of thumb is that it takes aproximately one third of the conventional cooking time to cook on high pressure in the IP. Please share your thoughts.
Gary
This is definitely not conventional pressure cooking. You're basically steaming the cake, which reaches a much lower temperature than using dry heat in an oven. So pretty much, any time you're "baking" in an IP, the cook time will be longer.
Kathy
Most cakes in my IP take approximately 30 minutes to cook. I am excited to try this!
Gary
Hope you enjoy it!
Sandy
I can't wait to make this. Just because it looks so good. And I want to see how the IP cooks it. Yummm
Patty
There’s no self raising flour where I live, how much baking power or baking soda should I use?
Gary White
1 1/2 teaspoons of baking powder and 1/4 teaspoon of salt per cup. So, for this recipe, 1 Tablespoon of baking powder and an additional 1/2 teaspoon of salt.
Kim Wyatt
Ingredient list says self rising flour, but in the instructions it says to mix all dry : flour, baking soda, baking powder...but they aren’t listed in the ingredients?
I did try this, it came out dry. Maybe I over mixed it? I’m going to try it again though! It tasted fabulous 😋
Gary White
Sorry about the contradiction of ingredients. When I updated the recipe, it was an oversight to remove the baking soda and baking powder. I've updated it now. Thanks for the heads up!
Priyanka R
This is my very first attempt at baking! And I was risking it on thr eve of my husband's first birthday after we got married. So a lot was riding on this for me. I was this person who was avoiding the instant pot even to cook rice. Would you believe it if I say I followed this recipe with all my heart ( ofcourse I coursed through so many others but my heart was set on your's ) and got that perfect birthday cake ready for my husband !!! you made my day !
Gary White
What a compliment. 🙂 So glad it was a hit!
Terry
Could this be made in a bundt pan in the instant pot?
Gary White
Hi Terry. Unfortunately we have not tested this with a bundt pan, so I'm not sure how it would affect the cook time or the finished product.
Nali
I tried this recipe, exactly, and with 25 minutes left on the timer, it was very burnt. I've double, triple, and quadruple-checked the recipe to make sure I followed it, which I did, but it still burned.
Gary White
I'm sorry to hear that! I am not sure how this happened, as the Instant Pot does not cook with dry heat, so an item being burned is odd. By burnt, do you mean you got a burn notice, or that the cake itself was burned? May I ask what kind of pan you used? I would love to help troubleshoot if possible.
Becky
Such a wonderful recipe, makes a delicious dessert that everyone loved! Sure didn't last long in our house! Will be making this again!
Kathryn
This was a hit with the family! It’s definitely on my repeat list. Thanks for the great recipe!
Karla
I followed your recipe to the T and It turned out perfect!
IP Cake Newbie
What should the batter consistency look like? I added dry ingredients slowly and mixed by hand. Batter was more like bread dough instead of cake batter I am accustomed to. I felt like I either missed a “wet” ingredient or blended too much by hand with a spatula.
Gary White
It definitely shouldn't look like bread dough! If you scroll up from the recipe portion of the post, you will see some step by step process photos, including a picture that shows what the wet batter should look like in the pan.