
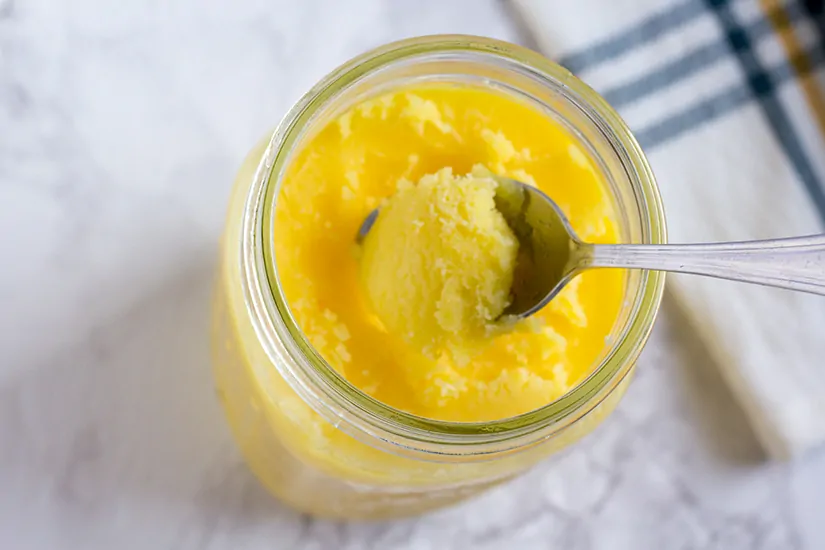
This Instant Pot ghee is clarified butter taken to the next level with a nutty flavor. All the guesswork is taken out with the convenience of an Instant Pot.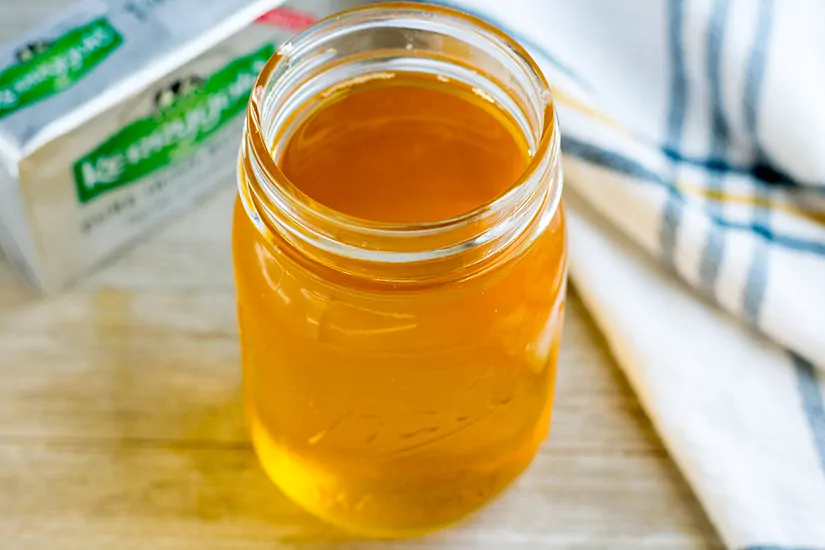
We're planning on starting a round of Whole30 in just a few weeks. And in doing some research and planning for the VERY restrictive menu, I came to the conclusion that making my own ghee was an absolute necessity - mainly because store-bought ghee is ridiculously expensive. But when I realized that ghee can be used just like other oils that can be heated to higher temperatures than butter, I was really curious why that was. So I did a TON of research. And this Instant Pot ghee recipe is the result of all that knowledge.
Currently, my favorite thing to cook with ghee is pan-fried eggs! You know how, when using butter, the eggs can seem to burn rather quickly? Well, I learned that's because it's the milk solids that are burning, not the eggs themselves. So now, after making ghee (which removes the solids), I can have perfect eggs with crispy edges that are not burned. I know, it seems silly... but it really made me happy!
There's a difference between ghee and clarified butter?
(Yes! So please stop saying it's the same thing!)
Let's first talk about the different parts of butter. Butter has four parts: milk fat, water, protein, and milk solids (which include lactose). When heated, the water and solids sink to the bottom, the protein floats to the top, and the fat remains in the middle. That is the good stuff! That is what we want to get from this purification process.
When making clarified butter, you heat the butter until the four parts separate. Then you skim the proteins on top and discard. The next layer is what you want. You can either ladle out the middle layer of butter fat or pour it off, making sure to leave behind all the solids at the bottom. This is the type of butter you might get when you order crab legs.
For ghee, you basically just take clarified butter to the next level. You boil the butter until two things happen: the water evaporates and the milk solids caramelize. By caramelizing the milk solids, the butter fat layer takes on a nutty flavor that has WAY more flavor than clarified butter. So while this Instant Pot ghee is a type of clarified butter, it kinda bothers me when people label it that way because it is SO MUCH MORE.
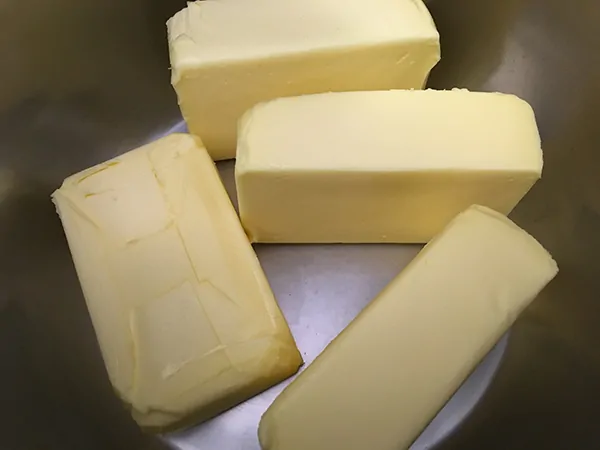
The Process

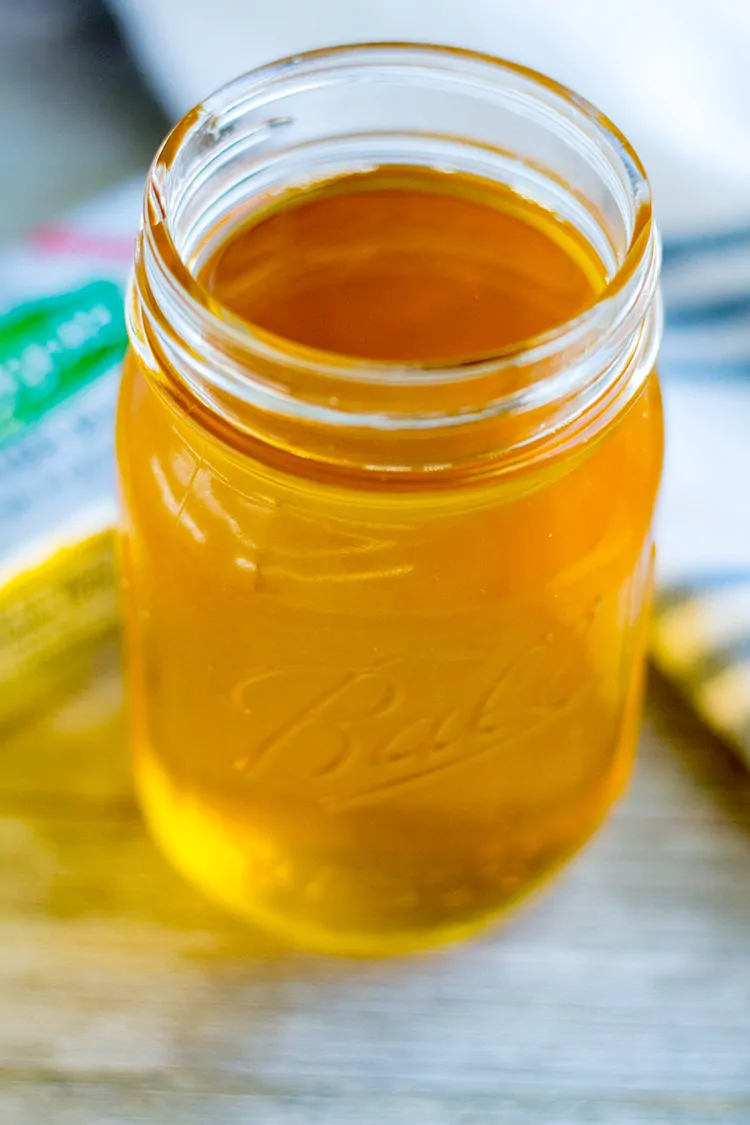
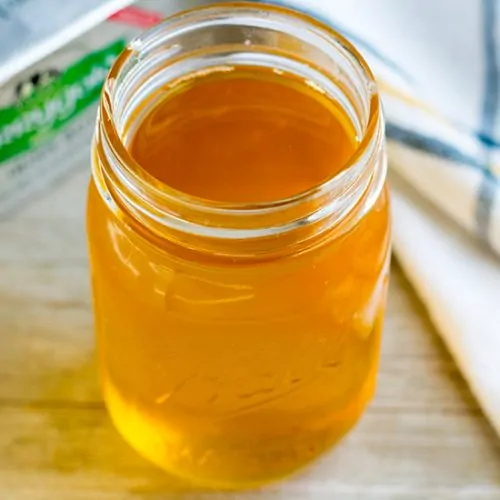
And this is the AMAZING Result…
★ Did you make this Instant Pot Ghee? Please give it a star rating below! ★
📖 Recipe
Instant Pot Ghee
Ingredients
- 32 oz. unsalted butter high quality
Instructions
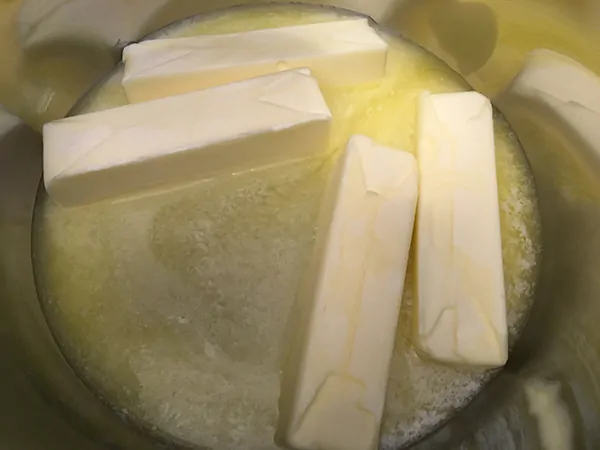
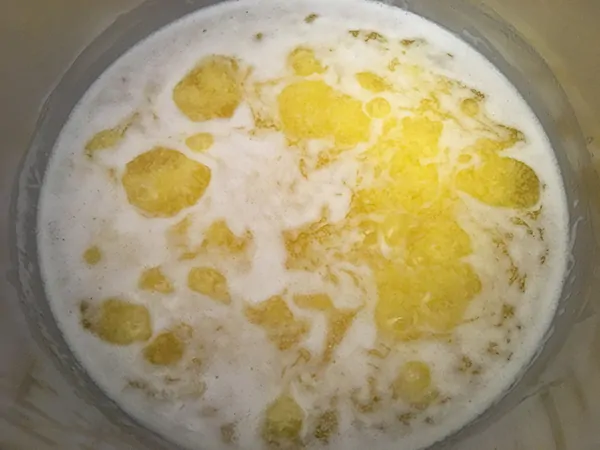
- Place butter in pot and turn on “keep warm” setting. Gently stir butter while it melts completely. With refrigerator cold butter, it will take about 10 minutes.
- Once butter is melted completely, switch to sauté setting (normal level). After butter begins to boil, stir well every minute or two.
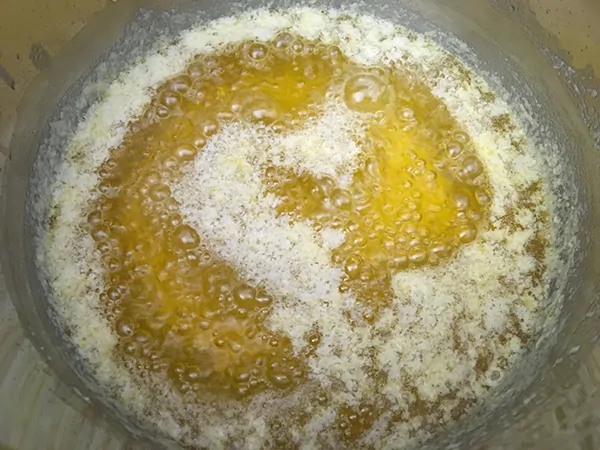
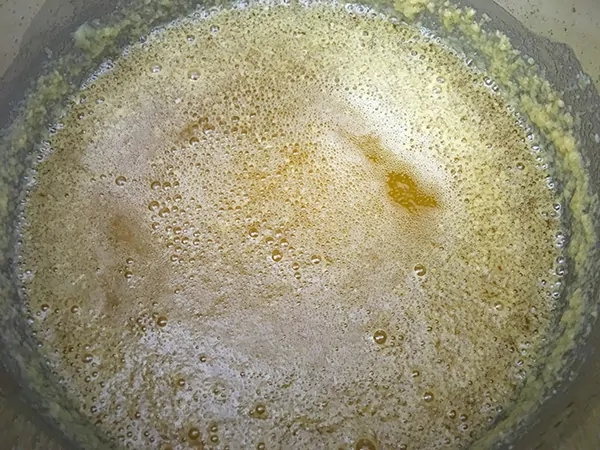
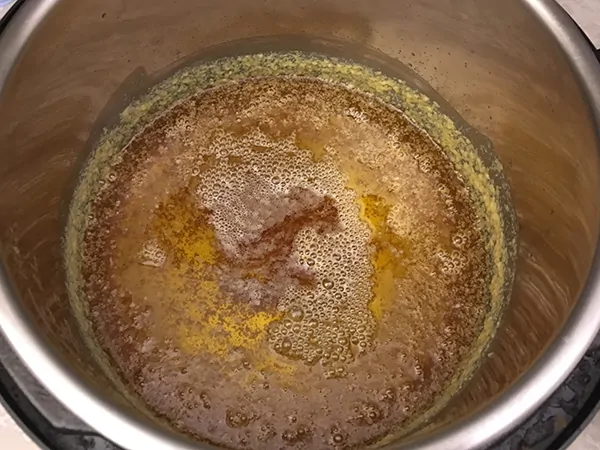
- When stirring, you want to be sure to scrape the bottom of the pot so that all the milk solids that settle will cook even. You will begin to feel them the longer the butter cooks. You also want to watch the color of the surface - the "foam" (which are the proteins). The goal is to get that to a light golden color, NOT BROWN. If you see brown, you've probably burned the milk solids and charred the taste of the ghee.
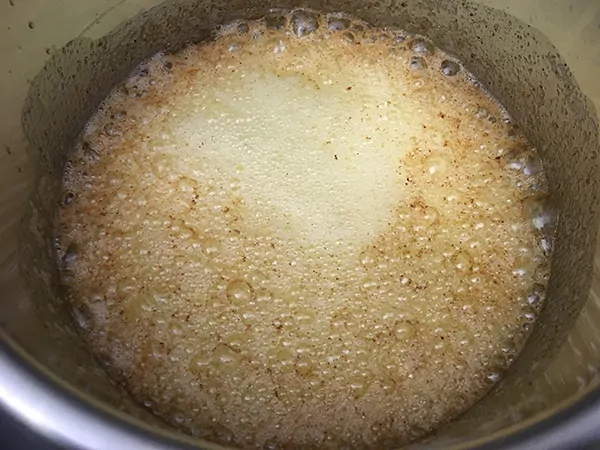
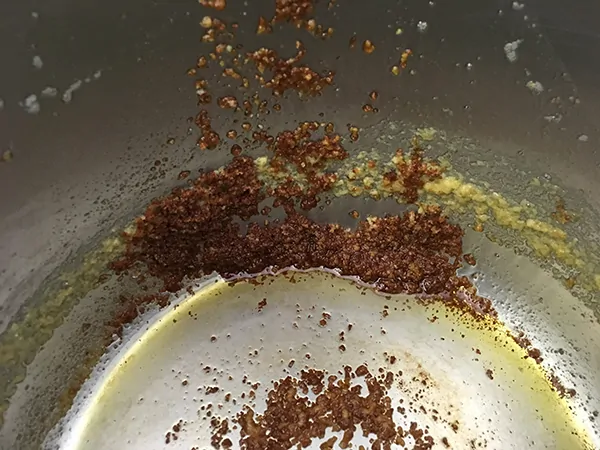
- Once you see the light golden color (after about 12-13 minutes), turn off the power and allow to continue cooking with the residual heat.
- After 10 minutes with the power off, the ghee is ready. The milk solids at the bottom of the pot should be a medium brown color, not too dark.
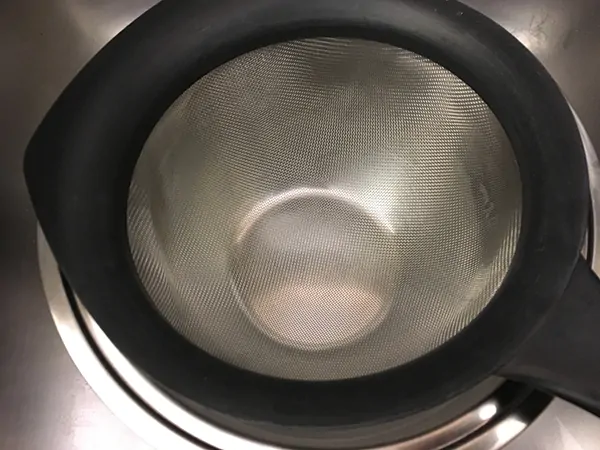
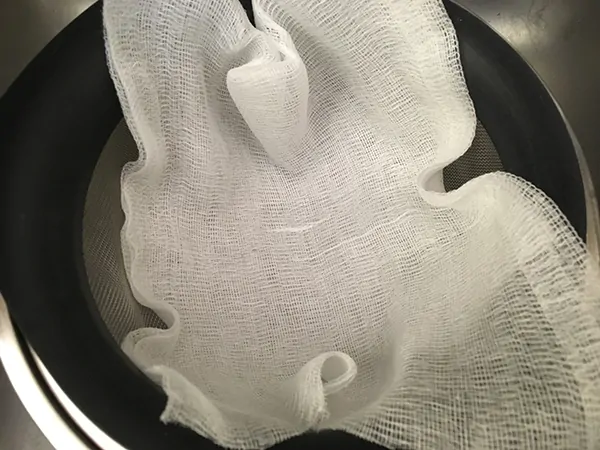
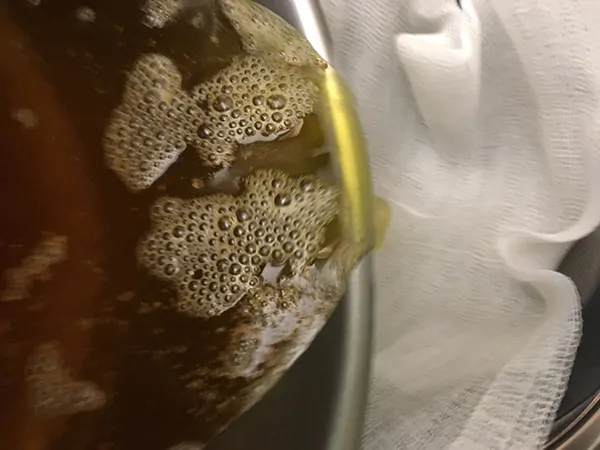
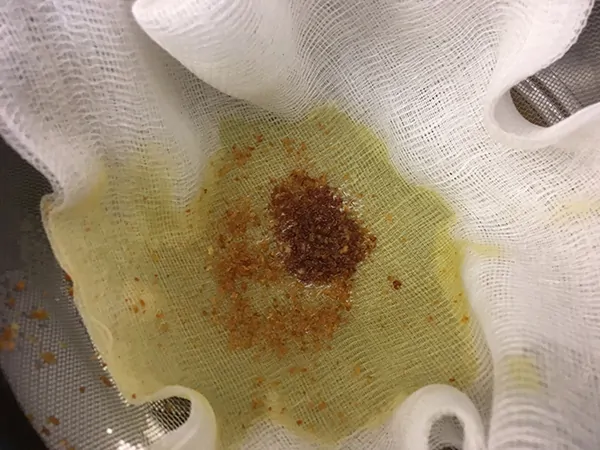
- Place a fine mesh strainer over a mixing bowl, then line the strainer with cheesecloth. Pour the ghee through the cheesecloth.
- Then transfer the ghee to an airtight container. Allow to cool completely uncovered. Then cover and store away from sunlight or heat. I recommend just putting it in the fridge and it will last for up to 6 months. Some people store at room temperature, but I don't. Just because I don't want to lose it.
Notes
Nutrition

Jean O'Neal
Thank you for the detailed step by step instructions. It helped that you showed what the too brown stage looks like and compared it to the 'just right' color the butter should be. Delicious magic!
Robin
How much 'yield' (of ghee) do you get with 32 oz butter? Also, have you tried making higher quantities. I have an 8 qt. IP and want to use 64 oz butter... Any issues? Can it boil over? Thanks!
Gary
This recipe will yield about 30 ounces. There shouldn't be any issue with doing a large batch. The method should remain the same.
Robin N
Thanks Gary... I just don't want it to boil over and make a mess; or is that impossible in the IP?
JohnG
Nothing is impossible in the IP!!! Questions like that will get you banned. LOL
Indian boy
Don't throw away the milk solids! Keep them separately, they are a divine snack!
Wondering
What would you use them for?
Gary White
Ghee is very popular in Indian cooking. I personally like to use it to sauté things. It's actually my favorite oil. It has a high smoke temperature so you can use it for almost everything. And it makes the best eggs on earth!
Susanne S
I toss the crispy milk solids with popcorn 😋
Cathy Williams
Made ghee today for my hubby. The pictures you provided and the directions (with approx. times for each step) made it very easy. I came out with about 32 oz of ghee. Should make my husband a happy man for awhile.
Nelly
Amazing indeed. Thank You!
Nelle
Thank you for posting this! Question, when you say sauté setting, do you mean the normal sauté?
Judith Kay Nevitt
Worked great!@
Elisa
Totally new to the instant pot and I only had it on sauté for 10 min, but I'm pretty sure I burnt it a bit....
Gary White
I'm sorry it didn't work well for you. Did you stir as it cooked?
Dee
Easy to follow, clear instructions. The ghee came out great! Thank you 😊
Cathy Williams
Hey Gary! Made your ghee 2 months ago for my hubby. We had crab legs steamed in the IP for supper tonight and he was in crab heaven with his own ramekin of melted ghee for his. BTW he uses the ghee to grease his ramekins when making poached eggs.
Pam S
What brand of mesh strainer do you have? I like the rimon it, and since it's a tried and true mesh size, I'd like to order one just like it! Thanks.
Gary White
I'm not sure what brand I use, but I think with cheesecloth it doesn't really matter.
Tammy Corrie
Very easy to make
Heather Prater
Clear directions, really appreciate the pictures. Second time making this recipe and it’s terrific!
Monica Jacobson
Can you use Kerigold with salt in it???
Gary White
Yes, it will still work.
Arzu
Can't wait to try it - detailed descriptions with pictures are super helpful! Will try for the first time - very new to this. How should I store it? In the pantry or fridge? How long will it last? Can I freeze it to last longer? Thank you.
Gary White
We typically store it in the pantry, then move it to the fridge if we're not using it often. It can be frozen. There is quite a bit of conflicting information online regarding how long it is safe to store ghee at room temperature, but most sources say it's fine to store away from direct sunlight for quite some time.
Carrie
I open kettle can my ghee when I make it. The results are shelf stable and it never goes bad. It's even shelf stable after you open it. Open kettle canning is just putting very hot liquid in very hot sterile canning jars (either put them through the dishwasher or in a pot of boiling water) and then putting a hot canning lid on it. When the temperature cools off the jar will self seal and that's it. ...I buy butter when it's on sale and make a bunch at once. I use about half salted butter and half unsalted. For this method It's important to keep cooking it until it stops boiling/bubbling, that's the water boiling out. When it settles down the water is gone and that is what makes it shelf stable for so long. I've never had any of my ghee go rancid.
Deepti Trikha
Wonderful recipe
Riva
So when using sauté on the instant pot, did you mean normal? Because everything was going fine and the butter wasn’t clear yet, then all of a sudden it foamed huge and we yanked the plug. It’s like way burnt.
We were slowly stirring about every minute
Gary White
Yes, unless otherwise stated, references to using the sauté function on the IP refers to normal heat. I apologize for the confusion. I've added a note to the recipe card to clarify.
Elaine Prouty
First time making ghee and it came out perfectly, thanks to Gary's recipe. I'm sending this to all family and friends. Thanks so much for great instructions and illustrations!!
Nancy Miller
I looked away for a minute and it went from golden to meduim brown. It is still fabulous. I love browned butter on my vegetables! I'll make another batch and keep it light. Thank you!
Prema
Excellent first time! Never going back to store bought.
Roberta
Loved the instructions and they were clear I was just very surprised how quickly it goes from golden to burnt! Just a heads up to others to err a bit on the side of caution as I did burn my first batch. Apparently my pot does not need as much time as yours but I love how easy this was. I will definitely use this recipe again and get it right the next time. Thanks for posting!
Nancy B
I hope you didn’t throw it out…I think it’s the milk solids that are “burned”, the resulting ghee just seems to have a deeper flavor but not a burnt one.
Katia Vi
The photos and time really made it easy. Thank you. But sautéing for the 10 minutes suggested “burned” my ghee a lit bit. No matter, it still taste nutty and delicious - almost sweet. I will try again with less sauté time.
Jeanette Schutz
So is this used just like any other cooking oil? I’ve never used ghee before. Thanks.
Gary White
It is pretty much butter-flavored oil, so you can use it in all kinds of ways. It has a high smoke point, so that's a plus also.
Kari Bailey
Thank you for making me feel like I can make ghee! I was recently in Mexico and discovered ghee at a local market. The woman had different flavors including garlic and rosemary. How do I infuse herbs into your ghee recipe?
Ruzzel Zullo
Followed the recipe to a T. I think I did it right, but my solids did NOT turn brown. They were still yellow even though the ghee color was golden brown like the pictures. I boiled for 12 minutes instead of 13. Should I boil for longer or is it okay that the solids were not brown yet! Otherwise the ghee came out great.
Amy
Hi!
I followed the directions and at about ten minutes on sauté the butter suddenly foamed up and almost came out of the pot. I immediately removed it from the base and the solids started turning brown. And the butter became darker.
I’ve made ghee in the crockpot with no issues…I always use Kerrygold. Any ideas on why it suddenly foamed and turned brown. I was stirring almost constantly, but I was finding it hard to keep the solids scraped off if I stopped for even half a minute, during the last three minutes.
Thanks for any thoughts!
Gary White
The longer I've been posting IP recipes, the one thing I've noticed is that different models, and even different pots within the same model, often reach different temperatures. So it's really tough to dictate how each one will act. That's the main reason I try to give clear details and pictures of what it should look like in each stage. It sounds like your pot got really hot.
Nancy
This recipe is easy enough
I just made it, however the color of the liquid is more of an orange light brown. I cooked it lo ger than your suggested 12-13 min looking g for the foam to turn a light gold vs a warm yellow. Perhaps your instructions could make it clearer that it's the liquid color. I'm figuring it's still great to use. Right?