


Are you here for the timing?
There are two Instant Pot sushi rice timings you will see over and over: 12 minutes on Low Pressure or 4 minutes on High Pressure. Both work, and I use a 10-minute natural release with either one.
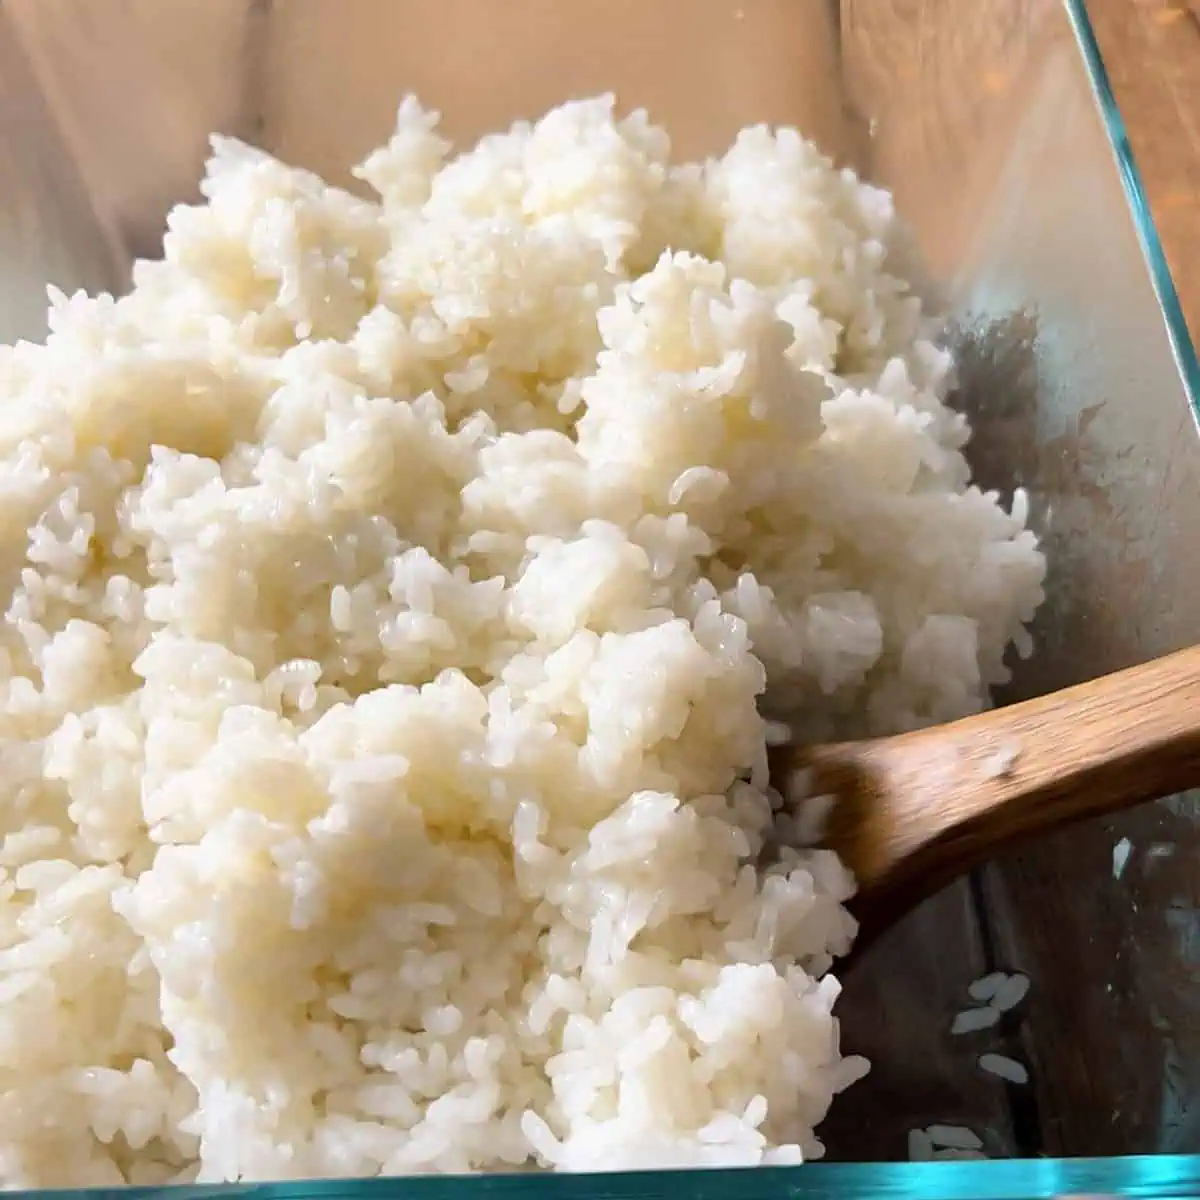
I prefer 12 minutes on Low because I prefer the texture it gives me: glossy, lightly sticky rice that holds together when pressed but still has visible grains. If speed matters more, 4 minutes on High is a solid option.
Use the same 1:1 rice-to-water ratio either way. Once the rice is cooked, then choose how you want to season it.
12 Minutes Low vs. 4 Minutes High
12 minutes on Low Pressure + 10-minute natural release: This is my preferred method and the one I have used the longest. I prefer the finished texture.
4 minutes on High Pressure + 10-minute natural release: This is the faster method. It also works well and uses the same 1:1 rice-to-water ratio.
Neither method is a mistake. Higher pressure simply needs less clock time. If you are making this recipe for the first time, I recommend starting with 12 minutes on Low because that is the result I prefer.
Which Seasoning Should You Use?
Bold (Original): Bigger, brighter flavor. Best for poke bowls, loaded rice bowls, and meals where you want the rice to stand on its own.
Traditional: Cleaner, more neutral flavor. Best for sushi rolls, onigiri, and meals where the filling should lead.
Not sure? Start with the traditional version. The cooking method does not change; this choice only changes how you season the rice after it is cooked.
The Back Story
Here's what most people did not know: the original version was a happy accident. I used seasoned rice vinegar, then seasoned it again with more sugar and salt. On top of a vinegar that already had both. The result was bolder than traditional sushi rice. Brighter. Punchier. Not wrong. Just louder. That version ended up becoming the one people loved.
Ingredient Notes
Short-Grain Japanese Rice
Use a true short-grain Japanese rice or sushi rice here. Calrose is easy to find and works well. Long-grain rice will not give you the same sticky texture.
Original Bold Version
Seasoned Rice Vinegar
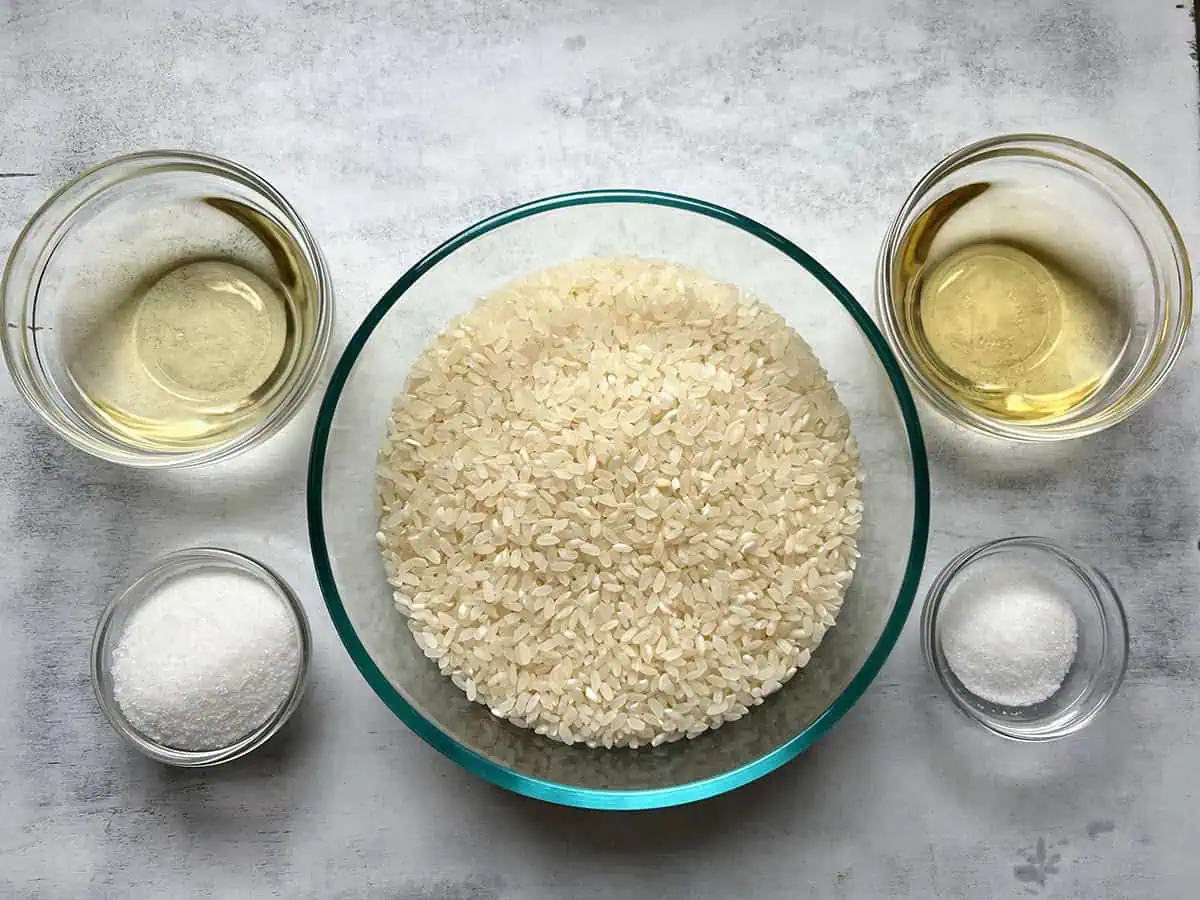
The original bold recipe uses seasoned rice vinegar, not unseasoned. That matters. Seasoned rice vinegar already brings sugar and salt to the mix, which is part of what gives this version its bigger flavor.
White Wine Vinegar
This is the ingredient that gives the original version its edge. It adds brightness and makes the rice stand out more in bowls and rolls. Not traditional, but definitely part of this recipe's identity.
More Traditional Version
Unseasoned Rice Vinegar
For a cleaner, more classic sushi rice flavor, use unseasoned rice vinegar instead. The goal here is simple: do not season it twice. If you use unseasoned rice vinegar, add the sugar and salt yourself for a more balanced, traditional result.
Method Highlights
Before cooking: rinse the rice
Rinsing removes excess surface starch. Skip it and the rice can turn gluey instead of lightly sticky.
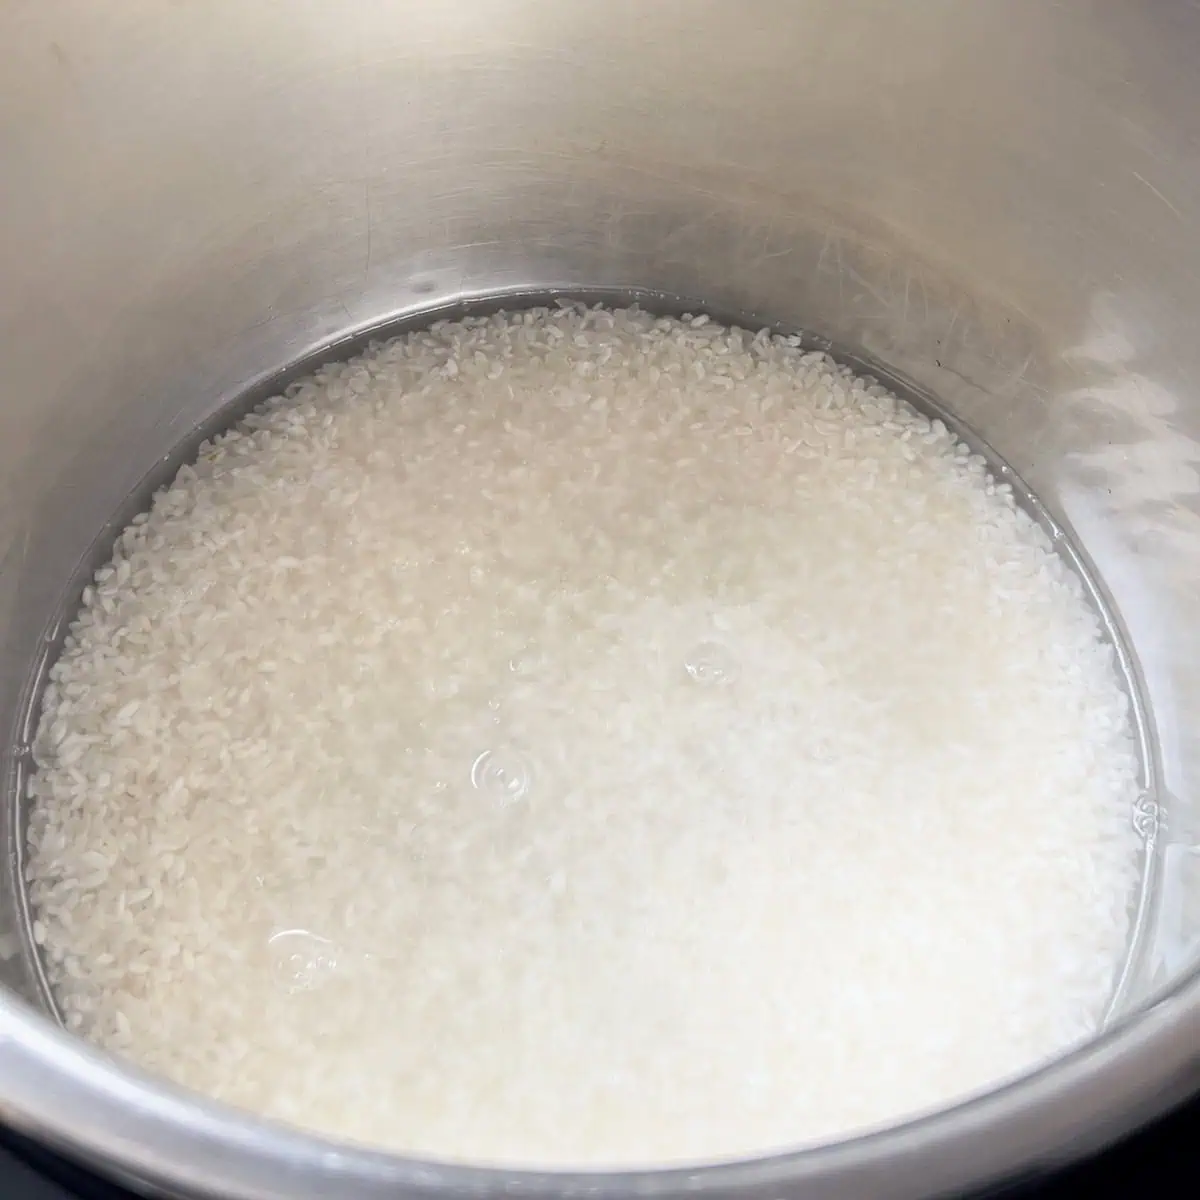
During cooking: use the timing you chose above
Use either 12 minutes on Low Pressure or 4 minutes on High Pressure, followed by a 10-minute natural release. Both methods work with the same 1:1 rice-to-water ratio.
After cooking: look for this texture
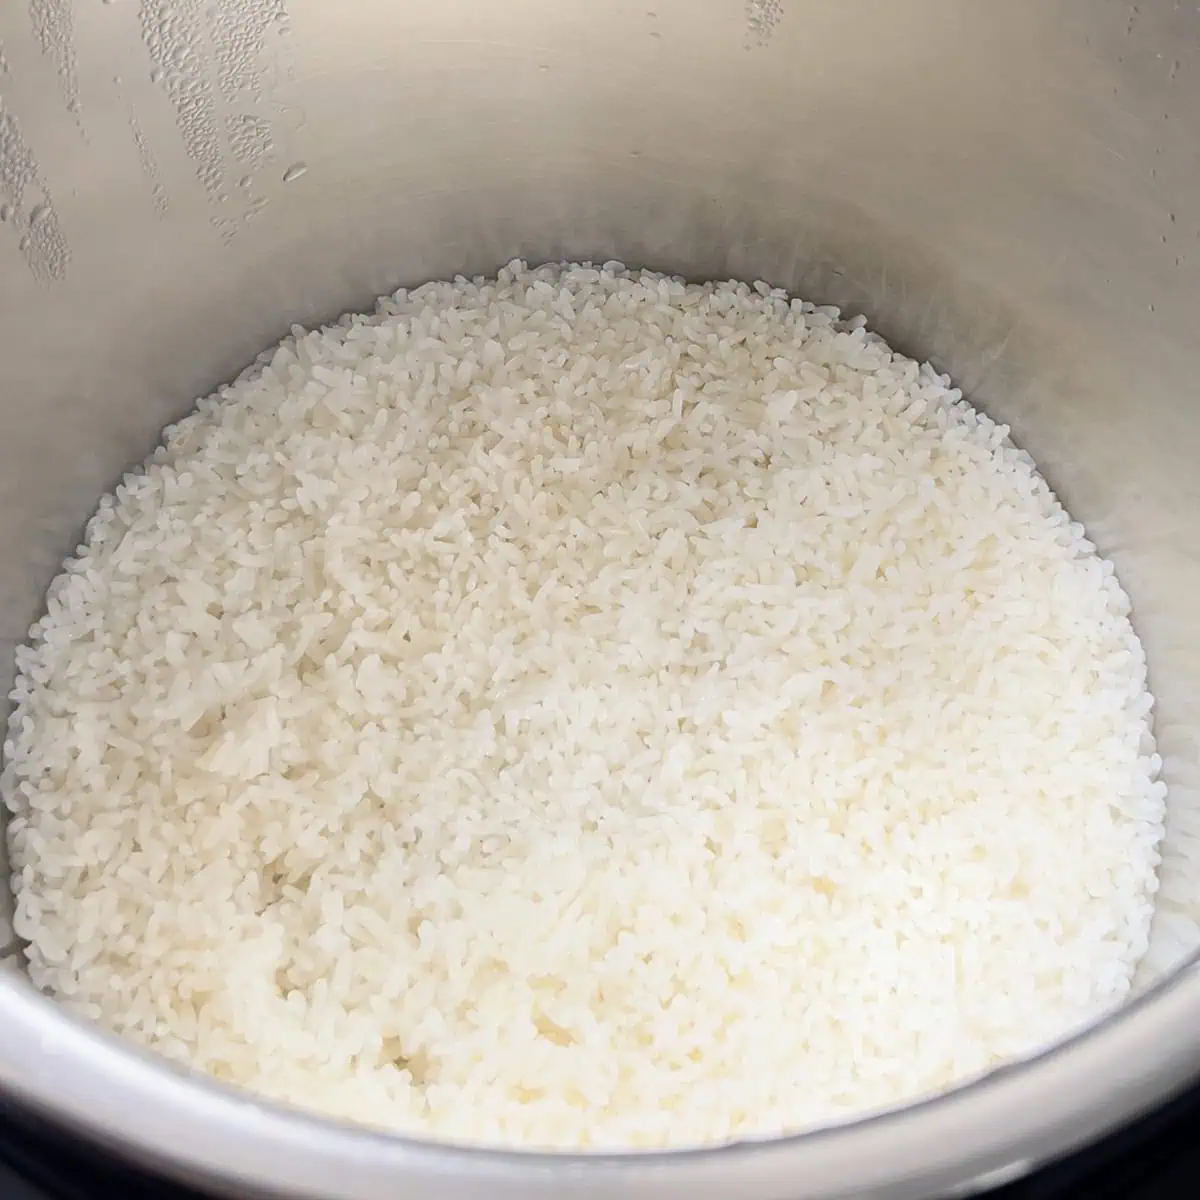
Whichever timing you use, the rice should be glossy, lightly sticky, and ready to absorb the seasoning. It should hold together when pressed, but still have visible grains.
FAQ
Use a 1:1 ratio: 2 cups rice to 2 cups water. That ratio works with either timing method on this page. Adding extra water can make the rice mushy.
Short-grain Japanese rice or sushi rice. Calrose is easy to find and works well. Medium-grain rice will get you close, but short-grain gives the best sticky texture. Skip jasmine, basmati, and other long-grain varieties.
No. The vinegar mixture affects flavor only. Stickiness comes from the starch in the rice and how it's cooked, not from the seasoning.
Short-grain rice has more of the starch that makes grains cling together. That's why sushi rice feels sticky, while long-grain rice stays more separate. Rinsing removes the loose surface starch so you get lightly sticky grains instead of a gluey clump.
Mirin adds sweetness but not acidity, so it is not a direct substitute. If you want to add a small splash of mirin alongside the vinegar for extra depth, that works. Just don't replace the vinegar entirely.
Yes. The bold version is especially good here because the seasoning holds up against rich toppings and sauces.
Yes. The traditional version works better for onigiri since you usually want a cleaner rice flavor that does not compete with the filling.
Because the bold version starts with seasoned rice vinegar, which already contains sugar and salt. The finished rice has a bigger, brighter flavor than a more traditional mix. That is intentional.
Yes, but it is best the day it's made. If you need to make it ahead, cool it, store it covered in the fridge, and reheat gently with a few drops of water. It works best for bowls and meal prep, not delicate rolls.
Store it in an airtight container in the fridge for up to 3 days. To reheat, sprinkle a few drops of water over the rice, cover loosely, and microwave in 30-second intervals until warmed through. The texture will not be quite as good as fresh, but it works well for bowls and meal prep.
Troubleshooting
Rice is mushy or waterlogged.
Start with the ratio and total cook. Use a 1:1 rice-to-water ratio, rinse the rice well, and follow one complete timing method: either 12 minutes on Low or 4 minutes on High, followed by the 10-minute natural release. Extra water or extra cooking can push the rice too soft.
Rice is undercooked or crunchy.
Make sure you followed one complete timing method: 12 minutes on Low or 4 minutes on High, followed by the full 10-minute natural release. Also make sure the valve is set to Sealing and the silicone ring is seated properly.
Got a burn notice.
This usually means there is not enough liquid or something is stuck to the bottom of the pot. Make sure the rice and water are evenly distributed and that nothing is caught under the inner pot. Some newer Instant Pot models are more sensitive to this.
Rice feels loose after seasoning.
That usually means it needs a few minutes to rest. After folding in the vinegar mixture, let the rice sit and cool briefly. The texture settles as it absorbs the seasoning.
Other Instant Pot Rice Recipes
★ Did you make this recipe? ★
Leave a comment and tell me which timing you used: 12 minutes Low or 4 minutes High. And if you seasoned it, tell me whether you went team bold or team traditional.
📖 Recipe

Instant Pot Sushi Rice
Ingredients
For the Rice
- 2 cups short-grain Japanese rice
- 2 cups water
For the Original Bold Version
- ¼ cup white wine vinegar
- ¼ cup seasoned rice vinegar
- 1 ½ tsp. kosher salt
- 2 Tbsp. sugar
For a More Traditional Version
- ¼ cup white wine vinegar
- ¼ cup unseasoned rice vinegar
- 1 ½ tsp. kosher salt
- 2 Tbsp. sugar
Instructions
- Rinse the rice in a fine mesh strainer under cold running water for about 2 minutes, moving it around gently with your hand. Let it drain for a few minutes.
- Add the rice and water to the Instant Pot. Lock the lid, set the valve to Sealing, and cook on Manual or Pressure Cook on Low Pressure for 12 minutes.
- When the cook time is up, let the pressure naturally release for about 10 minutes. Then carefully switch the valve to Venting to release any remaining pressure.
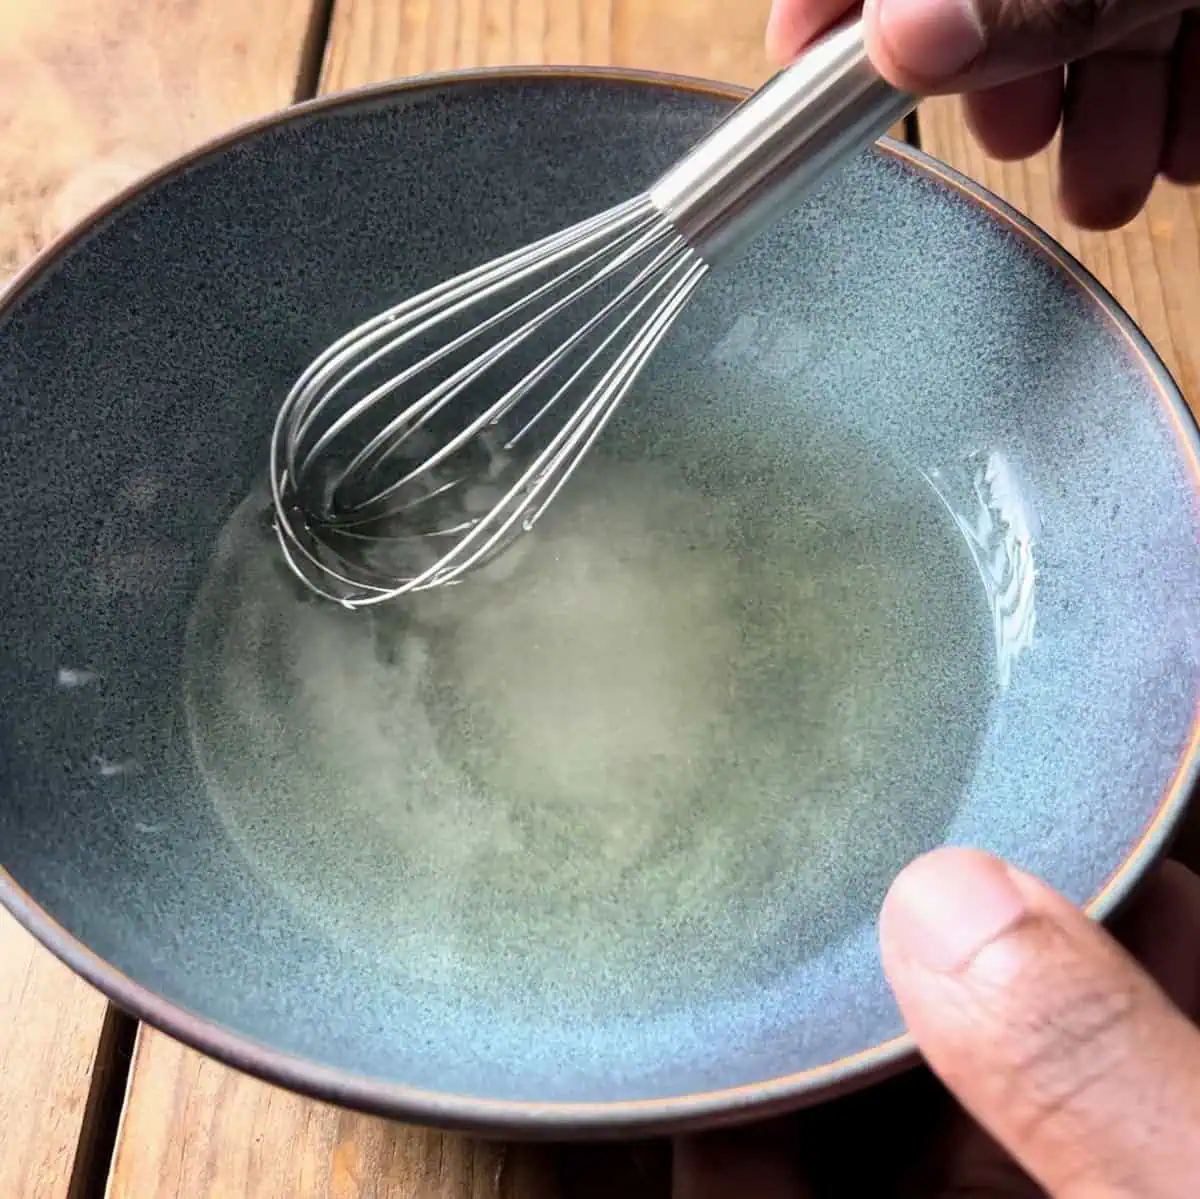
- While the rice cooks, combine the ingredients for your chosen seasoning version in a small microwave-safe bowl. Microwave for about 1 minute, then stir until everything is fully dissolved.
- Transfer the cooked rice to a large glass, wooden, or non-reactive bowl. Pour the seasoning mixture over the rice and gently fold it in with a wooden spoon or rice paddle. Use a cutting and folding motion instead of stirring hard, so you do not crush the grains.
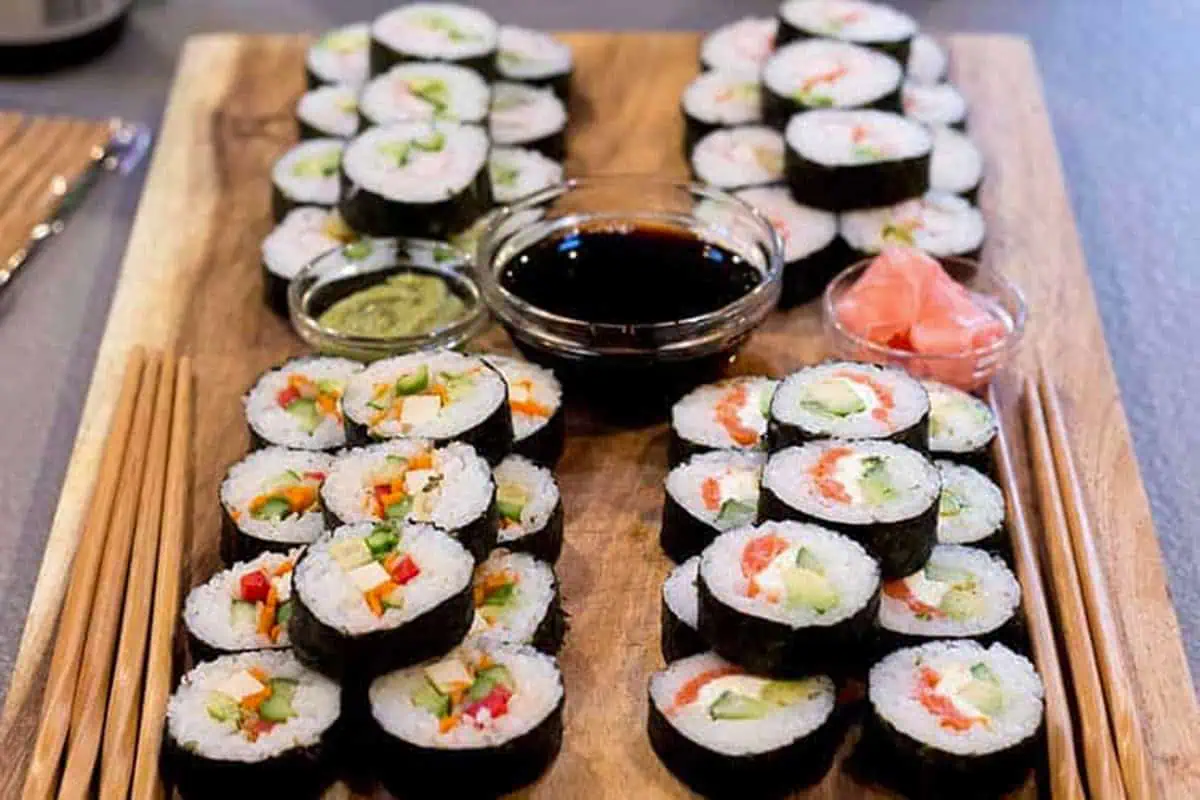
- Let the rice cool to room temperature before using it for sushi rolls, poke bowls, or any other sushi rice situation.
Video
Notes
For the original bold version, use seasoned rice vinegar plus the sugar and salt.
For a more traditional version, use unseasoned rice vinegar and add the sugar and salt.
- Preferred method: Low pressure gives me the best texture.
- Faster option: You can also cook it on High Pressure for 4 minutes with a 10-minute natural release. It works well, but I still prefer the texture from the low-pressure method.
- Original bold version: This is the signature version. It uses seasoned rice vinegar and then gets seasoned again with sugar and salt. Big flavor. Lots of personality.
- More traditional version: The goal here is simple: do not season it twice.
- Best texture: Sushi rice is best the day you make it.
- Yield: Makes about 4 cups of seasoned sushi rice, enough for about 4 to 6 rolls or 2 to 3 generous bowls.

Zoe White
Bookmarked for future reference. Thanks for writing this.
Penelope Garcia
Thanks for putting this together! Extremely well structured.
Aadhavan associates
Your perspective is refreshing
Jennifer
I have lots of digestive issues and rice is the only grain I can comfortably eat so when I made this recipe, I was skeptical of all the vinegar, but it is absolutely delicious! I ate some plain and had to force myself to stop eating it... it's that good. I used most of it for musubi for my teenager, but I will make a little extra next time so I can stash it away for myself! You have definitely earned my trust!
Ciro Studios
Amazing content!
Canadian mama
A lot of people commented that it’s too much vinegar, but I love the stronger taste! I did cut down the salt as I found it very salty! Have used this recipe many times (with half the salt) and even used apple cider vinegar once as I ran out of white whine vinegar and still came out great!! I have microwaved and done stove top for the seasoning and both times it was great!
KR Events
Keep it up!
CB
So easy- and SO tasty. We make this one on repeat.