
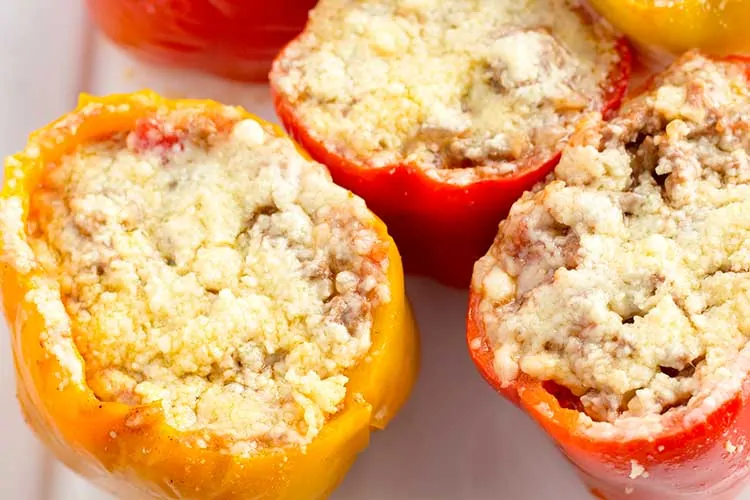
These pressure cooker stuffed peppers are full-flavored and topped with salty parmesan cheese. It's a warm, comforting, and easy complete meal. They also have a stuffing that's more saucy and less like a meatball.
(Originally posted on April 27, 2018. Updated recipe on August 14, 2019.)
Do I Have to Brown the Meat?
Despite the popularity of dump-and-start pressure cooker recipes, I'm a firm believer that, in some cases, using the dump-and-start method of cooking can often compromise the quality of the recipe. In the case of pressure cooker stuffed peppers (IMHO) - putting raw meat in a pepper will never yield the amazing result of browning the meat first. Instant Pots are tools for us to make things easier and/or faster. But when we try to apply the same shortcut to every single pressure cooker recipe, the results can be disappointing. I don't know about you, but I'm willing to take an extra step if it makes the difference between food that tastes great, and food that's just okay.
Are All Bell Peppers Created Equally?
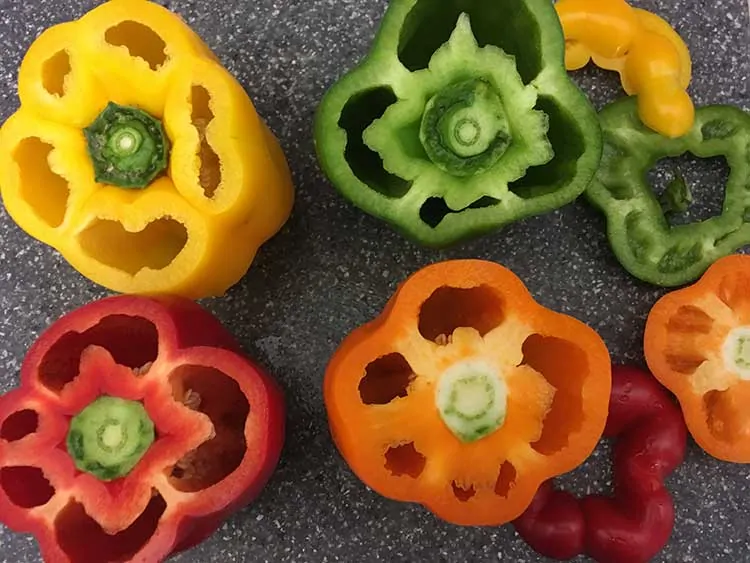
So here's a little secret I learned about bell peppers. Some peppers are better raw, some are better cooked. Here's how to tell the difference...
Bell peppers will either have 3 or 4 lobes (bumps). People refer to the 3-bumped peppers as male and the 4-bumped ones as female. While bell peppers technically do not have a gender (read more here), counting the lobes is still a useful tool in selecting the best pepper for your purposes. The 3-lobed peppers (males) are best for cooking and the 4-lobed peppers (females) are better raw.
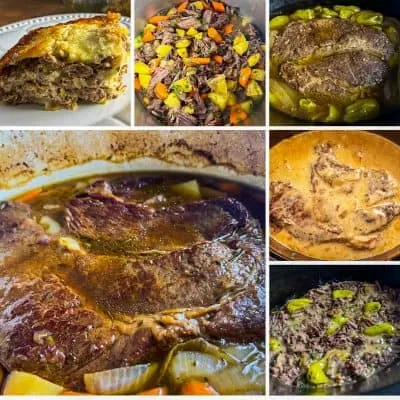
How to Make Pressure Cooker Stuffed Peppers
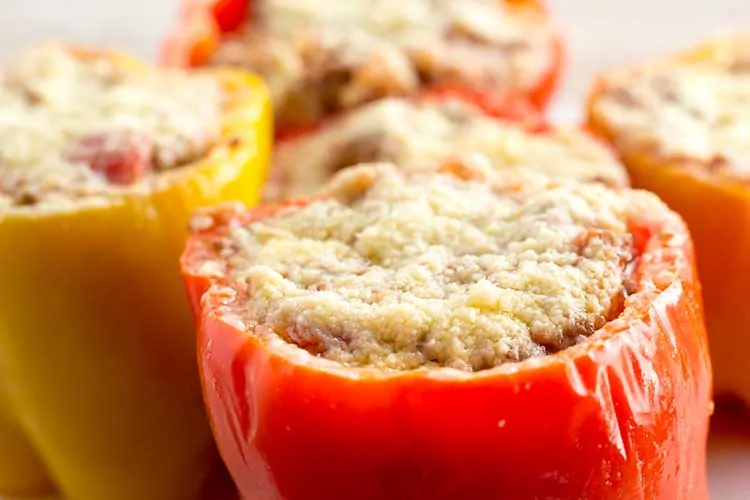
And this is the AMAZING Result
★ Did you make these Pressure Cooker Stuffed Peppers?
Please give it a star rating below! ★
📖 Recipe

Pressure Cooker Stuffed Peppers
Ingredients
- 4 bell peppers
- 1 lb. lean ground beef
- ½ cup yellow onions diced
- 1 tsp. sea salt
- ½ tsp. black pepper
- ½ tsp. garlic powder
- 28 oz. crushed tomatoes
- 2 cups cooked rice
- 3 Tbsp. Worcestershire sauce
- 1 tsp. sugar
- 1 ½ cup parmesan cheese divided
Instructions
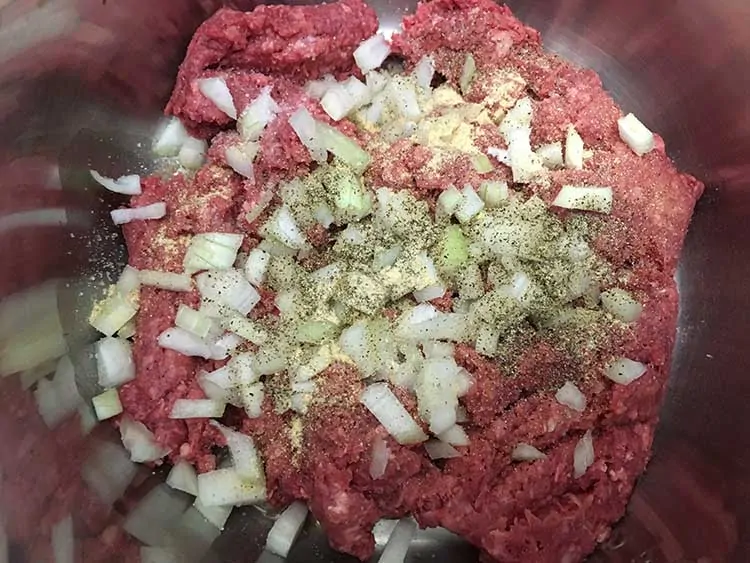
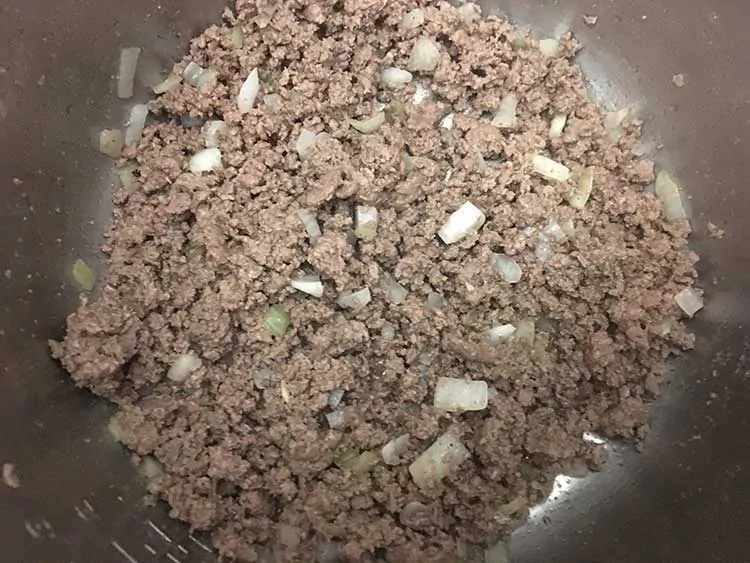
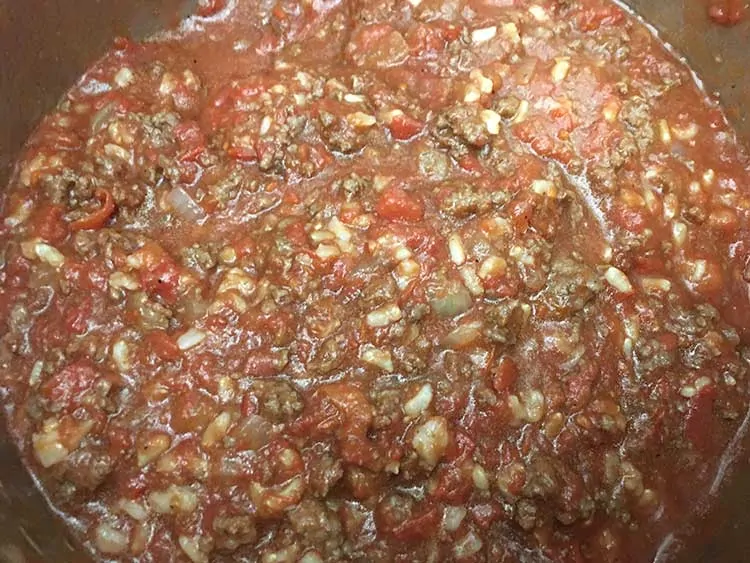
- Using sauté setting – Add ground beef, onions, salt, pepper, and garlic powder. Cook until beef is fully browned and onions have softened. Drain off excess fat and return beef to cooker.
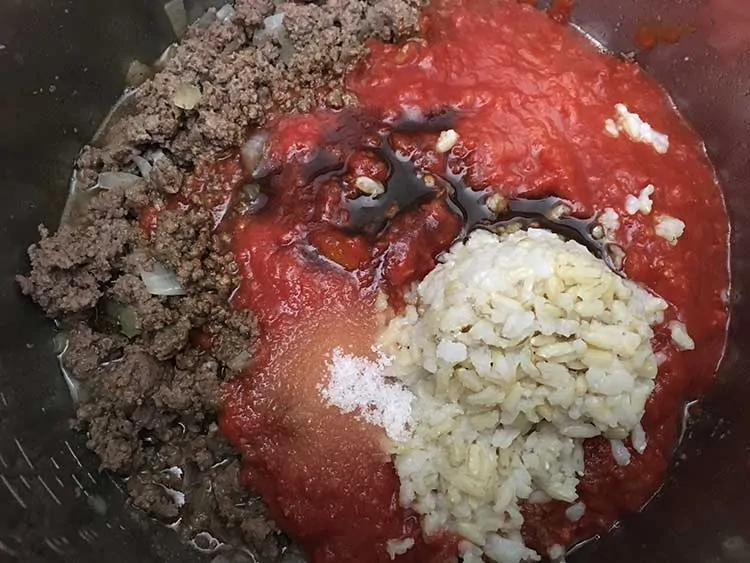
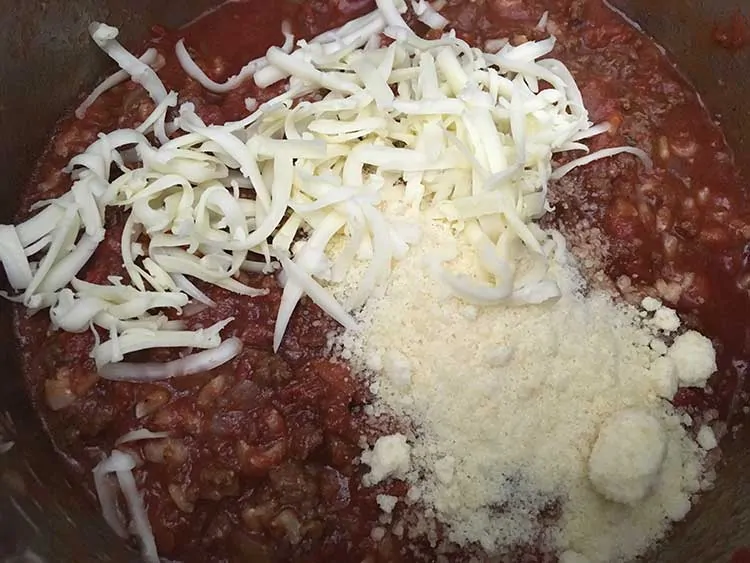
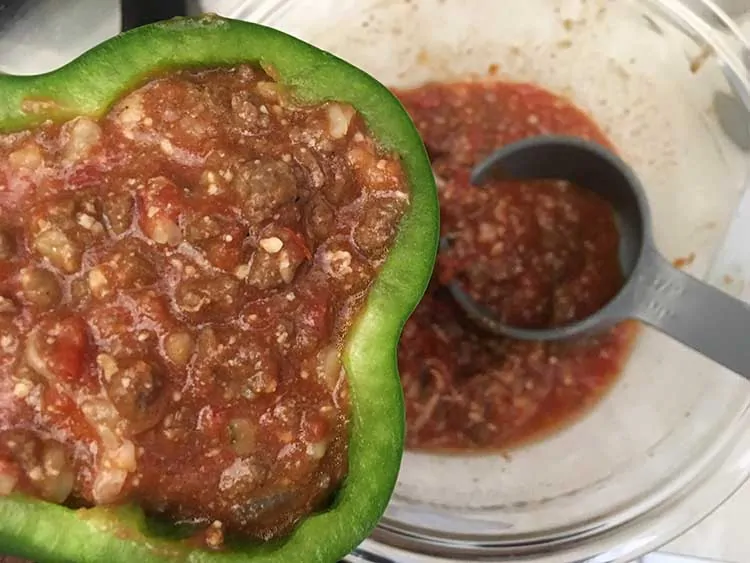
- Add tomatoes, rice, Worcestershire, and sugar and mix well until fully combined. Then add ½ cup of parmesan, mix well, then pour meat sauce into a bowl.
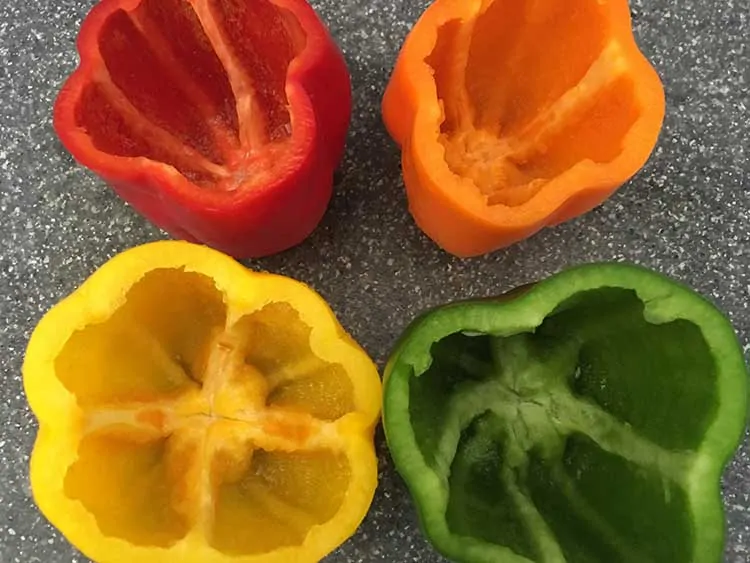
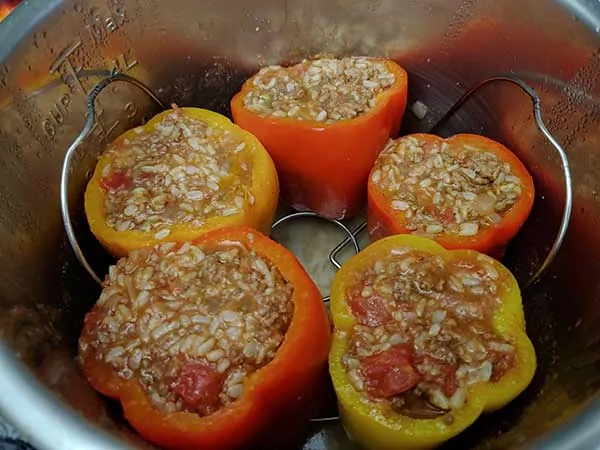
- Cut off tops of 5 bell peppers, then remove seeds and ribs from peppers. Ladle beef/tomato mixture into peppers.
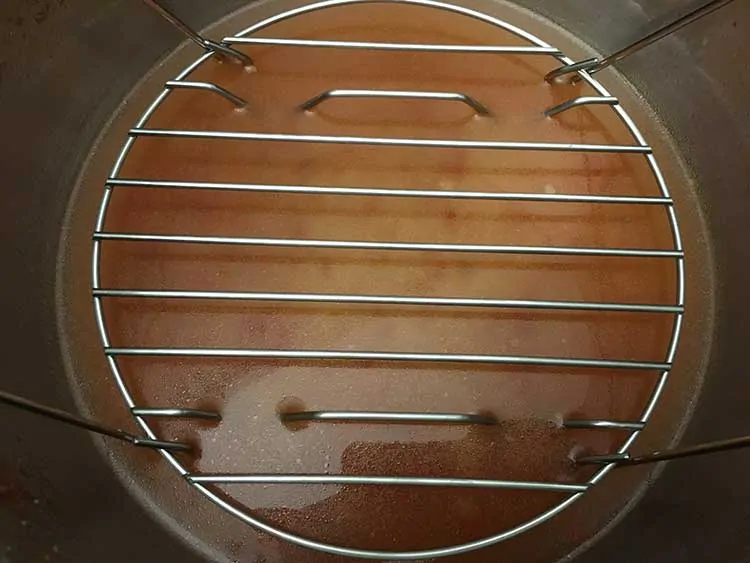
- Add 1 ½ cups water to pressure cooker and add trivet. Do not rinse out pressure cooker prior to adding water. (see note) Place filled peppers on top of trivet. Cook for 4 minutes at high pressure. Once cook time is complete, allow pressure release naturally (about 6 minutes).
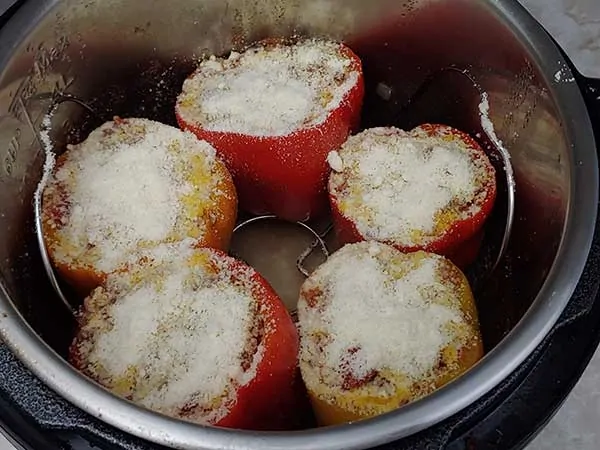
- Top cooked peppers with ¾ cup parmesan. Place lid back on top of pressure cooker and leave for a few minutes to allow cheese to melt.
- Serve and enjoy!
Notes
Nutrition
THIS POST MAY CONTAIN AFFILIATE LINKS. TO FIND OUT MORE, VISIT OUR DISCLOSURE PAGE.
Mark
Tried this recipe (7/26/18) The meat mix was delish, but the time on the instant pot turned my peppers to mush! They fell apart trying to get them out, creating a fine soup as it disintergrated into the water below the trivet...
Chef Gary
Wow, sorry to hear that. That's interesting because we had the exact opposite thing happens. Our peppers were on the "crunchy" side. I guess I need to update the notes of the recipe to state that if your peppers are very ripe to reduce the cook time. And vice versa. I hope you enjoyed your unintentional soup!
Mark
Thanks for the reply! Theres a typo on my date- I made the peppers today, not the future! lol.. what ever fell in the water I strained and threw it in with the rest of the ‘mush’- took me 5 min or so getting it all out the pot, cause every time I tried to grab a pepper with tongs, they’d collapse!.. well nothing went to waste cause my wife and daughter gobbled up all the mush, (all 4 peppers) and left me nothing! Good thing I had just enough meat mixture to make at least 2 more peppers!... Wife would blanch them on stovetop 5 min, then finish off in oven.. So i’m thinking, maybe cut the time in half in the pc?? Maybe 4 min instead of 8?
Kristy
These were easy enough to make and quite tasty! I really enjoyed them and will make them again for sure. 🙂
The filling was definitely too "wet" for my liking, so I added some Italian seasoned GF breadcrumbs. I had a shredded blend of cheeses on hand (fontina, parm, etc) so I used that which was perfect! PS- I LOVE that you used Worcestershire Sauce. I think it's a great but under used ingredient.
Vicki Soto
Like the recipe....trying to figure out why the sodium was so high in the nutrition facts. What was the culprit?
Gary
Glad you like the recipe! Most recipes would call this 8 servings (2 servings per pepper), which I should probably switch it to for it to make more sense. The only sodium comes from the teaspoon of salt and the cheese.
Barb Tarcza
We tried this recently, delucious! I used the leftover filling as a base for enchiladas.
Gary
Glad you enjoyed it!
Joan
Loved it
Paula
Tried this recipe today and my family enjoyed them. As we don’t like them too saucy I strained the tomatoes which left 1.5 cups of juice and added the pulp to the hamburger. I also chopped one garlic clove to add to the juice. Next time I will add oregano to the stuffing. The peppers were cooked just right, I added an additional pepper and still had filling leftover, which will get eaten for sure. Best part about this recipe is that I prepared it 3 hrs in advance and stored the liner in the refrigerator. Perfect for hot weather!
Steven
All these pressure cooker stuffed peppers are great. Thank you for share.
Deborah Vaticano
Easy & Delicious!
Bar
Made these several times always delicious.
Kerry
These were excellent. The only things I changed were the tomatoes, I only added 1 14.5 oz can of diced w/chilies, I also diced the pepper tops and 3 cloves of garlic and cooked them with the onions. And, added a few extra jarred jalapeños to the mix. I only had 3 peppers, so I ended up with leftover filling, which I will have for another meal. I also cut back on the cheese, only sprinkling on top before cooking, As I added almost all the rice, the consistency of the mix was good. I will make these again for sure.