
This a pressure cooker ramen recipe where you could get all of the ingredients from any grocery store. And it is pretty amazing!
Let me begin by saying this... I completely realize that this is not an authentic preparation of ramen. I am from a small town in Florida, so it would be impossible to even claim such. However, I have eaten authentic ramen many times! So when you combine my love for authentic food, my lack of 2 days of time to prepare one meal, and my love for all things Instant Pot... you get this pressure cooker ramen recipe!
All that being said... I also wanted to create a recipe where you could get all of the ingredients from any grocery store. I know that Asian grocery stores are not available in all areas (our closest one is about 45 minutes away), so I've modified this method to come as close as possible. There is only one ingredient listed that I got from an Asian market - dried kelp (seaweed) aka kombu. I've listed it as optional, but I highly recommend at least ordering it online.
What's different from authentic to pressure cooker ramen?
Well, the biggest difference between ramen you would get in Japan and this pressure cooker ramen is simple: time! Ramen masters will cook their broth anywhere from 10 hours to 2 days! So obviously we are not gonna reach the level of depth in flavor. Our cheat in this recipe is to start with chicken broth instead of water. It's a small change with BIG difference.
How to fake the noodles...
We're using angel hair pasta in this pressure cooker ramen recipe. And at first glance you might think that it's ridiculous. But we're actually cooking them in salted water with cornstarch to transform their texture. The cornstarch gives the noodles a chewy texture that will remind you of traditional ramen noodles. You could also use instant ramen noodles instead. You will end up in the same place.
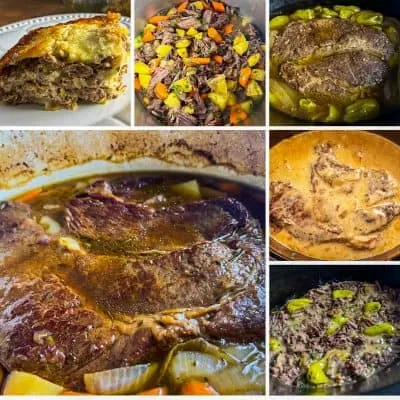
How to Make Pressure Cooker Ramen


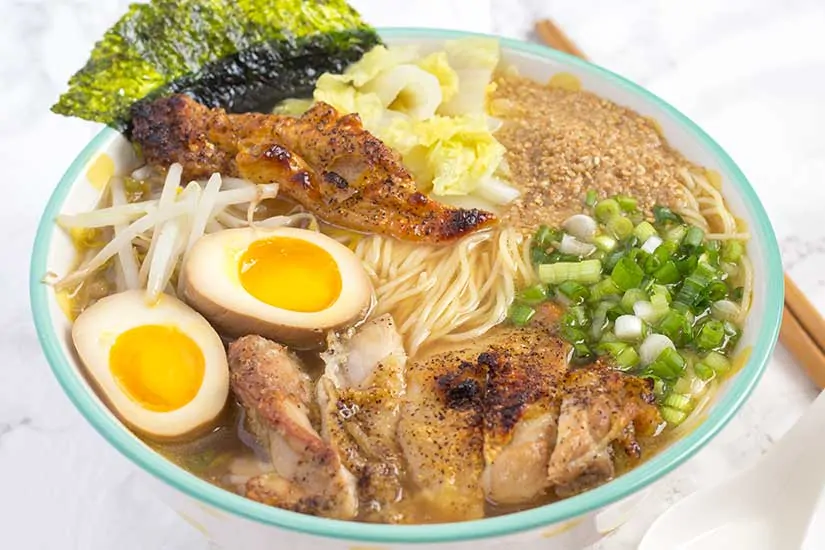
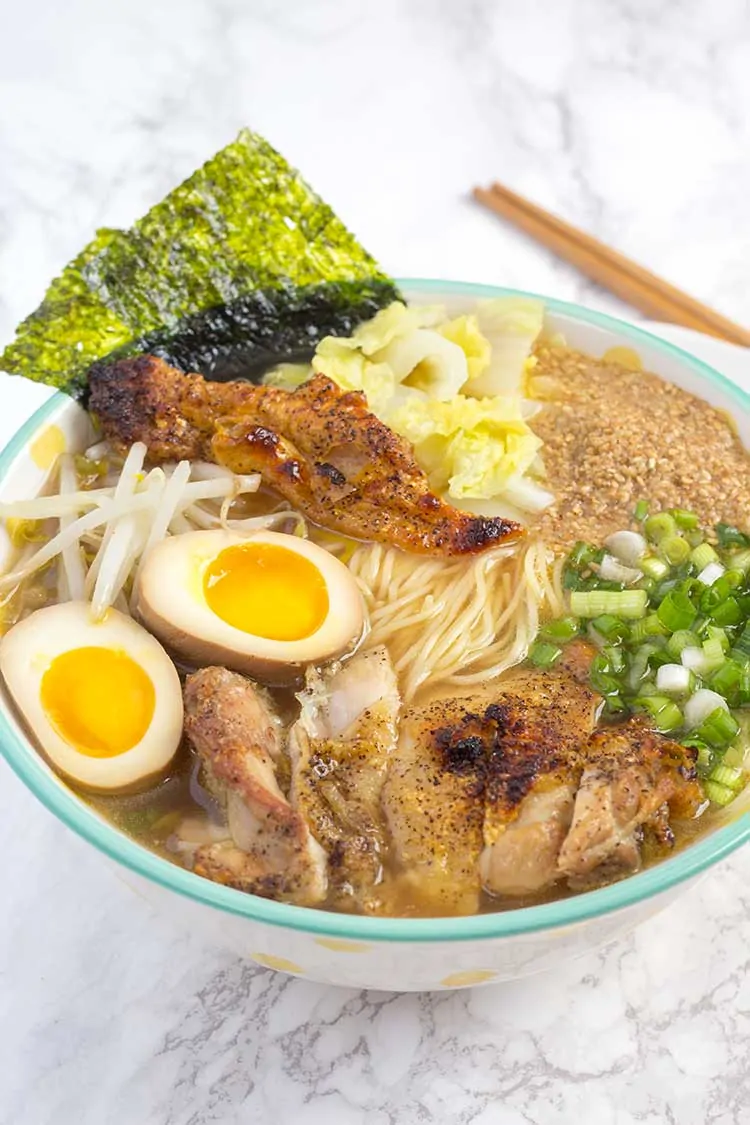
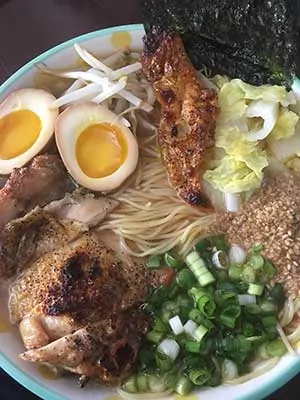
And This is the AMAZING result...
★ Did you make this Pressure Cooker Ramen?
Please give it a star rating below! ★
📖 Recipe

Pressure Cooker Ramen - Creamy Chicken
Ingredients
- 4 lbs. chicken backs, wings, and/or feet
- 8 cups chicken broth low sodium
- 2 ½ cups sake separated
- 4 cups water separated
- 4 eggs
- ½ cup tamari
- ½ cup mirin
- 1 oz. dried mushrooms shitake or porcini
- 1 leek (white part only) washed thoroughly
- 1 garlic bulb sliced in half
- 1 oz. dried kelp optional
- 4 boneless chicken thighs
- 2 cups bean sprouts
- 2 cups napa cabbage roughly chopped
- ¼ cup sesame seeds ground
- 2 Tbsp. cornstarch
- 12 oz. angel hair pasta
- ½ cup chili garlic sauce
- 1 cup green onions sliced
- .2 oz roasted seaweed
Instructions
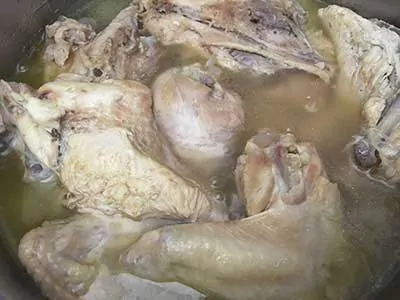
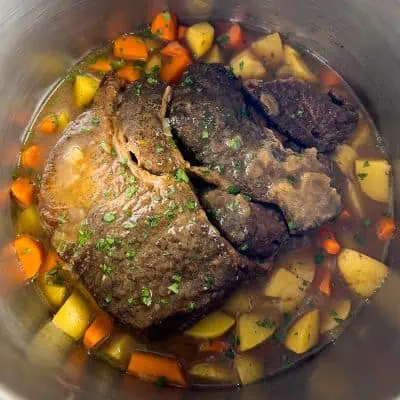
For the broth...
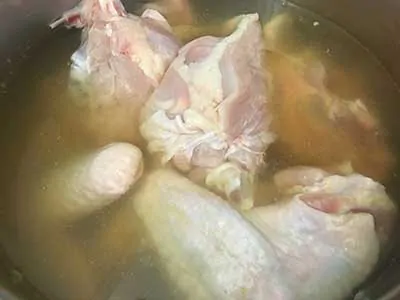
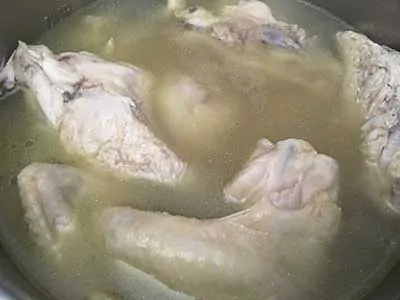
- Soak chicken in cold water for at least 30 minutes. This will help remove some of the blood and other impurities. The goal is to have a clean broth at the end, so don’t skip this step.
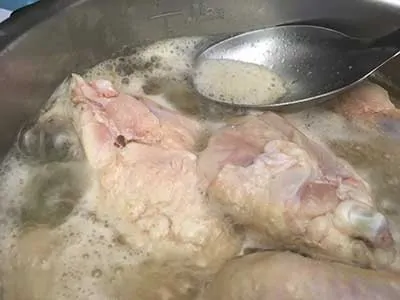
- Add chicken to pot and cover with chicken broth. Turn on sauté setting and bring up to a boil. Boil for about 15 minutes, removing all the scum as it boils. There should be no scum before you close the lid. Add 1 cup of sake and 1 cup of water, then lock lid and cook at high pressure for 90 minutes.
- Once cook time in pressure cooker is complete, quick-release the pressure. There is a lot of liquid inside, so you may need to do this slowly or a little bit at a time.
- Using a potato masher – break up the chicken as much as you can. We want to get every bit of flavor possible out of the bones, so don’t skip this step! Lock the lid and cook once again at high pressure for 30 minutes. Then do another quick-pressure release.
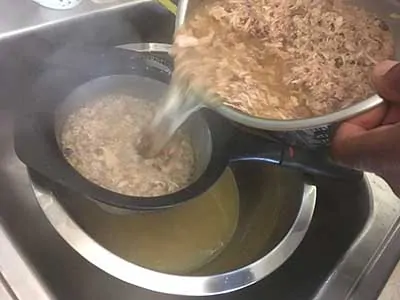
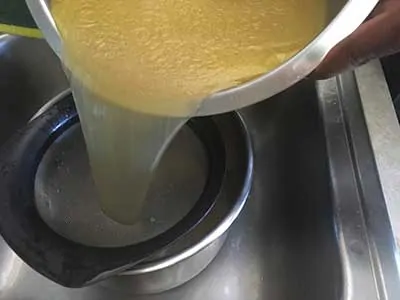
- Pass the broth through a fine mesh strainer into a large bowl. Quickly rinse out the pot and strainer. Then pass the broth through the strainer again back into the pot. Return pot to cooker base and turn on keep warm setting. About 5 minutes before serving, switch to sauté setting so that broth is boiling hot.
For the eggs...
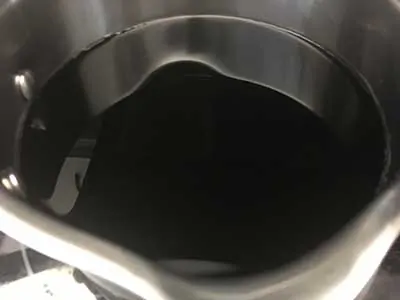
- Add ½ cup tamari, ½ cup sake, and ½ cup mirin to a small pot and bring to a boil for 2-3 minutes. Remove from heat and cool completely. We did this in the freezer for about 10 minutes.
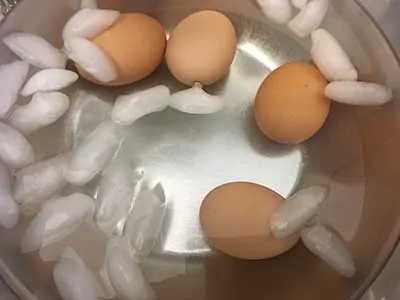
- Bring a pot of water to rolling bowl. Place eggs into boiling water and cook for 6 minutes. Then immediately transfer eggs to an ice water bath to stop the cooking.
- Once cool, carefully peel eggs and place them in a small bowl with completely cooled soy/sake/mirin mixture. Lay a paper towel on top to help keep them submerged. These really should be prepped the day before to soak overnight.
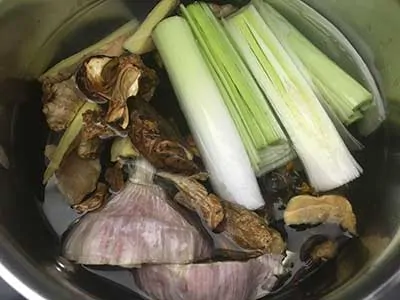
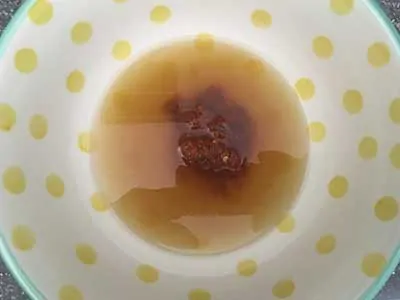
For the tare...
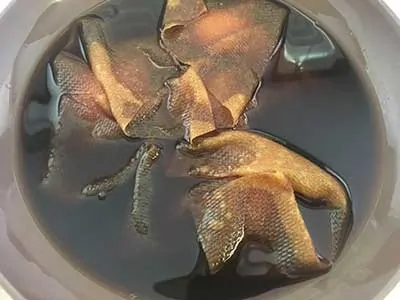
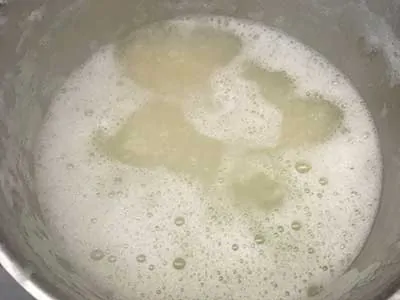
- In a medium-sized pot – add 1 cup sake, 3 cups water, leek, mushrooms, garlic, and dried kelp. Bring to a boil and simmer for about 1 hour. Then run through a fine mesh strainer and return to pot and keep warm.
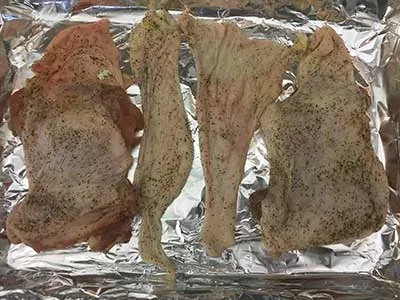
For the chicken...
- Preheat oven using high broiler setting. Season boneless chicken thighs (and optional chicken skin) with salt and pepper. Place on baking tray skin side up.
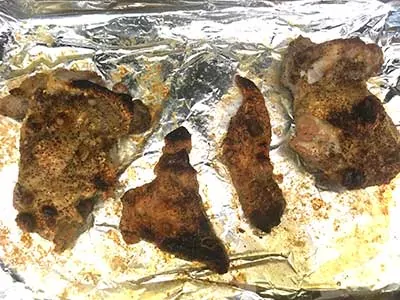
- Move tray to oven on middle rack and cook for about 12 minutes. Keep a close eye on them. Once the skin has the right amount of color on them for your liking, move the tray to the bottom rack for remaining cooking time.
For veggies and noodles...
- Bring 3 quarts of water to a boil in a large pot over high heat. Heavily season water with 2 tablespoons of salt. This may seem like a lot of salt, but you’ll be cooking 3 things in this water.
- First cook the sprouts for about 1 minute, then remove and set aside. Once the water comes back up to a boil, cook the cabbage for about 2 minutes, then remove and set aside as well. Make sure to remove as much of the veggies as possible.
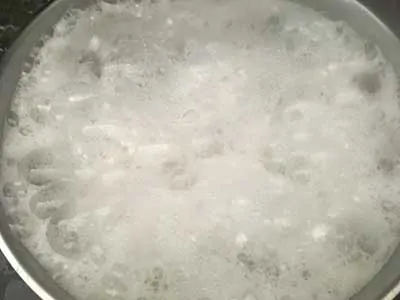
- Reduce to medium heat. Then add 2 tablespoons of cornstarch to water, one at a time. The water will fizz a lot, so remove completely from heat if looks like it’s going to boil over.
- Once the water is boiling at a reasonable level, add the pasta and cook according to instructions on the box. Then drain and set aside.
To build the bowl...
- Using a serving bowl with high side and wide rim – add ½ cup of tare. Then (for spicy option) add 2 tablespoons of garlic chili sauce and mix well. Then add 2 cups of broth to bowl.
- Add noodles to broth and mix well to coat well with sauce.
- Then add all your toppings to bowl. Since you have worked so hard to get this far, make sure you take the time arrange them as nice as possible.
Nutrition
THIS POST MAY CONTAIN AFFILIATE LINKS. TO FIND OUT MORE VISIT OUR DISCLOSURE PAGE.
John
What sake brand do you recommend?
Is Mirin the same as sake?
Thanks
Gary
I don't have a recommendation on sake, I just use the most affordable/drinkable one I can find. Mirin is not the same as sake. Mirin is a sweet rice wine that is usually meant for cooking.
Robert Edward Ly
Do I pour the tare into the chicken broth?
Thanks
Gary
No, you put 1/2 cup of tare in each bowl before you pour in the broth. It's the first step in the "to build the bowl" section of the recipe. There's also pictures.
John
This does take a lot of prep work but very well worth it!
Rebecca
Such a great recipe! This is so good!
Ana Vera
When you take somebody else's recipe it would be nice to at least mention them.This recipe is from Seonkyoung Longest. If you want the real recipe go to her site
Gary White
Hi Ana. If you look at Seonkyoung Longest's recipe and my recipe side by side, there are quite a few differences in ingredients and methods. Of course, the biggest difference is that this recipe is for Pressure Cooker Ramen, whereas Seonkyoung Longest's is not. While this recipe is inspired by many of the ramen recipes I made when I first began cooking ramen at home, including Seonkyoung Longest's recipe, recipes from cookbooks, and Serious Eats' Creamy Chicken Broth Ramen recipe, it is not a copy of any. It evolved through testing and development into an original recipe. I have personally had my own recipes stolen and put on other websites without credit, and I would never do that to another recipe creator.
Taylor
What would you recommend for a slow cooker instead of a pressure cooker?
Gary White
I don't think ramen would be very successful in a slow cooker.