



This is my strongly seasoned rice for homemade sushi and bowls. I prefer the texture from Low Pressure, but the faster High Pressure option works too. Pick your cooking method, then choose how to season the rice.
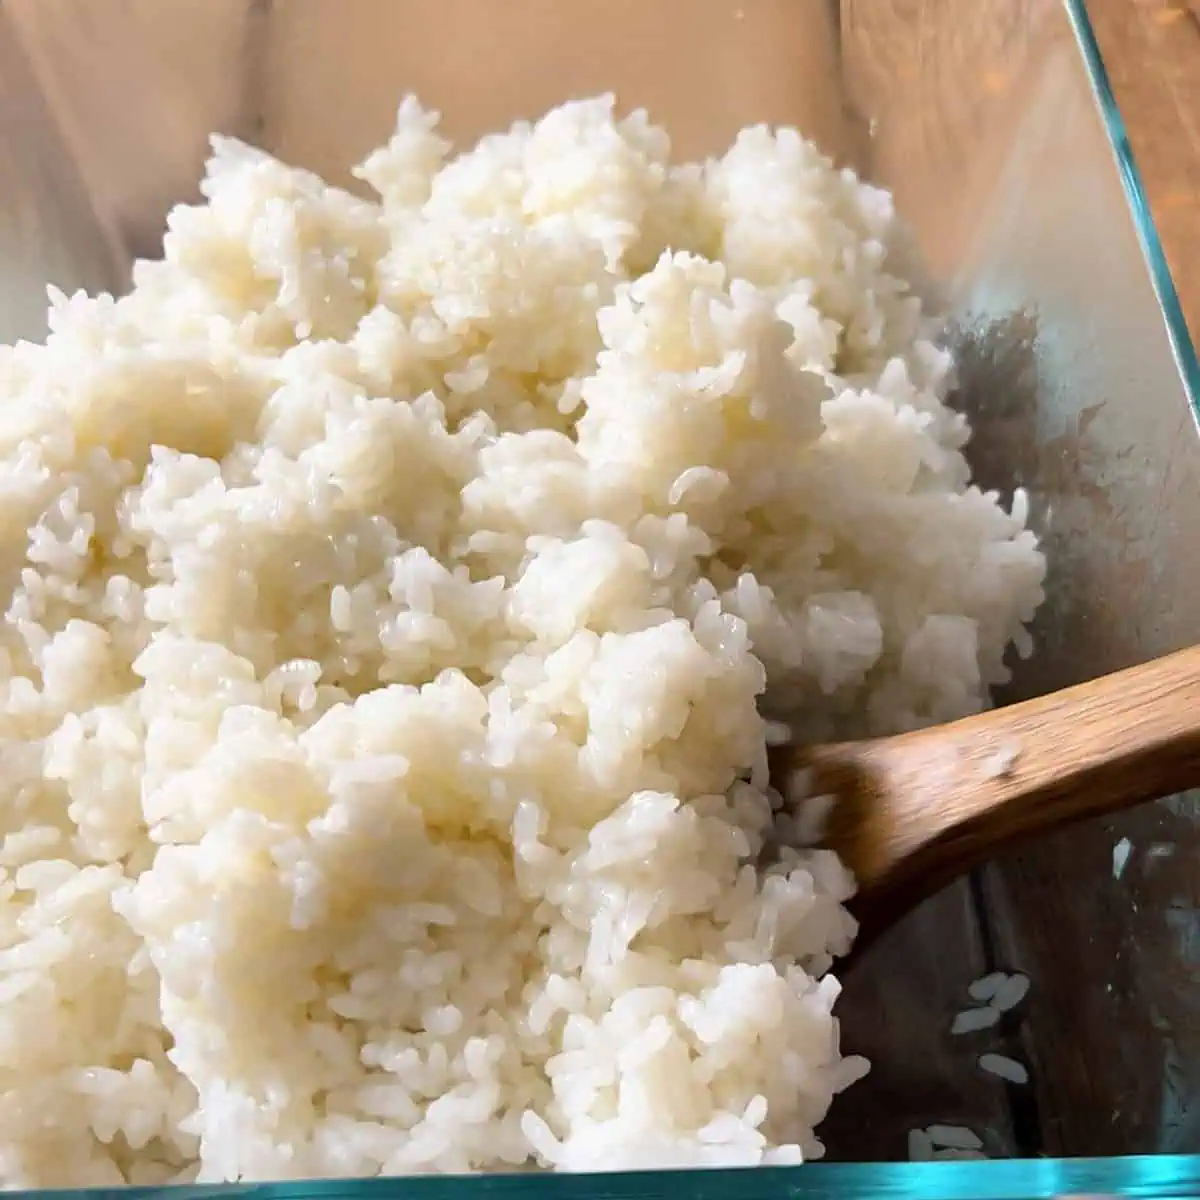
12 Minutes Low vs. 4 Minutes High
12 minutes on Low Pressure + 10-minute natural release: This is my preferred method and the one I have used the longest. I prefer the finished texture.
4 minutes on High Pressure + 10-minute natural release: I have tested this faster option with the same 2 cups of rice and 2 cups of water. Both methods work.
I have used 6- and 8-quart Instant Pots without an obvious difference in the results. Low Pressure is available only on some models, so check your controls before choosing it. Allow additional time for the cooker to come to pressure and for the seasoned rice to cool before rolling sushi.
Which Seasoning Should You Use?
Bold (Original): The version I started with. I use Nakano seasoned rice vinegar, which already contains sugar and salt, and this recipe adds more of both. It has a big flavor that works well in poke bowls and loaded rice bowls.
Unseasoned rice vinegar option: Use unseasoned rice vinegar with the sugar and salt listed in the recipe. This avoids adding the sugar and salt already present in seasoned vinegar.
Both options use ¼ cup white wine vinegar plus ¼ cup rice vinegar, for ½ cup total vinegar. The unseasoned option does not reduce that amount. White wine vinegar is part of both versions, and both are strongly seasoned. Choose one seasoning option when following the card. I use Diamond Crystal kosher salt for the 1½-teaspoon amount in either option; other kosher salt brands measure differently by volume.
The Back Story
Here's what most people did not know: the original version was a happy accident. I used seasoned rice vinegar, then seasoned it again with more sugar and salt. On top of a vinegar that already had both. The result was bolder than traditional sushi rice. Brighter. Punchier. Not wrong. Just louder. That version ended up becoming the one people loved.
Ingredient Notes
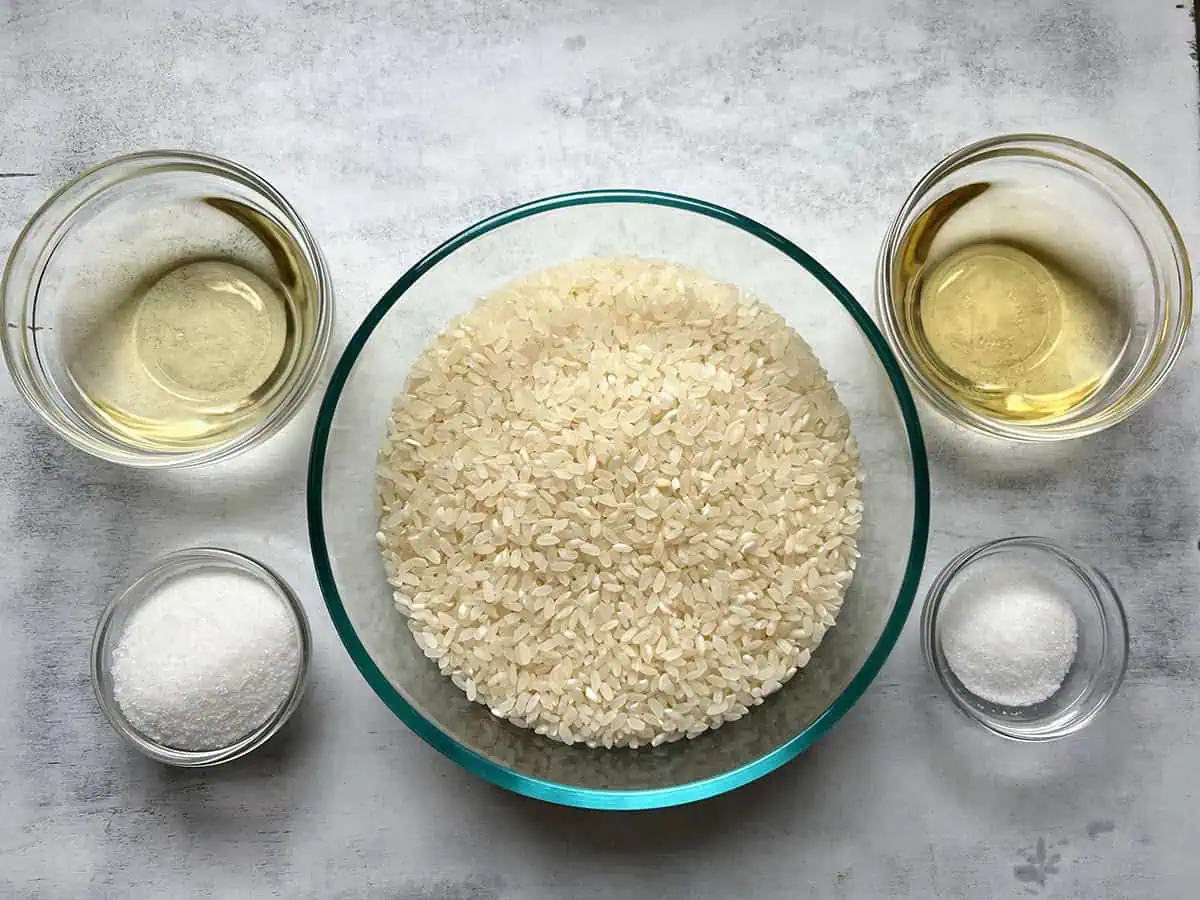
Short-Grain Japanese Rice
Use a true short-grain Japanese rice or sushi rice here. Long-grain rice will not give you the same sticky texture.
Method Highlights
Before cooking: rinse and drain
Rinse the rice in a fine mesh strainer under cold running water for about 2 minutes, moving it gently with your hand. Let it drain for a few minutes. Rinsing removes surface residue and loose starch; this recipe does not include a separate soak. Use standard measuring cups for 2 cups of dry rice and 2 cups of cooking water.
During cooking: use the method you chose above
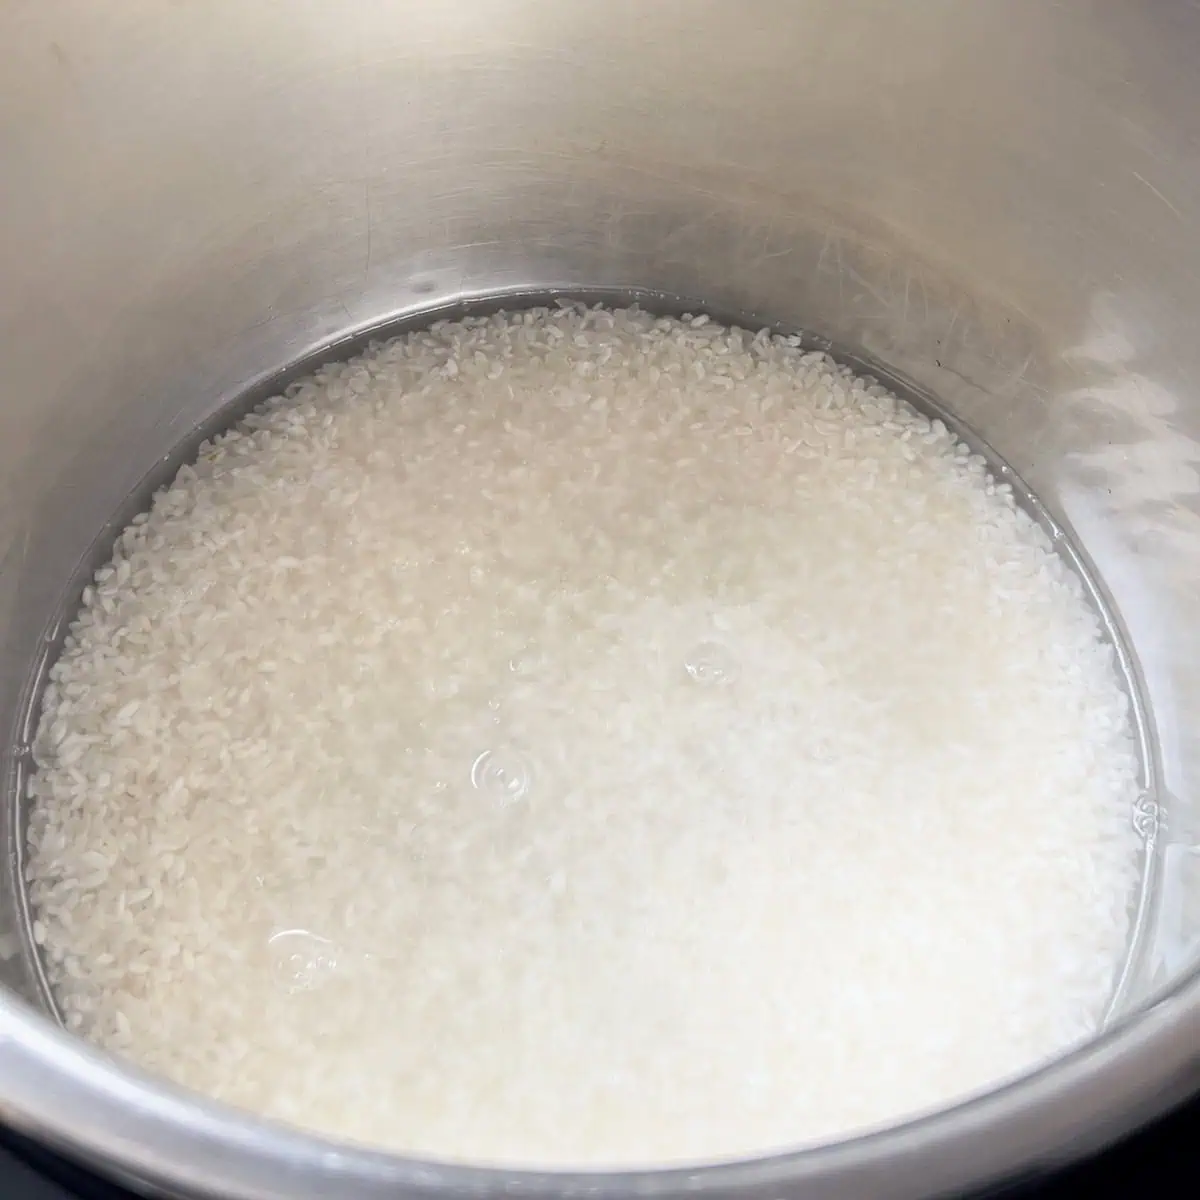
Add the drained rice and water to the inner pot. Lock the lid and set the valve to Sealing, then select Manual or Pressure Cook and the pressure setting you chose. After cooking, leave the valve sealed for the 10-minute natural release, then carefully vent any remaining pressure before opening the lid.
After cooking: season gently
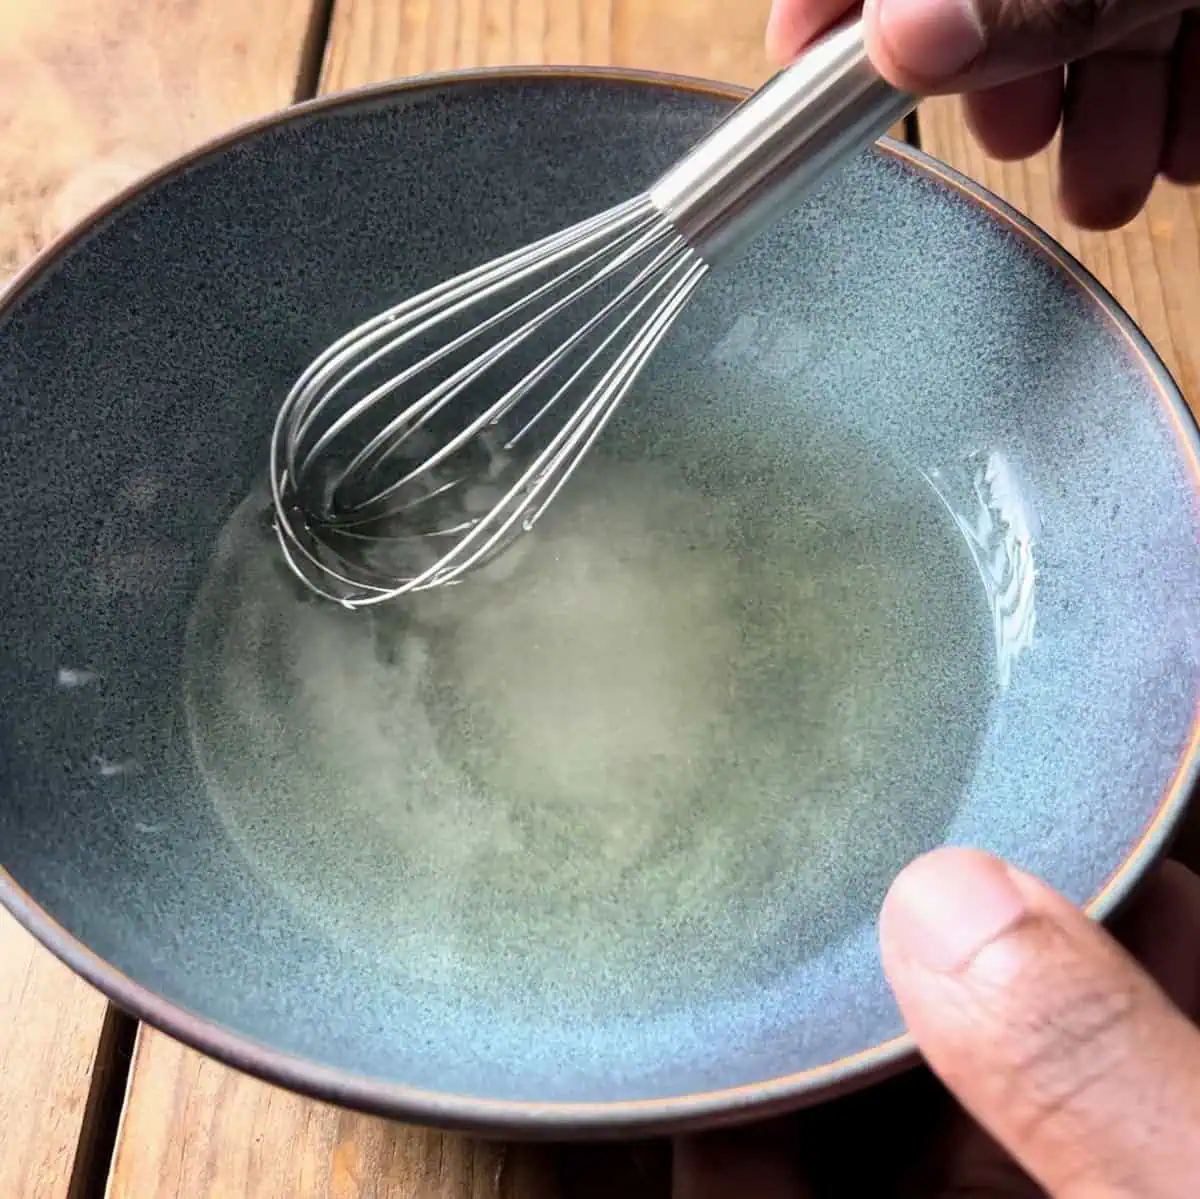
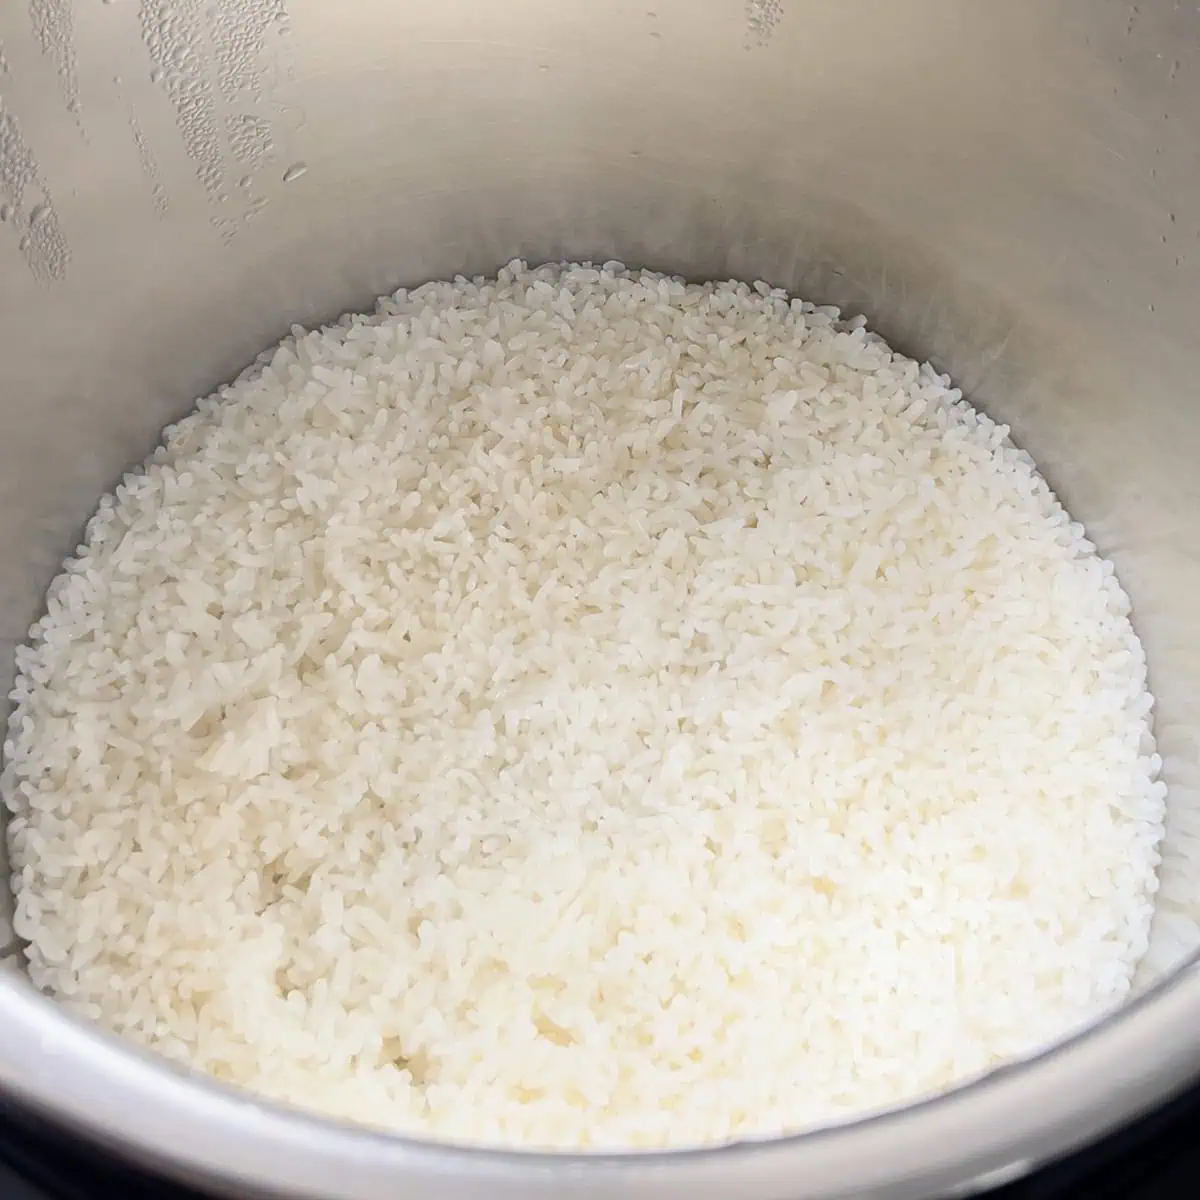
The rice should hold together when pressed while still having visible grains. Its starch helps the grains cling together, and the seasoning can also affect the finished texture. While the rice cooks, microwave your chosen vinegar mixture for about 1 minute and stir until the sugar and salt dissolve. Transfer the cooked rice to a large non-reactive bowl and gently fold in the seasoning while the rice is hot, using a cutting and folding motion rather than crushing the grains. For sushi rolls, let it cool briefly to room temperature and use promptly. Refrigerate unused rice promptly; it does not need to cool completely first.
Make Ahead, Storage, and Reheating
Sushi rice is best the day it is made. For rolls, let the freshly seasoned rice cool briefly to room temperature, then use it promptly. Cooling, rolling, and serving all count toward its time out of the refrigerator.
For make-ahead rice or leftovers, divide it into shallow containers and refrigerate as soon as possible, within 2 hours of cooking, or 1 hour if the temperature is above 90°F. Warm rice can go straight into the refrigerator. Keep it covered at 40°F or colder for up to 3 days. Refrigerate promptly even though the rice is seasoned with vinegar.
To reheat, sprinkle with a little water and cover with a vented microwave-safe lid. Microwave in 30-second intervals, redistributing the rice for even heating, until it reaches 165°F throughout, checked with a food thermometer. The texture will not be quite as good as fresh; leftovers are better suited to bowls and meal prep.
FAQ
Mirin is a sweet rice wine, so it is not a direct replacement for the vinegar in this recipe. Keep the vinegar mixture as written.
For standard onigiri, use the cooked plain rice before adding the vinegar mixture. Vinegar-seasoned rice makes a different style of rice ball.
Use 4 cups of rice and 4 cups of water, but increase the ingredients in your chosen seasoning mixture to only 1½ times the original amounts. The card's automatic 2x button doubles every ingredient, so use this seasoning adjustment instead. Keep the combined rice and water below your cooker's ½-full limit for foods that expand, and follow its minimum-liquid requirements.
Troubleshooting
Rice is mushy or waterlogged.
Check the measured rice and water, and make sure the rinsed rice drained before cooking. Do not add a separate soak to this method. Also check that you used the cooking time for your selected pressure level; the Low Pressure time is not the High Pressure time.
Rice is undercooked or crunchy.
Use the short-grain Japanese rice called for in the recipe and allow the full natural release. Check that the valve was set to Sealing and the silicone ring was seated properly. A different rice or a seal that did not hold can change the result.
Got a burn notice.
Some readers have reported burn notices. Cancel cooking and follow your model's instructions for safely releasing pressure before opening the lid. Check that the inner pot is clean, the valve and sealing ring are fitted correctly, and the liquid meets your model's minimum requirements. Changing the amount of water can change the rice texture, so do not assume that adding extra water leaves the recipe unchanged.
Rice feels loose after seasoning.
Fold gently and let the rice cool briefly before using it. Avoid vigorous stirring or crushing the grains, and refrigerate unused rice within the limits above.
Other Instant Pot Rice Recipes
★ Did you make this recipe? ★
Leave a comment and tell me which timing you used: 12 minutes Low or 4 minutes High. And if you seasoned it, tell me whether you used the bold original or the unseasoned rice vinegar option.
📖 Recipe

Instant Pot Sushi Rice
Ingredients
For the Rice
- 2 cups short-grain Japanese rice
- 2 cups water
For the Original Bold Version
- ¼ cup white wine vinegar
- ¼ cup seasoned rice vinegar Nakano
- 1 ½ tsp. kosher salt Diamond Crystal
- 2 Tbsp. sugar
For the Unseasoned Rice Vinegar Option
- ¼ cup white wine vinegar
- ¼ cup unseasoned rice vinegar
- 1 ½ tsp. kosher salt Diamond Crystal
- 2 Tbsp. sugar
Instructions
- Rinse the rice in a fine mesh strainer under cold running water for about 2 minutes, moving it around gently with your hand. Let it drain for a few minutes.
- Add the drained rice and water to the Instant Pot. Lock the lid and set the valve to Sealing. Use Manual or Pressure Cook on Low Pressure for 12 minutes (my preferred texture), or High Pressure for 4 minutes.
- After either pressure setting, let the pressure naturally release for 10 minutes. Then carefully switch the valve to Venting to release any remaining pressure.
- While the rice cooks, combine all the ingredients from one seasoning group in a small microwave-safe bowl. Microwave for about 1 minute, then stir until the sugar and salt dissolve. Do not combine the two groups.
- Transfer the cooked rice to a large glass, wooden, or non-reactive bowl. Pour the seasoning mixture over the rice and gently fold it in with a wooden spoon or rice paddle. Use a cutting and folding motion instead of stirring hard, so you do not crush the grains.
- For sushi rolls, let the rice cool only as much as needed to handle and roll it, then use promptly. Refrigerate unused rice in shallow containers within 2 hours of cooking, or within 1 hour when the temperature is above 90°F. Warm rice can go into the refrigerator.
Video
Notes
- Rice and cooker: Use short-grain Japanese sushi rice and standard US measuring cups, not the smaller cup supplied with some rice cookers. I have used both 6-quart and 8-quart Instant Pots with no difference in results. Low Pressure is available on some models; use the tested High Pressure option if yours does not offer it. Follow your model's minimum-liquid requirement and keep expanding foods such as rice below the half-full line.
- Seasoning options: The original bold version uses seasoned rice vinegar, which already contains sugar and salt, plus the listed sugar and salt. The unseasoned rice vinegar option uses plain rice vinegar plus the listed sugar and salt. Both include white wine vinegar and have ½ cup total vinegar. Choose one complete seasoning group.
- Salt: I use Diamond Crystal kosher salt for the listed 1½ teaspoons. Other kosher salt brands measure differently by volume.
- Timing: The displayed time does not include the time needed to reach pressure or to cool the rice for rolling.
- Doubling: Double the rice and water, but use only 1½ times each ingredient in your chosen seasoning group. Keep the pressure-cooking and release times the same. The card's automatic 2x control doubles every ingredient, so adjust the seasoning amounts separately.
- Storage and reheating: Rice has its best texture the day it is made. Refrigerate promptly as directed above, keep at 40°F or below, and use within 3 days. Reheat to 165°F throughout. The vinegar in this recipe does not make extended room-temperature holding safe.
- Onigiri: Reserve plain cooked rice before adding the vinegar seasoning for standard onigiri.
- Yield: Makes about 4 cups of seasoned rice, enough for about 4–6 rolls or 2–3 generous bowls.
- Nutrition: Estimated for one of 12 small side servings of the original bold version, using Nakano seasoned rice vinegar and Diamond Crystal salt. Rice brand, white wine vinegar, seasoning choice, and portion size can change the values.
Zoe White
Bookmarked for future reference. Thanks for writing this.
Penelope Garcia
Thanks for putting this together! Extremely well structured.
Aadhavan associates
Your perspective is refreshing
Jennifer
I have lots of digestive issues and rice is the only grain I can comfortably eat so when I made this recipe, I was skeptical of all the vinegar, but it is absolutely delicious! I ate some plain and had to force myself to stop eating it... it's that good. I used most of it for musubi for my teenager, but I will make a little extra next time so I can stash it away for myself! You have definitely earned my trust!
Ciro Studios
Amazing content!
Canadian mama
A lot of people commented that it’s too much vinegar, but I love the stronger taste! I did cut down the salt as I found it very salty! Have used this recipe many times (with half the salt) and even used apple cider vinegar once as I ran out of white whine vinegar and still came out great!! I have microwaved and done stove top for the seasoning and both times it was great!
KR Events
Keep it up!
CB
So easy- and SO tasty. We make this one on repeat.